Table of Contents
Advertisement
Advertisement
Table of Contents

Subscribe to Our Youtube Channel
Related Manuals for Ryobi PLT-3043YA


Summary of Contents for Ryobi PLT-3043YA
- Page 1 PLT-3043YA TRIMMER OWNER'S OPERATION MANUAL N197...
- Page 2 Fig.1 Fig.2 Fig.3 Fig.4...
- Page 3 Fig. 5 Fig. 6 Fig. 7 Fig. 8 Fig. 9 Fig. 10...
- Page 4 Fig. 11 Fig. 12 Fig. 13 Fig. 14 Fig. 15 Fig. 16...
- Page 5 Fig. 17 Fig. 18...
- Page 6 English SYMBOLS Important: Some of the following symbols may be used on your tool. Please study them and learn their meaning. Proper interpretation of these symbols will allow you to operate the tool better and safer. EXPLANATION SYMBOLS NAME Indicates danger, warning or caution. it means attention!!! Safety Alert Symbol Your safety is involved.
-
Page 7: General Safety Rules
Thank you for buying a Ryobi trimmer. Keep all parts of your body away from any moving part. Do not touch area around the muffler or cylinder of the Your new trimmer has been engineered and trimmer, these parts get hot from operation. -
Page 8: Specification
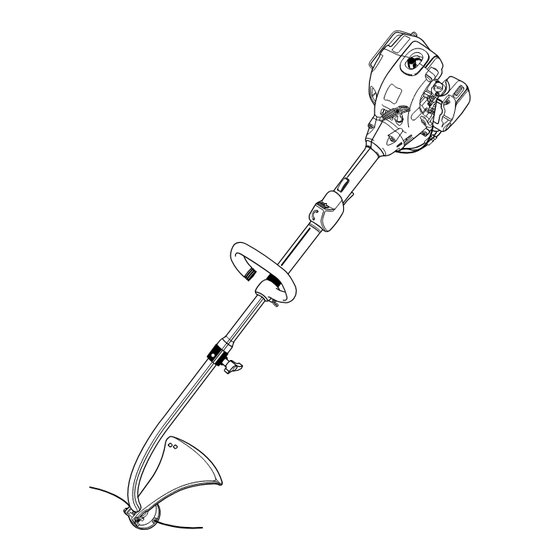
DESCRIPTION SPECIFIC SAFETY RULES FOR TRIMMER USE To rx Wrench Starter Grip Make sure all guards, straps, deflectors and handles are Run Position Front Handle properly and securely attached. Half Choke Position Shaft Use only the manufacturer's replacement line in the FullChoke Position Throttle Trigger cutting head. - Page 9 OPERA TION ASSEMBLY NOTE: If the button does not release completely in the Read the operation manual and follow all positioning hole, the shafts are not locked into place. warnings and safety instructions. Slightly rotate from side to side until the button is locked into place.
-
Page 10: Operation
WARNING: OPERATION Always shut off engine before fueling. Never add fuel MIXING THE FUEL to a machine with a running or hot engine. Move at This product is powered by a 2-stroke engine and requires least 9 m (30 ft.) from refueling site before starting pre-mixing petrol and 2-stroke oil. -
Page 11: Maintenance
OPERATION MAINTENANCE Use the tip of the line to do the cutting; do not force bump WARNING: head into uncut grass. Use only original manufacturer's replacement parts, Wire and picket fences cause extra line wear, even accessories and attachments. Failure to do so can breakage. -
Page 12: Spark Arrestor
2. Gently clean using a wire brush. MAINTENANCE 3. Install the new or cleaned spark arrestor and reas- 7. Pull the lines again to rotate the spool into cutting semble completely before use. position. Push the bump knob down while pulling on REPLACING AND CLEANING AIR FILTER (FIG. -
Page 13: Troubleshooting
TROUBLESHOOTING IF THESE SOLUTIONS DO NOT SOLVETHE PROBLEM CONTACTYOUR AUTHORIZED SERVICE AGENT. PROBLEM POSSIBLE CAUSE SOLUTION Engine will not start: 1. Check spark. Remove spark plug. Reattach 1. No spark. the spark plug cap and lay spark plug on metal cylinder. - Page 14 TROUBLESHOOTING IF THESE SOLUTIONS DO NOT SOLVE THE PROBLEM CONTACTYOUR AUTHORIZED SERVICE AGENT. PROBLEM POSSIBLE CAUSE SOLUTION Grass wraps around 1. Cutting tall grass at ground level. 1. Cut tall grass from the top down. driveshaft housing and 2. Operating trimmer at part throttle. 2.
-
Page 15: Guarantee - Statement
In the event of malfunction within the guarantee period, please return the product UNDISMANTLED with proof of purchase, to your dealer or nearest Ryobi Service Centre. Your statutory rights in respect of defective products remain unaffected by the warranty...
Need help?
Do you have a question about the PLT-3043YA and is the answer not in the manual?
Questions and answers