Sign In
Upload
Download
Table of Contents
Contents
Add to my manuals
Delete from my manuals
Share
URL of this page:
HTML Link:
Bookmark this page
Add
Manual will be automatically added to "My Manuals"
Print this page
×
Bookmark added
×
Added to my manuals
Manuals
Brands
BW Broadcast Manuals
Transmitter
TX300
Technical manual
BW Broadcast TX300 Technical Manual
Tx v3 series
Hide thumbs
Also See for TX300
:
Technical manual
(49 pages)
1
Table Of Contents
2
3
4
5
6
7
8
9
10
11
12
13
14
15
16
17
18
19
20
21
22
23
24
25
26
27
28
29
30
31
32
33
34
35
36
37
38
39
40
41
42
43
44
45
46
47
48
49
page
of
49
Go
/
49
Contents
Table of Contents
Bookmarks
Table of Contents
Table of Contents
1 The TX V3 Series
Warranty
Safety
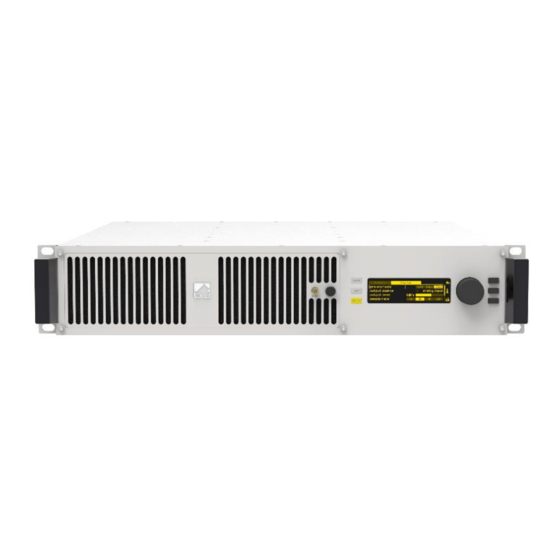
4 Front and Rear Panels
Front Panel
Rear Panel
5 User Interface
The Input Interface
Navigating the Menu
Editing a Parameter
Text Fields
Display
Status Box
Menu Box
Meters
6 Installation
Quick Start
Examples of Use
Transmitter with External RDS Coder and Internal Audio Processing18
Transmitter with External Audio Processor
Transmitter with an External Audio Processor and RDS (Inline Connection)
Transmitter with an External Audio Processor and RDS (Sidechain Connection)
7 Operation
RF Setup
Basic Setup
Power Scheduler
Audio Settings
Input/Output
MPX Generator
MPX Generator Settings
RDS Encoder
RDS Settings
Tuner Module (Optional)
Tuner Module Menu
Triggers
To Set up a Trigger
Alarms
To Set up an Alarm Pin as Alarm
To Set up an Alarm as an Analog Output
System
Unit Information
Screen Saver
Users
Ethernet
E-Mail
Http
Telnet
Rs232
Log
Diagnostics
About
Reboot
Factory Reset
Web Remote
Authentication
Web Remote Interface
Text Based Access (Telnet or RS232)
Commands
8 Menu Tree
Block Diagram
Technical Specification
Advertisement
Quick Links
1
Rf Setup
2
Block Diagram
3
Technical Specification
Download this manual
Table of
Contents
Previous
Page
Next
Page
1
2
3
4
5
Advertisement
Table of Contents
Need help?
Do you have a question about the TX300 and is the answer not in the manual?
Ask a question
Questions and answers
Related Manuals for BW Broadcast TX300
Transmitter BW Broadcast TX150 Technical Manual
Broadcast transmitter (49 pages)
Transmitter BW Broadcast TX1000 Technical Manual
Fm broadcast transmitter (56 pages)
Transmitter BW Broadcast TX5 FM Broadcast Transmitter Technical Manual
Fm broadcast transmitter (45 pages)
Transmitter BW Broadcast TX V2 Quick Start Manual
Fm broadcast (24 pages)
Transmitter BW Broadcast TX-V2 Technical Manual
Fm (89 pages)
Transmitter BW Broadcast TX600 Technical Manual
Tx v3 series (49 pages)
Transmitter BW Broadcast TX25 Technical Manual
Fm broadcast transmitter (49 pages)
Transmitter BW Broadcast TX50 Technical Manual
Fm broadcast transmitter (49 pages)
Transmitter BW Broadcast TX150/300 Technical Manual
Fm broadcast transmitter (46 pages)
This manual is also suitable for:
Tx1000
Tx150
Tx600
Table of Contents
Print
Rename the bookmark
Delete bookmark?
Delete from my manuals?
Login
Sign In
OR
Sign in with Facebook
Sign in with Google
Upload manual
Upload from disk
Upload from URL


Need help?
Do you have a question about the TX300 and is the answer not in the manual?
Questions and answers