Advertisement
Quick Links
Download this manual
See also:
User Manual
QUICK INSTALLATION GUIDE
XR Series
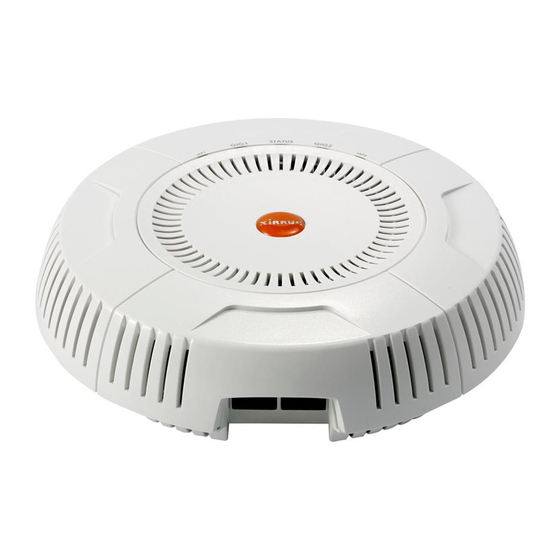
Wireless Access Points
XR500 Series
April 1, 2013
High Performance Wireless Networks
Advertisement

Related Manuals for Xirrus XR-520


Summary of Contents for Xirrus XR-520
- Page 1 QUICK INSTALLATION GUIDE XR Series Wireless Access Points XR500 Series April 1, 2013 High Performance Wireless Networks...
- Page 2 XR-520 Q Quick Installat tion Guide is a regist tered tradem mark of Xirru us, Inc. All o other tradem marks and br and names a marks of f their respec ctive holders Please se ee Legal Not ices, Warnin...
- Page 3 (1/4 4-inch Plasti ite). The w wall mount a accessory kit t contains an n XR-520 mo ounting plat te, a wall mo ounting brac cket, a lock king slug, an nd three scre ews (1/4-inch h Plastite) ...
- Page 4 XR-52 20 (see the X XR-520 Data Sheet). The XR-520 is po owered by o one injector p port rated at or higher. Y You must pro ovide a netw work connect...
- Page 5 When yo ou attach a ce eiling lockin ng plate or w wall mountin bracket t o the XR-520 0 mounting plate and in nstall the XR- -520, the hole in th he top of the e locking slu...
- Page 6 XR-520 m mounting pla ate as show wn here. TE: Only use the screws p provided in the accessor ry kit.
- Page 7 Ceiling Gr rid Mounti TE: Steps 1 an nd 2 are only y required if f you wish to o lock the XR XR-520 to its mounting p plate after it is installe Alig gn the three h holes in the l...
- Page 8 XR-520 after r it is installe Alig gn the XR-520 0 mounting plate over th he T-Bar clip p screw post ts and secure e it to the fou...
- Page 9 Plate TE: Steps 1 an nd 2 are only y required if f you wish to o lock the XR XR-520 to its mounting p plate after it is installe Alig gn the three h holes in the l locking plate...
- Page 10 XR- -520 after r it is installe Alig gn the XR-520 0 mounting plate over th he prepared locat tions and se cure it with the screws. Do not over rtighten.
- Page 11 Alig gn the holes i in the back o of the XR-520 0 over the sc crews prot ruding from m the ceiling. . Push the XR R-520 chassi...
- Page 12 XR-520 Q Quick Installat tion Guide 6) Log g In to th he AP TE: If you are e a Xirrus Cl loud custom mer, your APs s are comple etely manag ged by XMS Cloud d, and you m...
- Page 13 XR-520 Q Quick Installat tion Guide You a are now logg ged in to the e Wireless A 7) Con nfigure t the AP Click k Express Se tup. - 11 -...
- Page 14 XR-520 Q Quick Installat tion Guide The A AP will auto omatically co ontact Xirrus s and obtain its license k key, based on n its serial numb ber and MA C address. T This auto-lice ensing funct tion requires...
- Page 15 XBL le evel at least. If you u disable Xi rcon access to both XBL L and CLI on n XR-520 mo odels, you m must ensure t that you d do not lose t track of the u...
- Page 16 XR-520 Q Quick Installat tion Guide Plug the cable in and continu ue to keep th he button pre essed for 10 seconds. Th h is triggers th he factor ry default re eset during t the boot proc cess.
- Page 17 XR-520 Q Quick Installat tion Guide Ceiling g Mounting g Bracket Dimensions: inches [mm] Wall Mo ounting B Bracket Dimensions inches [mm Physi cal/Env ironmen ntal Spe cificatio Dime ensions (WxD DxH): 7.70 x x 7.70 x 1.96 in / 19.56 x 19.56 x 4.98...
- Page 18 XR-520 Q Quick Installat tion Guide rect Mou unting T Template Use this t template to mark the loc cation of the e screws for m mounting th he Access Po oint directly to a surface, a as directed in...
- Page 19 XR-520 Q Quick Installat t ion Guide Notes - 17 -...
- Page 20 To le arn more visit 1.805.262.1600 0 Sales xirrus s.com or 1.805.262.1601 1 Fax emai l: info @ xirrus s.com 01 Corporate C Center Drive ousand Oaks, C CA. 91320 USA 812-0 0085-004B © 2013 Xir rrus Inc. All Rig ght Reserved.
Need help?
Do you have a question about the XR-520 and is the answer not in the manual?
Questions and answers