Table of Contents
Advertisement
INTRODUCTION
Thank you for purchasing a Honda engine. We want to help you to
get the best results from your new engine and to operate it safely.
This manual contains information on how to do that; please read it
carefully before operating the engine. If a problem should arise, or
if you have any questions about your engine, consult an
authorized Honda servicing dealer.
All information in this publication is based on the latest product
information available at the time of printing. Honda Motor Co., Ltd.
reserves the right to make changes at any time without notice and
without incurring any obligation. No part of this publication may
be reproduced without written permission.
This manual should be considered a permanent part of the engine
and should remain with the engine if resold.
Review the instructions provided with the equipment powered by
this engine for any additional information regarding engine
startup, shutdown, operation, adjustments or any special
maintenance instructions.
United States, Puerto Rico, and U.S. Virgin Islands:
We suggest you read the warranty policy to fully understand its
coverage and your responsibilities of ownership. The warranty
policy is a separate document that should have been given to you
by your dealer.
SAFETY MESSAGES
Your safety and the safety of others are very important. We have
provided important safety messages in this manual and on the
engine. Please read these messages carefully.
A safety message alerts you to potential hazards that could hurt
you or others. Each safety message is preceded by a safety alert
symbol
and one of three words, DANGER, WARNING, or
CAUTION.
These signal words mean:
Each message tells you what the hazard is, what can happen, and
what you can do to avoid or reduce injury.
DAMAGE PREVENTION MESSAGES
You will also see other important messages that are preceded by
the word NOTICE.
This word means:
Your engine or other property can be damaged if you
don't follow instructions.
The purpose of these messages is to help prevent damage to your
engine, other property, or the environment.
You WILL be KILLED or SERIOUSLY
HURT if you don't follow instructions.
You CAN be KILLED or SERIOUSLY
HURT if you don't follow instructions.
You CAN be HURT if you don't follow
instructions.
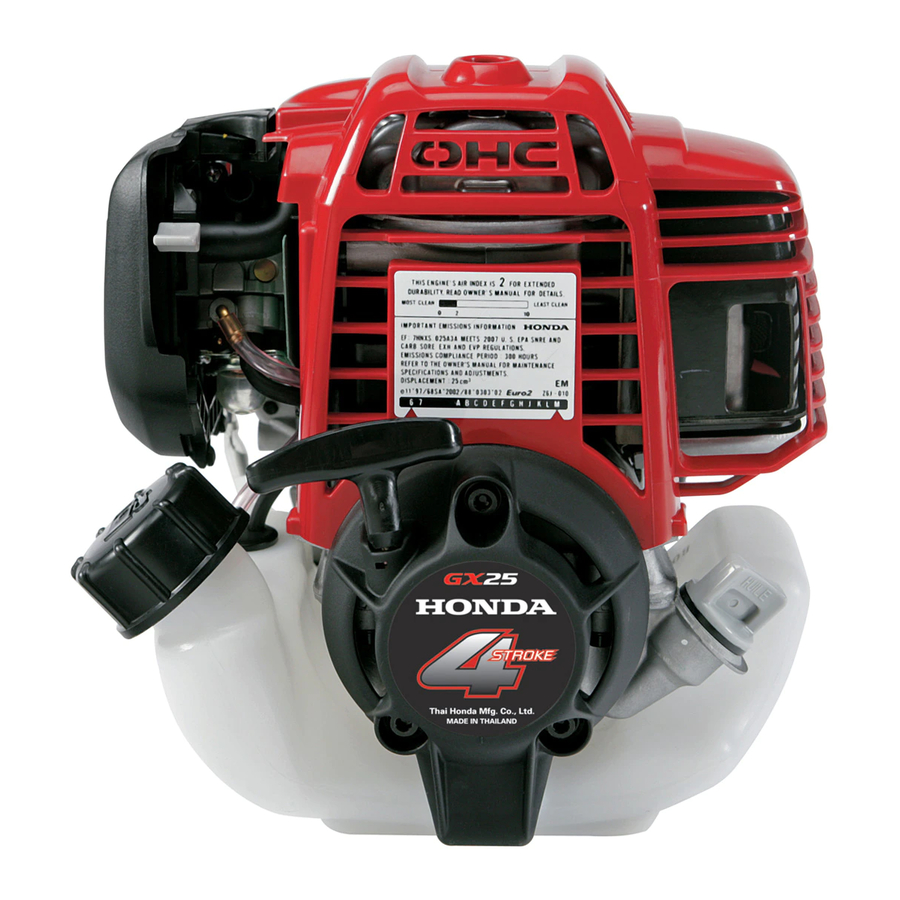
OWNER'S MANUAL
GX25·GX35
The engine exhaust from this product
contains chemicals known to the State of
California to cause cancer, birth defects
or other reproductive harm.
CONTENTS
INTRODUCTION
.......................
SAFETY MESSAGES
................
..........
COMPONENT & CONTROL
..............................
................................
CHECKS
....................................
..............................
PRECAUTIONS
.....................
....................
.......
............................
...........................
...........................
............
..................
.........................
......................
........................
..........................
......................
...................
FUEL FILTER AND FUEL
.1
.1
...................................
.2
SPARK ARRESTER
.....
.2
HOT AIR TUBE REMOVAL/
INSTALLATION
...................
.2
HELPFUL TIPS &
.3
SUGGESTIONS
......................
STORING YOUR ENGINE .15
.4
TRANSPORTING
.4
TAKING CARE OF
UNEXPECTED PROBLEMS
.4
TECHNICAL & CONSUMER
......
.4
.......................
.....
.5
Serial Number Location
......
.6
Remote Control Linkage
.....
.6
Carburetor Modifications for
High Altitude Operation
Emission Control System
.6
......
.6
Information
.........................
.7
Air Index
..............................
.....................
.7
.8
Quick Reference
.8
Information
.........................
.8
.9
.9
.10
.10
.10
.11
.11
.12
.............
.12
.14
.15
...
................
.16
....
.16
.17
.....
.17
.....
.17
.....
.17
.18
.18
.19
........
.19
.19
................
.19
1
Advertisement
Table of Contents

Related Manuals for Honda GX25


Summary of Contents for Honda GX25
-
Page 1: Table Of Contents
INTRODUCTION Thank you for purchasing a Honda engine. We want to help you to get the best results from your new engine and to operate it safely. This manual contains information on how to do that; please read it carefully before operating the engine. If a problem should arise, or if you have any questions about your engine, consult an authorized Honda servicing dealer. -
Page 2: Tank
SAFETY LABEL LOCATION This label warns you of potential hazards that can cause serious TOP COVER injury. Read it carefully. If the label comes off or becomes hard to read, contact your Honda servicing dealer for replacement. MUFFLER (inside the top cover) -
Page 3: Features
AIR CLEANER FUEL TANK FUEL FILLER CAP PRIMING BULB OIL FILLER CAP/ DIPSTICK MUFFLER SPARK PLUG (inside the top cover) (inside the top cover) ENGINE CONTROLS GX25 CHOKE LEVER THROTTLE LEVER GX35 CHOKE LEVER THROTTLE LEVER ENGLISH... -
Page 4: Before Operation Checks
BEFORE OPERATION CHECKS OPERATION IS YOUR ENGINE READY TO GO? SAFE OPERATING PRECAUTIONS For your safety, and to maximize the service life of your Before operating the engine for the first time, please review the SAFETY INFORMATION section on page and the BEFORE equipment, it is very important to take a few moments before you operate the engine to check its condition. -
Page 5: Setting Engine Speed
Standard/Tiller type: Turn the engine switch on the equipment Tiller type to the ON position. Pump type: Turn the engine switch to the ON position. Turn the engine switch on the equipment to the OFF position. Move the choke lever to the OPEN position. Hold the throttle lever on the equipment in the MAX. -
Page 6: Stopping The Engine
The maintenance schedule applies to normal operating conditions. If you operate your engine under severe conditions, such as sustained high-load or high-temperature operation, or use in unusually wet or dusty conditions, consult your Honda servicing dealer for recommendations applicable to your individual needs and use. -
Page 7: Safety Precautions
Clean engine best and is fully equipped to maintain and repair it. (Applicable 12 14 − To ensure the best quality and reliability, use only new Honda types) Genuine parts or their equivalents for repair and replacement. Exhaust filter Clean... -
Page 8: Refueling
REFUELING To refuel, rest the engine a level surface with the fuel filler cap facing up, as shown. Remove the fuel filler cap, and fill the tank with gasoline to the bottom of the filler neck. Refuel carefully to Recommended Fuel Unleaded gasoline avoid spilling fuel. -
Page 9: Oil Level Check
Oil Level Check Check the engine oil level before each use, or every 10 hours if FUEL FILLER CAP operated continuously. Check the engine oil level with the engine stopped and in a level position. Remove the oil filler cap/dipstick and wipe it clean. Insert and remove the oil filler cap/dipstick without screwing it into the oil filler neck, then remove it to check the oil level shown on the dipstick. -
Page 10: Air Cleaner
This type of damage is not covered by Wipe dirt from the air cleaner body and cover, using a moist rag. the Distributor’s Limited Warranty. Be careful to prevent dirt from entering the carburetor. GX25 Inspection Standard/Pump type: Tiller type: Press the latch tab on the top of the air cleaner cover, and remove the cover. -
Page 11: Spark Plug
SPARK PLUG Inspect the spark plug. Replace it if damaged or SIDE ELECTRODE CM5H (NGK) CMR5H (NGK) Recommended Spark Plug: badly fouled, if the sealing washer is in poor condition, 0.6 0.7 mm − The recommended spark plug has the correct heat range for or if the electrode is worn. - Page 12 In some areas, it is illegal to operate an engine without a spark arrester. Check local laws and regulations. A spark arrester is available from authorized Honda servicing dealers. Gasoline is highly flammable and explosive, and you...
- Page 13 The exhaust filter must be free of breaks and holes. If it is The spark arrester must be free of breaks and holes. Replace the damaged or fouled excessively, have it serviced by your Honda spark arrester if it is damaged.
- Page 14 Be careful not to strike it too hard. page The exhaust filter must be free of breaks and holes. If it is damaged or fouled excessively, have it serviced by your Honda Release the hot air tube from the dealer.
- Page 15 HELPFUL TIPS & SUGGESTIONS Draining the Fuel Tank and Carburetor STORING YOUR ENGINE Storage Preparation Gasoline is highly flammable and explosive, and you Proper storage preparation is essential for keeping your engine can be burned or seriously injured when handling trouble-free and looking good.
-
Page 16: Taking Care Of Unexpected Problems
If the cylinder was coated with oil during storage preparation, the Take engine to Fuel filter Replace or repair engine will smoke briefly at startup. This is normal. an authorized restricted, faulty components Honda carburetor as necessary. TRANSPORTING servicing malfunction, dealer, or refer ignition... -
Page 17: Remote Control Linkage
TECHNICAL & CONSUMER INFORMATION Carburetor Modifications for High Altitude Operation TECHNICAL INFORMATION At high altitude, the standard carburetor air-fuel mixture will be too rich. Performance will decrease, and fuel consumption will ENGINE TYPE Serial Number Location increase. A very rich mixture will also foul the spark plug and Record the engine serial cause hard starting. - Page 18 The following instructions and procedures must be followed in information relating to the engine’s emission durability period. order to keep the emissions from your Honda engine within the The descriptive term indicates the useful life period for the engine’s emission standards.
-
Page 19: Maintenance Specifications
Pump type: model and measured in accordance with SAE J1349 at 7,000 rpm (Net Power) and at GX25: 5,000 rpm, GX35: 5,500 rpm (Max. Net Torque). Mass production engines may vary from this value. Actual power output for the engine installed in the final machine... - Page 20 HAND AUGER Owner’s Manual Lazer Lazer Mora ® Synthetic Ultra-lite ATTENTION: PRIOR TO FIRST USE PRIOR T It is recommended that CHECK BLADE SCREWS BEFORE For best results exert firm everyone who uses this product AND AFTER EACH USE TO MAKE pressure downward.
- Page 21 STRIKEMASTER ® Ice Augers Ice Fishing has become one of the fastest growing and most popular winter sports, allowing the ardent angler the opportunity to enjoy their favorite outdoor activity. ® StrikeMaster Ice Augers are the finest ice cutting tools ever made for sport fishermen. With proper care and use these augers will give years of satisfactory service.
- Page 22 IMPORTANT SAFEGUARDS It is recommended that everyone who uses this product should read this StrikeMaster Owner’s Manual before operating. The cutting blades on the ice augers are razor sharp. Use extreme care when handling. 2. Use caution when removing or replacing blade guard. 3.
- Page 23 LITE onda Owner’s Manual ATTENTION: PRIOR TO FIRST USE It is recommended that everyone You MUST add crankcase oil to For best performance, idle your new Auger prior to your first use! who uses this product should read engine for 1-2 minutes before We recommend using the bottle of this StrikeMaster Owner’s Manual.
- Page 24 See photo for location on engine. Not only will removing the green intake gasket void the warranty, if removed the engine will not work properly and could cause damage. If removed, replacement of the green intake gasket is NOT covered under Honda or StrikeMaster limited warranties.
- Page 25 9 of the Honda Owner’s Manual. The Honda (GX35 engine) is a non-application specific manual. Any further technical engine guidelines that are not covered in the StrikeMaster Owner’s Manual, refer to the Honda Owner’s Manual.
- Page 26 INITIAL ASSEMBLY Carefully remove blade Recommended to grease inside collar guard and make sure blade and transmission output shaft on the bolts are tight. Lazer Output Shaft powerhead. Insert auger onto output Blade shaft and install collar bolt. (8mm closed end wrench) Collar bolt inserts into the large hole, passes through the output shaft and Remove metric allen wrench...
- Page 27 LAZER LITE Owner’s Manual ATTENTION: PRIOR TO FIRST USE To operate your engine you will need to use a Avoid damage... clean, high-quality, 2-cycle oil. We recommend For best performance idle Read this manual STOP StrikeMaster 2-cycle Low Smoke Engine Oil engine for 1-2 minutes thoroughly before mixed with fuel at a ratio of 40:1 (3.2 fl.
- Page 28 STRIKEMASTER ® Ice Augers Ice Fishing has become one of the fastest growing and most popular winter sports, allowing the ardent angler the opportunity to enjoy his or her favorite outdoor activity. When you purchased a StrikeMaster ® power ice auger, you selected a product that has gained a reputation as the quality leader since 1946.
- Page 30 IMPORTANT SAFEGUARDS Avoid damage...Read this manual thoroughly before using the auger. STOP STOP 1. DO NOT use this product for any purpose other than cutting ice fishing holes. Ice augers are precision cutting tools built for the ice fisherman, and must be properly maintained and handled with caution during both cutting and transporting.
- Page 31 ASSEMBLY Carefully remove blade It is recommended to guard and make sure grease inside metal collar and Lazer Output Shaft blade bolts are tight. transmission output shaft on the Blade powerhead. Standard automotive (Use 8mm closed end wheel bearing grease is suggested. wrench for Lazer blades) Insert drive shaft into auger and install collar bolt.
- Page 32 FUELING: OIL/FUEL INSTRUCTIONS Your new 2-stroke Solo auger engine does not come filled with a Fig 1 fuel/oil mix. You will need to add a fuel/oil mix prior to your first use. (See below) Fuel is highly flammable. Keep away from open flames and never spill fuel.
- Page 33 ENGINE START PREPARATIONS • Check the complete machine for operational safety. Fig 1 • The stop switch should function properly. • The throttle must have freedom of movement and return to the idle position on its own accord. • The auger blades and collar bolt must be tightly secured and in excellent working order.
- Page 34 Use spark plugs with the following description: MAINTENANCE BOSCH: Super R10 USR4AC (Original plug included, AIR FILTER gap .020 inch) Contaminated air filters cause a reduction in engine NGK: CMR6H or comparable (Replacement/ performance and increase fuel consumption with more Service plug .025 inch.) pollutants in the exhaust gas.
Need help?
Do you have a question about the GX25 and is the answer not in the manual?
Questions and answers