Table of Contents
Advertisement
Available languages
Available languages
Quick Links
Download this manual
See also:
Manual
Advertisement
Table of Contents

Related Manuals for Klarstein 10030277


Summary of Contents for Klarstein 10030277
- Page 1 Digestor 10030277 10031696...
- Page 2 Vážený zákazník, gratulujeme Vám k zakúpeniu produktu. Prosím, dôkladne si prečítajte manuál a dbajte na nasledovné pokyny, aby sa zabránilo škodám na zariadení. Za škody spôsobené nedodržaním inštrukcií a pokynov neručíme. Obsah Bezpečnostné pokyny 3 Montáž 4 Obsluha zariadenia 8 Čistenie a údržba 11 Pokyny k likvidácii 12 Vyhlásenie o zhode 12...
-
Page 3: Bezpečnostné Pokyny
BEZPEČNOSTNÉ POKYNY • Táto príručka je určená pre vašu bezpečnosť. Starostlivo si ju prečítajte a uchovajte do budúcna tak, aby ste do nej mohli kedykoľvek nahliadnuť. Deti v domácnosti • Malé deti by mali byť držané v dostatočnej vzdialenosti od jednotky. Musia byť pod dohľadom, aby sa nemohli dotknúť... -
Page 4: Montáž
• Pred zapojením prístroja najskôr vypnite ističe a prerušte prívod elektriny. Uistite sa, že napätie elektrickej zásuvky zodpovedá hodnote napájania uvedenej na prístroji. • Prístroj môže počas elektrostatického výboja (ako je napríklad počas búrky) vypadnúť. Nepredstavuje to žiadne nebezpečenstvo ani neznamená poškodenie. Stačí... -
Page 5: Pozri Obrázky
2. Strop musí mať nosnosť aspoň 120 kg a musí mať hrúbku aspoň 30 mm. obr. 2 3. Navŕtajte 14 dier s priemerom 8 mm, ako je na obrázku 2. Pomocou skrutiek (ST6x40 mm) upevnite závesný rám k stropu . Zavesenie obr. - Page 6 5. všetkých 8 skrutiek z tela digestoru odskrutkujte. Smer odvádzania dymu je možné nastaviť podľa vlastnej vôle (1,2,3,4). Utiahnite skrutky a pripevnite teleskopickú trubicu k výstupu vzduchu (viď obrázok 8). obr. 7 teleskopická trubica obr. 8 6. Pomocou 8 veľkých skrutiek typu M4x12 mm (pozri obrázok 9) a matíc (M4) s tesnením pripevnite rohovníky k prístroju a následne ho pomocou nich pripevnite na závesný...
- Page 7 montáž rohovníkov obr. 9 obr. 10 obr. 11 7. Pomocou nastaviteľných skrutiek nastavte výšku uholníkov (viď obrázok 12). Vzdialenosť môže byť nastavená od 0 do 25 mm. Po nastavení požadovanej výšky dotiahnite bezpečnostnú skrutku. bezpečnostná skrutka Nastaviteľná skrutka obr. 12...
- Page 8 OBSLUHA PRÍSTROJA Timer EIN/AUS LED-Anzeige Licht Stufe Zap. / Vyp zapnutie a vypnutie ventilátora. Svetlo k zapnutiu a vypnutiu svetla K dispozícii sú 3 stupne ventilátora: nízka (1) - stredná (2) - vysoká (3). Po každom stlačení Úroveň tlačidla sa ventilátora posunie o jednu úroveň nahor.
- Page 9 Použitie diaľkového ovládania Svetlo k zapnutiu a vypnutiu svetla K dispozícii sú 3 stupne ventilátora: nízka (1) - stredná Zvýšenie (2) - vysoká (3). Po každom stlačení tlačidla sa úrovene ventilátora posunie o jednu úroveň nahor. Na displeji sa následne zobrazí nastavená úroveň (1, 2 alebo 3). Zníženie Pri stlačení...
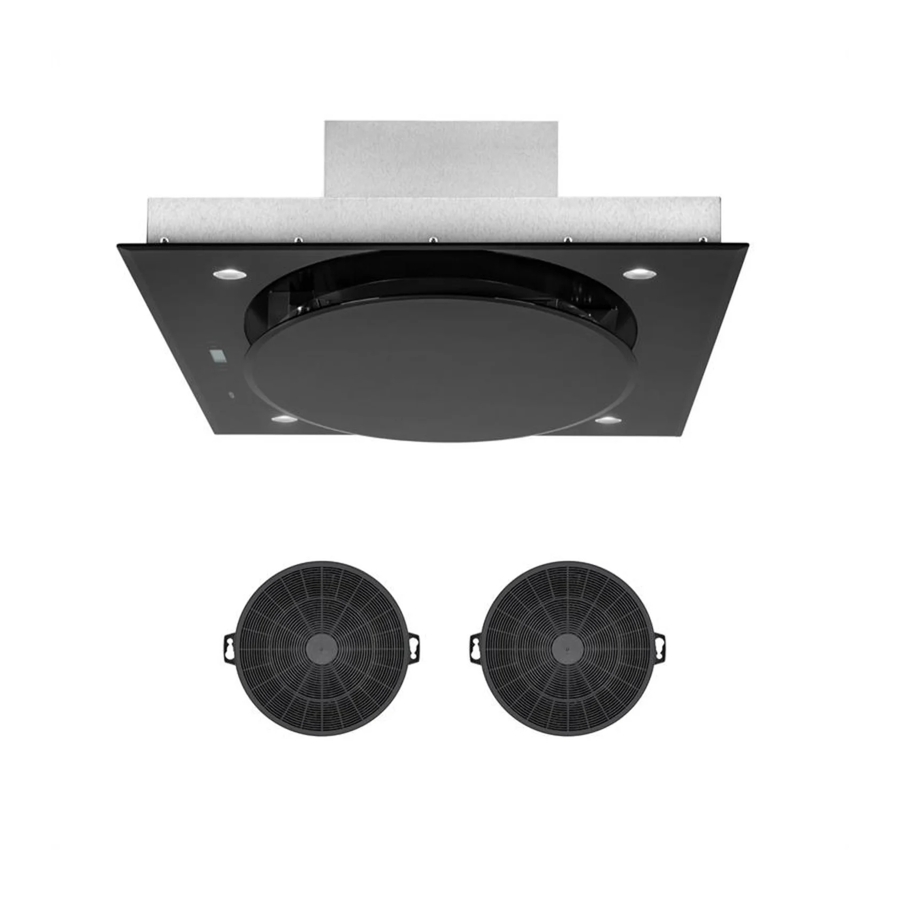
- Page 10 Vloženie uhlíkového filtra: Aktívny uhľový filter zachytáva pachy. Bežne je potrebné filter meniť každých tri až šesť mesiacov, v závislosti na intenzite používania digestora. Filter nemožno prať ani recyklovať. Vloženie filtra: 1. Vyberte starý filter (viď obrázok). Obrázok 13 2. Uhlíkový filter sa nachádza na oboch koncoch motora.
-
Page 11: Čistenie A Údržba
ČISTENIE A ÚDRŽBA Čistenie tukového filtra: Mriežka filtra je vyrobená z nerezovej ocele. Preto na jej čistenie nepoužívajte žiadne agresívne čistiace prostriedky. Udržiavanie filtra v čistom stave zabezpečuje správne fungovanie zariadenia. Pri čistení postupujte podľa nasledujúcich pokynov: Metóda 1: Umiestnite mriežku do čistej teplej vody (teplota 40 až 50 ° C). Pridajte čistiaci prostriedok a nechajte odmočiť... -
Page 12: Vyhlásenie O Zhode
Pokyny k likvidácií Podľa Európskeho nariadenia odpadu 2002/96 /EÚ tento symbol na výrobku alebo na jeho obale znamená, že výrobok nepatrí do domáceho odpadu. Na základe smernice by sa mal prístroj odovzdať na príslušnom zbernom mieste pre recykláciu elektrických a elektronických zariadení. Zabezpečením správnej likvidácie výrobku... -
Page 13: Table Of Contents
Dear Customer, Congratulations on purchasing this equipment. Please read this manual carefully and take care of the fol- lowing hints on installation and use to avoid technical damages. Any failure caused by ignoring the items and cautions mentioned in the operation and installation instructions are not covered by our warranty and any liability. -
Page 14: Safety Instructions
Safety Instructions • These instructions are for your safety. Please read through them thoroughly prior to installation and retain them for future reference. Children in the household • Young children should be kept away. Care should be taken to avoid touching the appliance. •... -
Page 15: Installation
burning gas or other fuels. Regulations regarding air extraction must be complied with. • Before connecting the hood: switch off the electricity supply and check that the supplied voltage and frequency coincide with that indicated on the appliance nameplate. • The hood may stop working during an electrostatic discharge (e.g. lightning). This involves no risk of damage. - Page 16 2. . The ceiling must can bear at least 120KGs weight, and the thickness of the ceiling must be ≥30MM. Pic 2 3. According to the drawing of pic.2 drill 14pcs X 8mm holes in the ceiling (see pic. 3).14pcs of ST6*40mm big flat screws will be used to fix the hanging board on the ceiling.
- Page 17 5. (see pic.7) (using screwdriver to loosen the 8pcs screws from the casing ) you can choose the direction of the outlet ,then tighten the screws and fix the extension pipe into the outlet .(see pic.8) Pic 7 Pic 8 6.
- Page 18 Pic 9 PIc 10 Pic 11 7. There can ajust the height of the angel iron by the adjustable screw (see pic.12). the distance can be adjusted from 0 to 25mm . Tighten the safety screw after reaching the height which you need. Pic 12...
-
Page 19: Operation
Operation The control panel Nach dem Anschluss an die Stromversorgung leuchtet das Bedienfeld auf. Das Gerät geht in den Standby- Modus und die Bedienfeld-Beleuchtung erlischt nach 30 Sekunden. On/Off Switches the ventilation on and off. Light Switches the light on and off. When the hood is working with low speed, LED display will show 1. - Page 20 How to use the remote control Light Switches the light on and off. The motor has three speeds: Low, Medium, and High. Press "+" button once, the motor starts to work at LOW speed. Speed rising Press „+“ button again, the motor works at MEDIUM speed. Press „+“...
- Page 21 Installation of the carbon filter Activated carbon filter can be used to trap odors. Normally the activated carbon filter should be changed at three or six months according to your cooking habit. Activated carbon filter cannot be washed or recycled. The installation procedure of activated carbon filter is as below.
-
Page 22: Cleaning And Maintenance
Cleaning and Maintenance The cleaning of the carbon grease filter mesh The filter mesh is made of high-density stainless steel. Please do not use the corrosive detergent on it. Keeping this filter clean will keep the appliance running correctly. Please strictly follow the guidelines below. Method 1: Put the mesh into 40-50 c clean water, pour on detergent, and soak for 2-3 mins. -
Page 23: Declaration Of Conformity
Declaration of Conformity According to the European waste regulation 2002/96/EC this symbol on the product or on its packaging indicates that this product may not be treated as household waste. Instead it should be taken to the appropriate collection point for the recycling of electrical and electron- ic equipment.
Need help?
Do you have a question about the 10030277 and is the answer not in the manual?
Questions and answers