Table of Contents
Advertisement
Advertisement
Table of Contents

Subscribe to Our Youtube Channel
Related Manuals for Grundig Sonoclock 660 PLL


Summary of Contents for Grundig Sonoclock 660 PLL
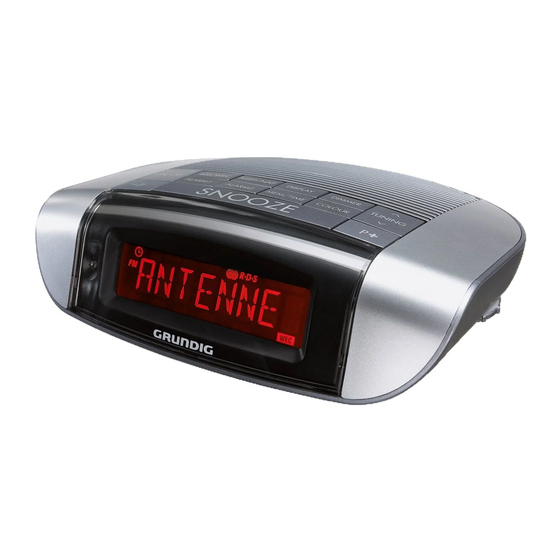
- Page 1 CLOCK RADIO Sonoclock 660 PLL...
- Page 3 ________________________________________________________ ALARM 1 ALARM 2 MEM/TIME COLOUR ON/OFF RDS/WEC SLEEP/NAP DISPLAY DIMMER – P SNOOZE & TUNING AUTO DIMMER DISPLAY BATTERY ANTENNA RESET Ü 3 ENGLISH...
- Page 4 _______________________________________________________ ENGLISH 05 -17 4 ENGLISH...
-
Page 5: Set-Up And Safety
SET-UP AND SAFETY __________________________ This device is designed for the When deciding where to place playback of audio signals. Any the device, please note that furni- other use is expressly prohibited. ture surfaces are covered by vari- ous types of varnish and plastic, The only way to completely dis- most of which contain chemical connect the device from the mains... - Page 6 OVERVIEW _______________________________________ See the figure on page 3. ON/OFF COLOUR Switches the radio to and from Switches between eight different standby mode. colours for the display backlight. ALARM1 DIMMER Activates the setting for alarm Adjusts the brightness of the dis- time 1.
- Page 7 OVERVIEW _______________________________________ DISPLAY Displays the current time, date, the alarm times and FM station infor- mation. P – Selects the next preset down. AUTO DIMMER Automatically adjusts the bright- ness of the display to the bright- ness of the surroundings. Headphone jack for connecting headphones or an earphone set with a jack plug (ø...
-
Page 8: Power Supply
POWER SUPPLY ________________________________ Mains operation Observe the polarity marked on the base of the battery compart- Check that the mains voltage on ment when inserting the batteries the type plate (on the bottom of the (2 x 1.5 V LR 03/AM 4/AAA). device) corresponds to your local Insert the lid again and push it to mains supply. -
Page 9: First Installation
SETTINGS _________________________________________ First installation Activate the station search by & pressing » TUNING « until When the device is connected to the the frequency display changes mains for the first, time, an automatic to rapid run-through forwards or station search starts. Stations are backwards. -
Page 10: Time Settings
SETTINGS _________________________________________ Deactivating and activating Note: If the device is disconnected RDS time synchronisation from the mains, all saved sta- Press »ON/OFF« to switch the tions will be deleted unless you device to standby. have inserted back-up batteries. Deactivate RDS time synchronisa- tion by pressing »MEM/TIME«... -
Page 11: Resetting The Device
SETTINGS _________________________________________ Resetting the device Set the minutes with & » TUNING « and confirm If malfunctions occur due to brief 1« or 2«. with »ALARM »ALARM mains overloads or static electricity charges, reset the device. Any stored Setting the brightness settings are retained. -
Page 12: Radio Mode
RADIO MODE ___________________________________ General information Selecting preset radio stations Switching on and off –« Select the radio station with »P Switch on the device from standby »P +«. mode with »ON/OFF«. Switching the display Switch on the device to standby mode with »ON/OFF«. -
Page 13: Radio Text
RADIO MODE ___________________________________ RDS time synchronisation Displaying the current programme type Some RDS stations transmit an RDS time signal. If the reception is good, To display the current programme this time information will update the type, press »RDS/WEC« twice. time (display: »w« flashes), as long –... -
Page 14: Alarm Mode
ALARM MODE __________________________________ The device has a dynamic alarm Alarm with signal tone sound, that starts with a low volume Press »ON/OFF« to switch the and reaches maximum volume within device to standby. a short time. Activate the alarm signal as the Viewing the alarm times alarm sound (»... -
Page 15: Sleep Timer
ALARM MODE __________________________________ Sleep timer Deactivating and activating alarm standby The device has a sleep timer, which To deactivate the alarm function switches it off in radio mode at a pre- 1« or 2« press »ALARM »ALARM set time. The switch off time can be repeatedly until »... -
Page 16: Reminder Timer
ALARM MODE __________________________________ Reminder timer The reminder timer reminds you after a certain time (between 10 and 120 minutes) with a signal tone. Activating the reminder timer Press »ON/OFF« to switch the device to standby. Set the desired reminder time progressively by pressing and holding down »SLEEP/NAP«... -
Page 17: Environmental Note
INFORMATION _________________________________ Environmental note Technical data This product has This device is noise- been made from suppressed accor- high-quality parts ding to the appli- and materials which cable EU directives. can be re-used and This product fulfils the European di- recycled. - Page 18 Grundig Intermedia GmbH Beuthener Strasse 41 D–90471 Nürnberg www.grundig.com 72011 407 6000 14/51...
Need help?
Do you have a question about the Sonoclock 660 PLL and is the answer not in the manual?
Questions and answers
Ställa om till 24 timmars visning