Advertisement
Quick Links
Airflow Adjustment
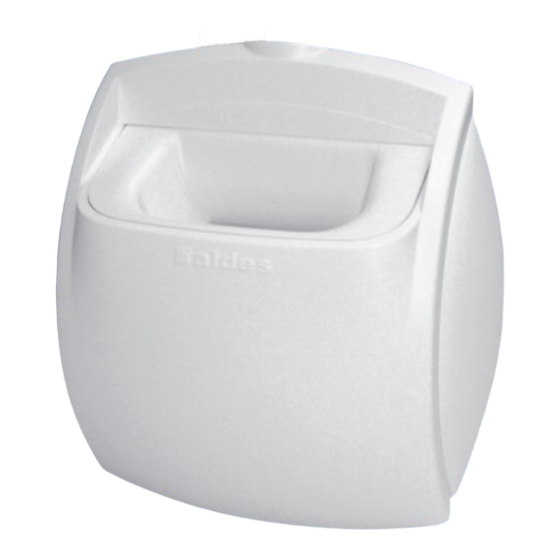
CEG-II
1
Spread the sides apart to allow
damper to move up and down.
CEG-II Twin
1
Remove the cover.
Location
of Airflow
Clip 1
* Factory Preset ** Slot positions are numbered 1-4.
Note: Other airflows may be obtained by moving the clips to provide a larger or smaller free area surrounding the regulating bulb.
AIRFLOW & ZONE CONTROLS
CEG-II & CEG-II Twin
Constant Exhaust Grilles
READ AND SAVE THESE INSTRUCTIONS
S2
A = 40 CFM
B = 30 CFM
C = 20 CFM
D = 20 CFM
F = 10 CFM
2
Insert the 2 airflow clips
into the numbered
slots.** Depending on the
position, they may go in
diagonally (Ex. 2-1). See
Table 2 for corresponding
models and airflows.
Location
CEG-II Twin
of Airflow
P/N (ID)
Clip 2
19 455 (11019188)
19 457 (11019187)
19 456 (11019191)
19 458 (N/A)
2
Adjust the airflow to the
desired setting. See Table 1
for corresponding models and
airflows.
TABLE 1
Airflow
P/N
Codes
19 451 (collar)
S1
S1
19 453 (wall-mount)
19 452 (collar)
S2
19 454 (wall-mount)
3
Replace the cover.
TABLE 2
Airflow
Position of
CFM (m
/h)
Airflow Clip 1
3
35 (60)*
2-1
45 (75)
X
50 (95)
X
60 (100)*
1-1
70 (120)
X
90 (150)
X
INSTALLATION
OPERATION
MAINTENANCE
ID
11019090
11019094
11019091
11019095
Position of
Airflow Clip 2
1-1
1-1
X
1-1
1-1
X
Advertisement

Summary of Contents for aldes CEG-II Twin
- Page 1 AIRFLOW & ZONE CONTROLS INSTALLATION CEG-II & CEG-II Twin OPERATION MAINTENANCE Constant Exhaust Grilles READ AND SAVE THESE INSTRUCTIONS Airflow Adjustment CEG-II Adjust the airflow to the desired setting. See Table 1 for corresponding models and airflows. TABLE 1 Airflow...
-
Page 2: Mounting Options
NOTE: If using sound-absorbing ring insert (P/N 19 429), insert ring into duct at least 4" from the CEG-II or CEG-II Twin. -
Page 3: Periodic Cleaning
Remove the regulating element. element. Dry with a clean cloth. Insert the regulating element. Replace the cover. Do not put in dishwasher. CEG-II Twin Remove the regulating element. Handwash cover and regulating Remove the cover. Leave the airflow clips in place. - Page 4 © 2014 American ALDES Ventilation Corporation. Reproduction or distribution, in whole or in part, of this document, in any form or by any means, without the express written consent of American ALDES Ventilation Corporation, is strictly prohibited. The information contained within this document is subject to change without prior written notice.


Need help?
Do you have a question about the CEG-II Twin and is the answer not in the manual?
Questions and answers