
Related Manuals for TPI 623


Summary of Contents for TPI 623
- Page 1 Digital Manometer Instruction Manual 1.800.561.8187 information@itm.com www. .com...
- Page 2 Table of Contents Page 3 Introduction & Product Description Page 4 Safety Considerations Page 5 Technical Data & International Symbols Page 6 Features & Benefits Page 7 Pressure Conversion Table Page 8 Step by Step Procedures Page 10 Accessories & Specifications Page 11 Maintenance Page 12 Trouble shooting guide Page 13 EC declaration of conformity...
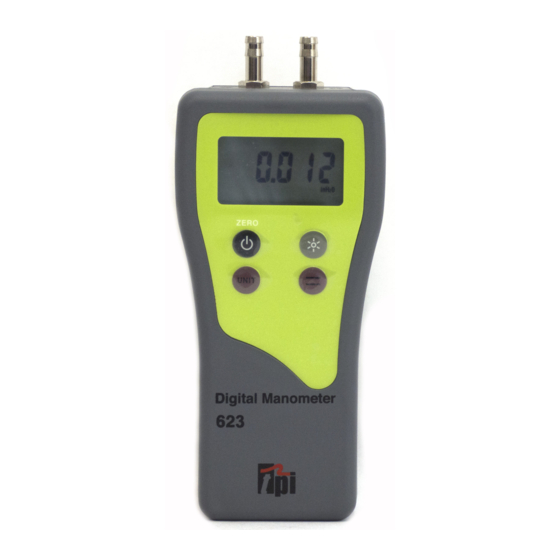
- Page 3 It is backed by a 2 year limited warranty. Please remember to return your product warranty registration card. Product Description The TPI 623 is a hand held pressure meter with supe- rior resolution . Auto Range -100.0 to -100.0 mbar -40.0 to 40.0 inH 2 O...
-
Page 4: Safety Considerations
WARNING: Please follow the manufacturer's test procedure whenever possible. Make sure the pressure to be measured is not outside the range of the TPI 623 meter. ALWAYS • Test the pressure meter before use to ensure it is operating properly •... -
Page 5: Technical Data
Technical Data Controls Turns the 623 on. Hold down to turn unit off. ZERO Momentarily press the button to “ZERO” the dispaly (“ZERO” will temporari- ly display in the lower left of the LCD) Smoothing function to stabilize rapidly changing pressure readings... -
Page 6: Features & Benefits
Features & Benefits Autoranging - Provides high resolution & accuracy at low Auto Power Off - Powers off after 40 minutes to conserve battery life. Trim Mode - Smoothing function to stabilize erratic readings. It displays the average value of 4 values previously measured. - Page 7 Pressure Coverstion Table mmHg mmH 0 Pascals Atmos inHg 9.86923 3.34207 2.458 6.8046 1.316 0.9677 9.869 Atmos x 10 x 10 x 10 x 10 x 10 x 10 x 10 3.3864 2.491 6.8948 1.333 0.9807 1.000 1.01325 x 10 x 10 x 10 x 10...
-
Page 8: Step By Step Procedures
The 623 incorporates a differential manometer. This means when a single hose is connected to the (+) port and pressure is applied, the 623 will read positive pressure. If a single hose is con- nected to the (-) port and pressure is applied, the 623 will read a negative pressure. - Page 9 Step by Step Procedures (continued) 1. Press the 'ON' key and the LCD display will be activated and automatically zeroed (if it does not read 0.00 proceed as follows 2. Momentarily Press the key and the display should zero within +/- 0.01 if not repeat until it does 3.
-
Page 10: Specifications
Accessories & Specifications Standard accessories 9V battery ..... .A009 Soft Pouch ..... .A600 Protective boot with magnets . -
Page 11: Maintenance
Maintenance Battery Replacement: The 623 will display a battery symbol when the internal 9V battery needs replacement. Replace battery as follows: 1. Ensure instrument is switched off 2. Loosen the six cross head screws on the back of the instrument 3. -
Page 12: Trouble Shooting Guide
Trouble Shooting Guide Problem Probable Cause Unit does not zero Zero button has not been pushed. Unit still does not zero If reading is greater than 0.05 and constantly fluctuates return to local Service Centre. 'Bat' appears on display Replace battery immediately 9V NEDA 1505 or equivalent 1.800.561.8187... -
Page 13: Ec Declaration Of Conformity
EC Declaration of Conformity This is to certify that model 623 conforms to the pro- tection requirements of the council directive 89/336/EEC, in the approximation of laws of the member states relating to Electromagnetic compati- bility by application of the following standards...
Need help?
Do you have a question about the 623 and is the answer not in the manual?
Questions and answers