
Subscribe to Our Youtube Channel
Related Manuals for National 460TBL-10


Summary of Contents for National 460TBL-10
- Page 1 National Optical & Scientific Instruments Inc. 6508 Tri-County Parkway Schertz, Texas 78154 Phone (210) 590-9010 Fax (210) 590-1104 INSTRUCTIONS FOR #460TBL-10 STEREOSCOPIC ZOOM MICROSCOPES Copyright © 1/2/01 National Optical & Scientific Instrument Inc.
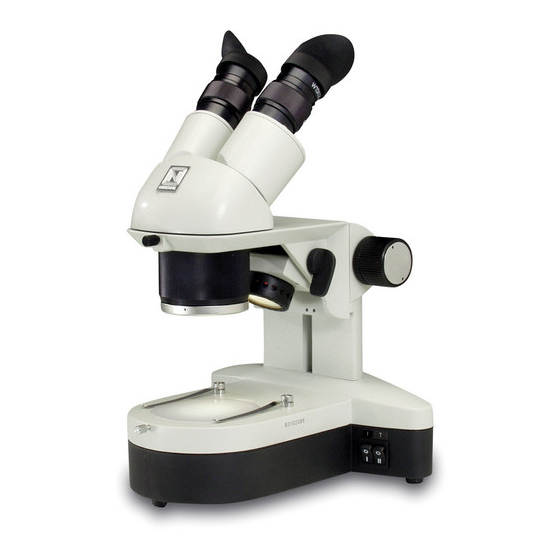
- Page 2 Rubber eyepiece shields Eyepieces Knurled diopter adjustment (on both eyepieces) Eyepiece locking set screw Eyepiece tube housing Tension adjustment collar (located right side between Head coarse focus knob and arm) Head locking Focusing knob screw (both sides) Zoom control turret Magnification Number Light directional lever Ring...
- Page 3 Stereoscopic microscopes are used for viewing 3-dimensional objects, inspection or assembly of small parts, and for dissection of biological specimen. They provide an upright, unreversed image which permits easy manipulation of the object being viewed while looking through the microscope. They are designed for viewing solid objects at low magnification, but they will also permit viewing of some transparent specimen slides.
- Page 4 This model is furnished with an adjustment for the incidental (top) light. To adjust, move light directional lever up or down to position the beam of light providing optimum illumination to specimen. 6. INTERPUPILLARY ADJUSTMENT This permits each user to adjust spacing between eyepieces in order to accommodate distance between their eyes.
- Page 5 BE CERTAIN TO TURN SWITCHES OFF AND REMOVE PLUG FROM POWER SOURCE OUTLET BEFORE CHANGING BULBS. A. To replace top bulb (National bulb #800-423)..remove light shade by rotating in a counter- clockwise direction. Remove light bulb by firmly grasping edge of reflector and pulling straight out from bi-pin socket.
- Page 6 C. Replacement of fuse The fuse is located at the right rear side of microscope base. To remove fuse from holder, insert a 6mm screwdriver blade into slot located in rear of fuse holder cap. Slightly depress and rotate screwdriver ¼ turn in direction of arrow, release pressure on screwdriver to release the fuse. Pull cap and fuse out of fuse holder.
Need help?
Do you have a question about the 460TBL-10 and is the answer not in the manual?
Questions and answers