
Related Manuals for PVI VeCOAX Micromod MS


Summary of Contents for PVI VeCOAX Micromod MS
- Page 1 VeCOAX Micromod MS Advanced Wall Mount HD Video Modulator REFERENCE GUIDE 2014 Advanced model with also USB Recording and PLAY Capabilities, 1080P input over both mpeg2 and mpeg4 modes, low latency encoding and the newest mpeg4 h264 US TV standard mode...
- Page 2 User Manual Thank you for buying this Micromod. Please read this manual carefully to install, use and maintain the Micromod in the best conditions of performance. Keep this manual for future reference. Directory CHAPTER 1 Product Introductions .............. 3 General Description ..................3 Technical Specifications ................
-
Page 3: Chapter 1 Product Introductions
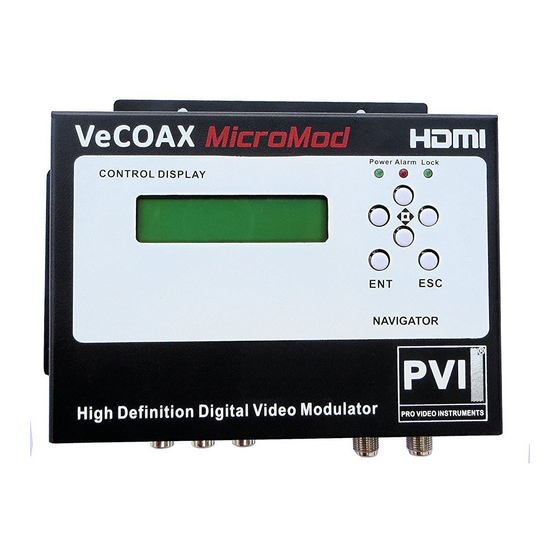
CHAPTER 1 Product Introductions General Description MICROMOD series HD Modulator is PVI’s consumer electronics which allow audio/video signal input in TV distributions and video recorded and playback through a USB port with applications in home entertainment, hotel Digital Signage, shops etc. -
Page 4: Technical Specifications
Technical Specifications Encoding Section Encoding MPEG-2, MPEG-4 AVC/H.264 Interface HDMI*1 Video 1920*1080_60P, 1920*1080_50P (for MPEG-4 AVC/H.264 only) Resolution 1920*1080_60i, 1920*1080_50i; 1280*720_60p, 1280*720_50P HDMI Bit rate 1.000~19.000 Mbps Encoding MPEG1 Layer II, MPEG2-AAC, MPEG4-AAC Interface HDMI Audio Sample rate 48KHz Bit rate 64, 96,128, 192, 256, 320, 384kbps Encoding MPEG-2, MPEG-4 AVC/H.264... - Page 5 Dimensions 144*238*52mm Weight Approx 1kg Operation temperature 0~45℃...
-
Page 6: Chapter 2 Safety Instruction And Installations
CHAPTER 2 Safety Instruction and Installations Safety Instructions WARNING: Hot plug is not allowed since it may cause system halted. To prevent fire or electrical shock, do not expose the device to rain or moisture. The Micromod is powered with a voltage of 12V DC. The power supply voltage must not exceed the recommended voltage, which otherwise may cause irreparable damage to the device and the invalidation of the warranty. - Page 7 1. Connect the signal input in the respective connectors. signal source can be from a surveillance monitor, DVD, set-top box, CCTV and etc. 2. Optionally, connect loop-through RF input coaxial cable. 3. Connect cable to RF output to STB/TV. 4. Power supply connection: a) Connect the earth cable;...
-
Page 9: Chapter 3 Operations Of Ts Creator Software
Chapter 3 Operations of TS Creator Software MICROMOD Micromod has a function to create TS videos with the software supplied with the product. Users can create *.ts files containing images, videos and audios in a simple and intuitive way, and play them on a television through MICROMOD’s USB port. File format supported include: Image: JPG, PNG, BMP, GIF/Video: MP4, WMV, AVI, MPG, TS, MKV…... -
Page 10: Operations Of "Creator
Operations of “Creator” Double-click the “Creator” shortcut icon, it will trigger an operation interface like below: Click to add Images and videos Click to adjust the order of Images/videos Click to delete the Images/videos Click to add audios Click to set a save path for the TS video to be created. To set the playing time for pictures you insert. -
Page 11: File Management
The video is transformed based on VBR (Variable Bit Rate). The number set here represents the highest bit rate for the output video and bit rate will varies under the number. Users can select a encode format here according to the standard of receiving terminal. Users can filter the null packet to boost the video’s effect bit rate. - Page 12 If you rename “FinalOutput-204-0.ts” or “FinalOutput-204-0.tsinfo”, always keep the names the same (Extension excluded) and then MICROMOD can read them and play the video...
-
Page 13: Chapter 4 Operations And Management
CHAPTER 4 Operations and Management MICROMOD is controlled and managed through the key board and LCD display. LCD Display – It presents the selected menu and the parameter settings. The backlight in the display is on when the power is applied. LED –... - Page 14 When the power is connected, the LCD will start to initialize the program. The LCD menu goes as below chart.
- Page 17 1) DVB-T: modulating standard; XX.XXX MHz: the current output frequency; U: symbol of the USB disk insertion; 1080i: video resolution of signal source; X.XX Mbps: the current encoding bit rate 2) Alarm Status: For example, if the signals lose, it will give alarm and display error type under this menu.
- Page 18 table 2. 12) RF Frequency: Adjust it at range of 30 to 999 MHz. Set it according your regional situation or inquire your local services. 13) RF Level: Adjust it at range of -16~ -36dBm. 14) RF On: User can choose to turn on or turn off the RF under this menu. 15) Bit Rate: User can read the current modulating bit rate and the maximum bit rate 16) TSID: (Transport Stream ID) User can view or adjust after enter this menu.
- Page 19 31) Product ID: User can view the serial number of this device. It is read-only and unique 32) Version: It displays the version information of this device. Micromod: the name of the device; SW: software version number; HW: hardware version number. User can also press ENTER again to view the published time of this device.
- Page 20 Chapter 5 Operations of Record TS and Play TS through USB Disk The MICROMOD Micromod has new functions of: *.ts Video Creation See Chapter 3. TS Record and Save Connect the signal source, enter “Start Record” and choose “Yes” to start recording the encoded TS.
- Page 21 File browse: There is a video list under this menu, choose one file and press “Enter” button to start play. Play mode: User can select a play mode for the saved *.ts files as needed before playing the *.ts file. When the *.ts is being playing, MICROMOD LCD will present a playing interface as shown below.
- Page 22 resume encoding and playing the program input from the encoder module.
-
Page 23: Appendix
Appendix Australia Air Channels Australia Air Channels Frequency Frequency Cente Start Center Start 599.5 606.5 48.5 613.5 59.5 620.5 66.5 627.5 88.5 634.5 97.5 641.5 104.5 648.5 140.5 655.5 177.5 662.5 184.5 669.5 191.5 676.5 198.5 683.5 205.5 690.5 212.5 697.5 219.5 704.5... - Page 24 501.5 767.5 508.5 774.5 515.5 781.5 522.5 788.5 529.5 795.5 536.5 802.5 543.5 809.5 550.5 816.5 557.5 823.5 564.5 830.5 571.5 837.5 578.5 844.5 585.5 851.5 592.5 858.5 Table 1 Australia Television Frequency/Channels (MHz)
- Page 25 6MHz Bandwidth 7MHz Bandwidth 8MHz Bandwidth Modulation Guard Interval Guard Interval Guard Interval Constellation 1/16 1/32 1/16 1/32 1/16 1/32 The weak ability of error-correcting and anti-interference in this area 6.03 6.03 5.80 6.45 6.83 7.03 6.64 7.37 7.81 8.04 QPSK 6.22 6.58...
Need help?
Do you have a question about the VeCOAX Micromod MS and is the answer not in the manual?
Questions and answers