Advertisement
Table of Contents
- 1 Introduction
- 2 Specifications
- 3 Installation
- 4 Electrical Connection
- 5 Operation
- 6 Manual Mode
- 7 Manual Mode
- 8 Manual Mode
- 9 Cooking in Program Mode
- 10 Programming
- 11 Controller Operator Settings
- 12 Cleaning and Maintenance
- 13 Periodic Maintenance
- 14 Fault Finding
- 15 Electrical Schematics
- 16 Replacement Parts List
- Download this manual
Advertisement
Table of Contents

Related Manuals for turbofan E23D3


Summary of Contents for turbofan E23D3
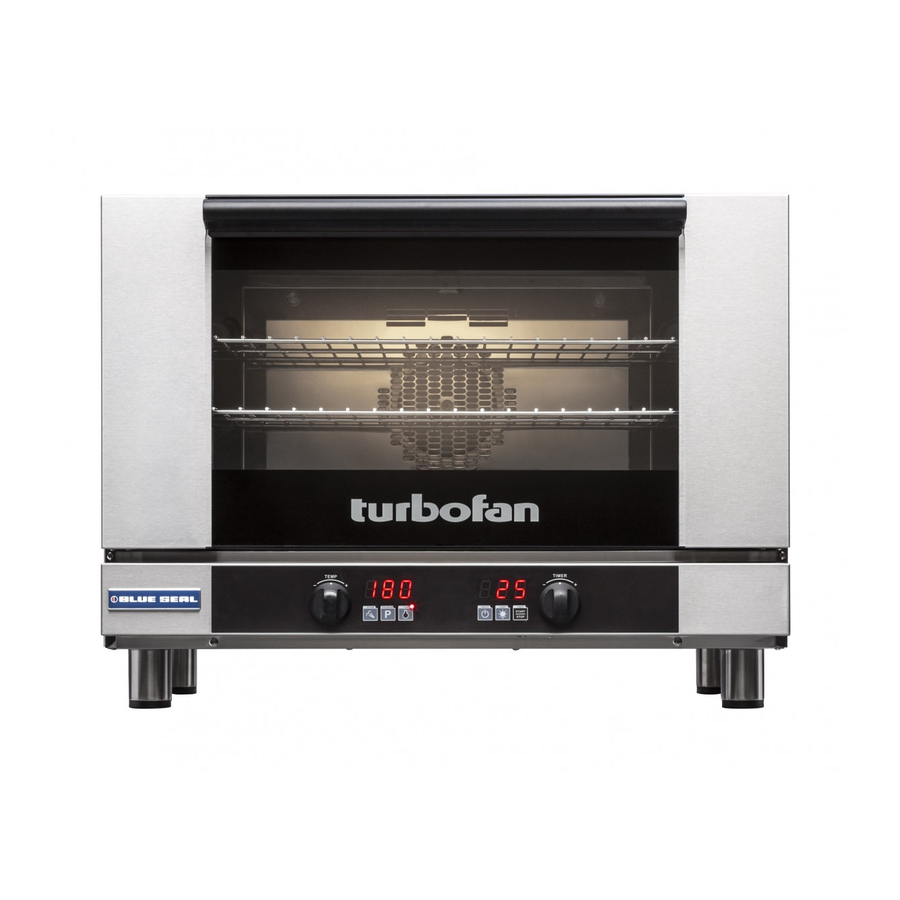
- Page 1 20DSERIES E 2 0 D S e r i e s ( D i g i t a l O p e r a t i o n ) I n s t a l l a t i o n a n d O p e r a t i o n M a n u a l 234092-1...
- Page 2 MANUFACTURED BY Moffat Limited Rolleston 7675 New Zealand INTERNATIONAL CONTACTS AUSTRALIA Moffat Pty Limited Web: www.moffat.com.au E.Mail: vsales@moffat.com.au Main Office: (tel) +61 (03) 9518 3888 (fax) +61 (03) 9518 3833 Service: (tel): 1800 622 216 Spares: (tel): 1800 337 963 Customer Service: (tel): 1800 335 315...
- Page 3 Contents List E20D Series Turbofan Convection Ovens. Model Numbers Covered in this Manual E23D3 - Turbofan Oven - 3 Tray Convection Oven. E27D2 - Turbofan Oven - 2 Tray Convection Oven. E27D3 - Turbofan Oven - 3 Tray Convection Oven.
-
Page 4: Introduction
Model Number: If you are unsure of any aspect of the installation, instructions or Serial Number: performance of your oven, contact your TURBOFAN dealer promptly. In many cases a phone call could answer your question. Dealer: Should you contact your TURBOFAN dealer on any matter concerning this oven, please have the information provided opposite, readily available. -
Page 5: Specifications
Specifications E23D3... - Page 6 Specifications E27D2 / E27D3...
- Page 7 Oven Tray Details Oven Power Ratings Tray Capacity Tray Spacing 208V, 1P+N+E, 50-60 HZ, 2.7 kW 3 x EN Tray E23D3 220V, 1P+N+E, 50-60 HZ, 3.0 kW E23D3 85mm / 3 ” 3 x US ½ Pan 230-240V, 1P+N+E, 50-60 HZ, 3.0 kW 208V, 1P+N+E, 50-60HZ, 2.7kW...
-
Page 8: Installation
It is most important that this oven is installed correctly and that oven operation is correct before use. If you have any questions regarding the proper installation and / or operation of this oven, please contact your local Turbofan distributor. Electrical Power Oven... -
Page 9: Electrical Connection
Installation Electrical Connection Water Connection NOTE: If the Steam Mode cooking option is not Warning required, the oven does not need to be This oven must be earthed / grounded. connected to a water supply. If the supply cord is damaged, it must be replaced by a 1. -
Page 10: Operation
Operation Description of Controls Warning Warning Take care when opening oven door during baking. Let the hot air and steam Some parts of this oven will become VERY escape before removing or replacing food as HOT during use and could cause burns if the steam produced can cause steam burns. -
Page 11: Manual Mode
Operation Manual Mode Steam Mode In Manual Mode the oven settings are. The steam function can be used in two different ways. - Temperature - 60-260C / 140-500F. The ‘Operator Setting’ StE determines the function. - Timer - 0-180min or Infinite. (Refer to the ‘Controller Operator Settings’... -
Page 12: Manual Mode
Operation Cooking in Manual Mode On oven start-up the controller defaults to the following settings:- Oven Temperature is set to 150°C (325°F). Refer ‘Controller - Operator Settings’ section to change default start-up temperature. Oven Timer is not set, display shows ‘ - - -’. (St0 to St5 Steam Level ) is set to the last used level. -
Page 13: Manual Mode
Operation Cooking in Program Mode The oven can be pre-programmed with up to 20 Programs; each program can contain a maximum of 3 stages. When you receive your oven, Programming’ the controller is not pre-programmed. Refer to next section, ‘ to learn how to set oven programs. -
Page 14: Cooking In Program Mode
Operation Cooking in Program Mode (Continued) Viewing / Adjusting Temperature During Program Cooking. VIEWING ACTUAL OVEN TEMPERATURE Press ‘Temp’ key during cooking. Oven Set Temperature will display on Left Display for 2 seconds, then Actual Temperature will display on Left Display for 2 seconds. Display will revert to displaying the program number after 4 seconds. ... -
Page 15: Programming
Programming Programming Mode The oven can be pre-programmed with up to 20 Programs; each program can contain a maximum of 3 stages. When you receive your oven, the controller is not pre-programmed. To set new programs or modify existing programs, carry out steps 1-10 in this section. NOTE: Multi-stage programming is enabled by default. - Page 16 Programming SET COOK TIME. *Right Display flashing* 1 Min 180 Mins = No time set and Stage is ‘OFF’. Turn and Release Timer Knob to change selection. = Infinite Time Setting. Hold Knob to Fast Forward / Fast Reverse. Time = From 1 minute to 180 minutes.
- Page 17 Programming TURN STAGES ‘ON / OFF’. Program 3, Stage 1. - STATE: ON. To Turn a Stage ‘On’. Either - Rotate ‘Timer’ knob clockwise to select ‘On’. Or - Press ‘P’ key and program stage settings. (Setting a time for a stage automatically changes its state to ‘On’). Program 3, Stage 2.
-
Page 18: Controller Operator Settings
Controller Operator Settings Changing Operator Settings NOTE: Oven must be in ‘Stand-By’ Mode to access operator settings (i.e. Power to oven but both displays are blank and ‘On/Off’ LED is ‘On’). ENTERING THE OPERATOR SETTING MODE. Press and hold 'Steam' and ‘Timer-Start/Stop’ keys together for 3 seconds. Left Display will show Right Display will flash ENTERING PASSWORD (OPERATOR PASSWORD - 123). -
Page 19: Cleaning And Maintenance
Cleaning and Maintenance Cleaning Guidelines Fan Baffle Thumbscrew Caution a. Remove side racks as shown previously. Always turn off the electrical power supply at mains supply before commencing b. Undo (anti-clockwise) and cleaning. remove the thumbscrew at the top of the fan baffle. (E27 / This oven is not water proof. -
Page 20: Periodic Maintenance
Cleaning and Maintenance Oven Interior Periodic Maintenance Allow the oven interior to cool to approx 50˚C - 120˚F before NOTE: All maintenance operations should only be carried commencing cleaning. out by a qualified service person. a. Remove the oven racks and the fan baffle as shown Controls and mechanical parts should be checked and adjusted previously. -
Page 21: Fault Finding
Fault Finding This section provides a reference to the more common problems You may encounter a problem not covered in this section, please that may occur during the operation of your oven. This fault contact your service provider who will require the following finding guide is intended to help you correct and accurately information:- diagnose problems with your oven. -
Page 22: Electrical Schematics
Electrical Schematics E23D3 / E27D2 - Wiring Schematic... - Page 23 Electrical Schematics E27 D3 - Wiring Schematic...
- Page 24 Electrical Schematics E28 D4 - Wiring Schematic MOTOR MOTOR 240V INPUT MOTOR MOTOR HEAT LIGHTS STEAM 240V INPUT DOOR INPUT COMMON...
-
Page 25: Replacement Parts List
For further information and servicing instructions, contact your nearest authorized service provider or Turbofan Dealer. When ordering replacement parts, please quote the part number and the description as listed below. If the part required is not listed below, request the part by description and quote model number and serial number which is shown on the Technical Data Plate.
Need help?
Do you have a question about the E23D3 and is the answer not in the manual?
Questions and answers