Table of Contents
Advertisement
Quick Links
Advertisement
Table of Contents

Subscribe to Our Youtube Channel
Related Manuals for Vista Viper HDA 8


Summary of Contents for Vista Viper HDA 8
- Page 1 HDA 8 and 16 channel Quick Set-up Guide...
- Page 2 Please read this manual thoroughly before use and keep it handy for future reference.
- Page 3 Before You Begin Read these instructions before installing or operating this product. Note: This installation should be made by a qualified service person and should conform to local codes. This manual provides installation and operation information. To use this document, you must have the following minimum qualifications: ...
-
Page 4: Important Safeguards
IMPORTANT SAFEGUARDS 1. Read these instructions. 2. Keep these instructions. 3. Heed all warnings. 4. Follow all instructions. 5. Do not use this apparatus near water. 6. Clean only with dry cloth. 7. Do not block any ventilation openings. Install in accordance with the manufacturer's instructions. 8. - Page 5 VIPER HAD Quick set up guide V1.0...
-
Page 6: Table Of Contents
Contents Before You Begin Intended use Customer Support WARNINGS AND CAUTIONS: 1. Overview ............................3 Package Contents ........................3 DVR Description ........................3 Installation Installing HDD ........................... 5 DVR power up ........................... 5 2.2.1 Login ........................... 6 Quick set up ..........................7 Account ........................ -
Page 7: Warnings And Cautions
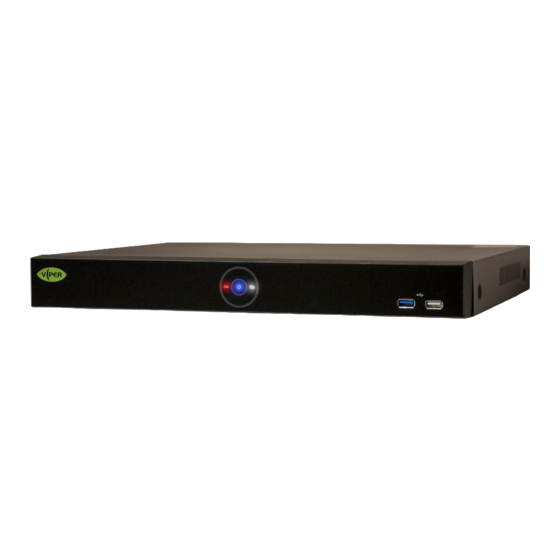
1. Overview Package Contents The device package contents consist of the following: Note Please check all components involved. Name Name Software CD DC Power Adapter & Power cord Quick guide Mouse DVR Description Name Function Power status LED Power indication ON/OFF Recording status Status of recording Network LED... - Page 8 8ch DVR 7 8 9 16ch DVR Name Function Audio In Camera audio input port Video In Camera video input port CVBS CVBS output port (depending on device types) VGA output port HD Output HD output port Network connector Network Alarm In/Out Alarm connector RS485...
-
Page 9: Installation
Installation This chapter describes the way to install the Viper DVR Figure 2-1 Connection map Installing HDD How to install HDD in the device: Withdraw the mains plug before installing HDD to reduce the risk of injury or electrical shock, or device malfunction. Attention ... -
Page 10: Login
2.2.1 Login In Log in screen, enter the ID , Password and press OK . Note Default ID & Password is admin/admin Please change password after login due to security. Attention VIPER HAD Quick set up guide V1.0... -
Page 11: Quick Set Up
Quick set up 2.3.1 Account 1 Set ID and Password. Default ID/Password is admin/admin. Note Change the password for security. 2.3.2 System 1 Set each item in System setting screen. System Mode: Select input video type (analog+IP). ... -
Page 12: Network
2.3.3 Network 1 Set each item in Network setting screen. WAN Port: Select whether to use static IP or dynamic IP. IP Address, Subnet Mask, Gateway, DNS, and Port: As for dynamic IP, enter information in each space. 2.3.4 Record How to set the record of Easy Installation:... -
Page 13: Time/Date
2.4.4 Time/Date 1 Set each item in Time/Date setting screen. Network Time Sync: Select network for synchronizing with time server. System Time: The time and date can be manually set (applying for Daylight saving time), select DST. Time Zone: Select time zone for the system being installed. -
Page 14: Live Screen Configuration
Live Screen Configuration Item Description Setting menu Setting menu is located at the top of the screen Live screen Shows live video of connected cameras. Launcher menu Launcher menu is located at the bottom of the screen. Quick menu Clicking the right button of a mouse displays Quick menu. VIPER HAD Quick set up guide V1.0... -
Page 15: Icons In Live Screen
Icons in Live screen Each icon in the live screen displays a present setting status or a function. UI screen consists of like below. Chosen live screen is marked as a blue frame; mouse-located live screen is marked Note as yellow one. Icon Description CH1 CAM1... -
Page 16: Live Launcher Menu
Live Launcher menu This section describes Launcher menu in the bottom of the screen. Figure 3-1 Launcher menu Table 3-1 Launcher menu Item and Description Item Description Log in/out status and logged in ID Date & Time Displaying present date and time Displaying HDD capacity in use Moving to previous/next partition screen Displaying live screen in order set (toggle) -
Page 17: Quick Menu
Quick menu This section depicts Quick menu when users click the right button of the mouse in live screen. Item Description Screen Mode Selecting the partition mode of live screen (Full, 2X2, 3X3, and 4x4). Zoom in Magnifying selected live screen (Zoom out, 2 times, 4 times, and 8 times). Freeze Stopping or replaying selected live screen images (toggle) Speaker... -
Page 18: Setup Menu
Setup menu This section describes Setup menu in the upper side of the screen. Selecting the menu opens the setting screen. Setup screen is available to click Setup in Quick menu by clicking the right button of Note the mouse. Item Description SYSTEM...
Need help?
Do you have a question about the Viper HDA 8 and is the answer not in the manual?
Questions and answers