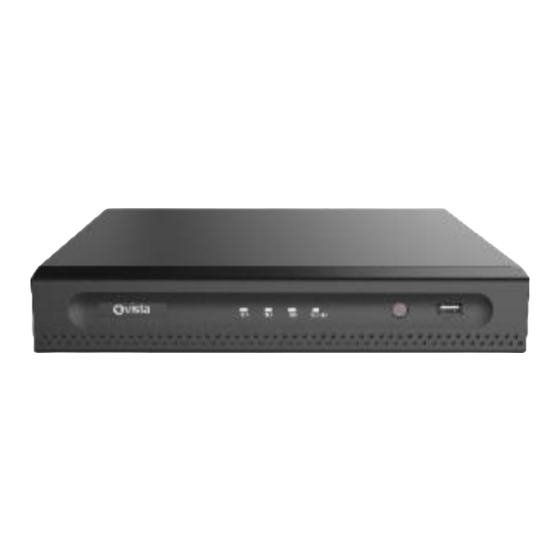
Summary of Contents for Vista Vizion Series
- Page 1 DVR & NVR NDAA Recorder Range Vizion DVR & NVR Recorder Range Quick Guide Ver 1.0 2022-11...
-
Page 2: Before You Begin
CCTV, IT and electrical wiring and products. Technical Support If you still have questions after referring to the guide, or require more information, please contact Vista Technical Support or use the QR code. Vista Technical Support +44 (0) 118 912 5125... -
Page 3: Packing List
Packing List Please contact Norbain if any items are missing or damaged and note contents will vary according to each camera model number. ➢ Recorder ➢ USB Mouse ➢ UK mains lead or ➢ Rack ears ➢ Single HDD Data and ➢... - Page 4 Indicators Refer to the below image and accompanying table for a description of the front mounted LED indicators*. *VIP-NVR04 and VA-DVR04 used as an example. Status Description PWR(Power) Steady on Connected to power. Steady on Normal. RUN(Operation) Blinking Starting up. NET(Network) Steady on Connected to network.
- Page 5 Interfaces Interface identification is provided below via three example recorders. Your actual unit may therefore vary slightly. VA-DVR0805MP VIP-NVR0808MP...
-
Page 6: Disk Installation
VIP-NVR3212MP Disk Installation Your recorder will normally be specified and provided with the required HDD storage already installed. However, if adding your own additional HDDs, please refer to the below section. Images are provided as an illustration and reference only, as your actual device may vary. Preparation •... - Page 7 1 and 2 HDD Chassis Loosen the screws on the rear and side panel (below) then remove the upper cover. Side Panel Rear Panel Insert just the two rear screws in the HDD - those closest to the power and data connectors as indicated below. Screw them in only halfway! Insert two rear screws only &...
- Page 8 Underside of 2 HDD Chassis Connect the power and data cables to the new HDD. Replace the top cover and tighten the screws. This completes this part of the procedure. Format the new HDDs once logged into the recorder. 4 HDD Chassis 1.
- Page 9 Mounting Plate HDD Install 1. Loosen the screws, of the chosen or next free mounting plate, on the side panels. 2. Turn the upper mounting plate in the direction shown, then remove the plate. 3. Secure the disks on the mounting plate. Fix the screws according to the figure below and avoid damaging the disk in the process.
- Page 10 Data cable Power cable 5. Refit cover and secure it as well as the mounting plate screws. This completes this part of the procedure. Format the new HDDs once logged into the recorder. Disk Bracket HDD Install 1. Fasten HDDs to the brackets (right). 2.
- Page 11 Connect the power and data cables as indicated below. Power cables Data cables Refit cover and secure with screws. This completes this part of the procedure. Format the new HDDs once logged into the recorder.
-
Page 12: Initial Start-Up And Shutdown
Initial Start-up and Shutdown Ensure all cables are connected correctly for monitor, mouse, ethernet and PoE cameras and that the recorder is grounded correctly. Connect either the external PSU adaptor or mains lead, turn on mains power and switch on the recorder. - Page 13 Click [Next] and follow Wizard screens to set each of the following. • Time and locale • Network IP address • Add any IP cameras Example TCP Network Settings menu When adding IP cameras, select the devices to add in the discovered device list, and then click [Add] The recorder will assume an IP cameras default ID and password is admin\123456...
- Page 14 Basic Recorder Operation For the recorders full manual and set-up instructions, mobile device applet etc, please use the QR code provided at the front of this guide. Below we provide some initial basic operation help. Custom Add An IP Camera To custom add an IP camera follow the below;...
- Page 16 Where applicable, a Declaration of Conformity in accordance with Directives 2014/30/EU (EMC), 2014/35/EU (LVD),and 2015/863/EU RoHS(3) has been made and we declare the product compliant. Where applicable, the requirements of the European law on the Restriction of Hazardous Substances (RoHS) directive: 2015/863/EU have been met and the product is without the hazardous substances cited in the directive.


Need help?
Do you have a question about the Vizion Series and is the answer not in the manual?
Questions and answers