Advertisement
Quick Links
Download this manual
See also:
Manual
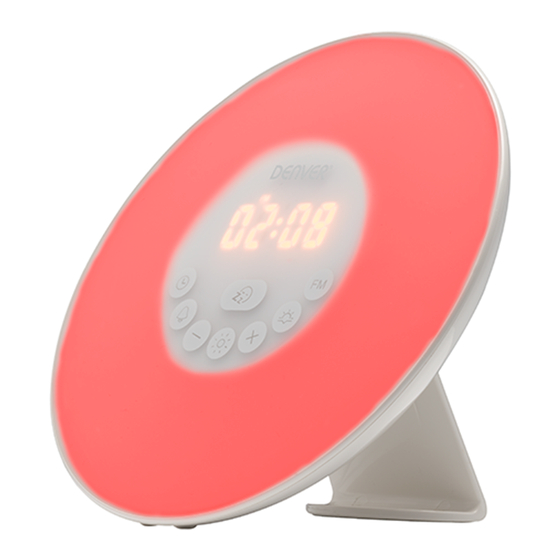
Instruction Manual
Clock Radio
CRL-330
www.denver-electronics.com
Before operating this product, please read this instruction manual carefully and completely.
Advertisement

Related Manuals for Denver CRL-330


Summary of Contents for Denver CRL-330
- Page 1 Instruction Manual Clock Radio CRL-330 www.denver-electronics.com Before operating this product, please read this instruction manual carefully and completely.
-
Page 2: Product Information
Product Information Correctly set the stand in specially design for it slot. Correctly set the stand in specially design for it slot. - Use USB cable to connect alarm clock to computer - Use USB cable to connect alarm clock to computer - Use the adaptor to an electricity network - Use the adaptor to an electricity network Use batteries as a backup power source (if the electricity is down, no access... - Page 3 - Open the battery compartment, following the arrow on the battery cover - Open the battery compartment, following the arrow on the battery cover to remove the cover. to remove the cover. - lnsert 2 AAA batteries, observe the polarity, which can be viewed inside - lnsert 2 AAA batteries, observe the polarity, which can be viewed inside the compartment.
- Page 4 Setting current tim e Setting current tim e When the power is connected, the hours indication starts to blink When the power is connected, the hours indication starts to blink Hours Setting: Hours Setting: to adjust hour to adjust hour To confirm press To confirm press Minute Setting:...
- Page 5 Touch button Touch button The hours indication starts to blink. The hours indication starts to blink. Hours Setting: Hours Setting: to adjust hour to adjust hour To confirm press To confirm press Minute Setting: Minute Setting: to adjust minute. to adjust minute. To confirm press To confirm press If the indication is stopped touch...
- Page 6 FM R adio FM R adio Touch button to turn on/off. Press and hold button for 3 seconds to auto Touch button to turn on/off. Press and hold button for 3 seconds to auto scan. scan. All available FM channels will be scanned and saved automatically. All available FM channels will be scanned and saved automatically.
- Page 7 Hours Setting: Hours Setting: to adjust hour. to adjust hour. To confirm press To confirm press Minute Setting: Minute Setting: to adjust minute. to adjust minute. To confirm press To confirm press If the indication is stopped touch again. If the indication is stopped touch again.
- Page 8 on time display. on time display. Press and hold to set Press and hold to set The hours indication starts to set. The hours indication starts to set. Hours Setting: Hours Setting: to adjust hours.To confirm press to adjust hours.To confirm press minute setting: minute setting: to adjust minute.
- Page 9 Sunset light simulation 30 min before sunset time, the light is turned on with 100% brightness and then the brightness is reduced gradually and will turn off at sunset time. During sunset light is turned on you may: Press and hold to turn off the light.
- Page 10 Light display Light display Time display Time display Snooze Snooze Current time Current time Alarm Alarm Down i Down i Light Light Sunset Sunset Nature sounds Nature sounds Volume Volume Battery compartment Battery compartment Stand Stand 12H-24H format 12H-24H format Intensity of time display Intensity of time display...
- Page 11 USB 5V USB 5V Antenna Antenna * Don’t press two or more keys at the same time * To avoid failure interval of every touch must be more than 1 second. * If there is any malfunction, please unplug the unit for 3 seconds. * If the batteries are not used for a long time, please remove.
- Page 12 ALL RIGHTS RESERVED, COPYRIGHT DENVER ELECTRONICS A/S Electric and electronic equipment contains materials, components and substances that can be hazardous to your health and the environment, if the waste material (discarded electric and electronic equipment) is not handled correctly. Electric and electronic equipment is marked with the crossed out trash can symbol, seen above. This symbol signifies that electric and electronic equipment should not be disposed of with other household waste, but should be disposed of separately.
Need help?
Do you have a question about the CRL-330 and is the answer not in the manual?
Questions and answers