Advertisement
Quick Links
Advertisement

Related Manuals for JBL On Air Wireless


Summary of Contents for JBL On Air Wireless
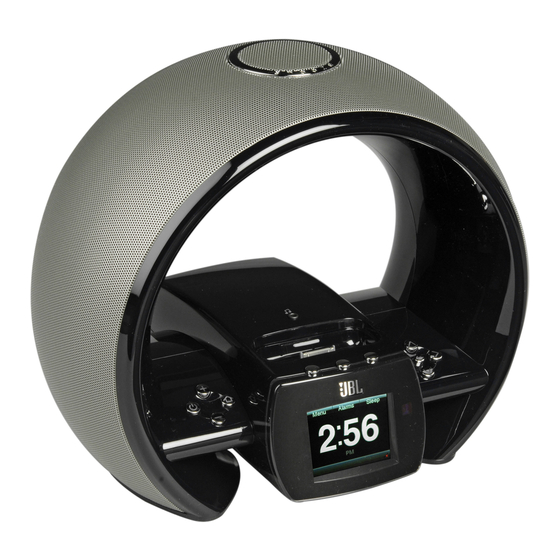
- Page 1 ® On air wireless speaker with iPod/iPhone dock Owner’s Manual...
-
Page 2: Table Of Contents
TaBle Of COnTenTs inTrOduCTiOn Introduction The JBL On Air Wireless speaker with iPod/iPhone dock will revolutionize the way you listen to music. Imagine being able to play Connections all the iTunes music files in your computer anywhere within range of... -
Page 3: Connections
COnneCTiOns 3. If you are going to use your JBL On Air Wireless with another audio source, plug one end of a 3.5mm stereo cable (not included) into the 1. Carefully unpack your JBL On Air Wireless and confirm that all the JBL On Air Wireless’s Aux Input connector, and plug the other end... -
Page 4: Controls And Display
• left/center/right soft buttons: The functions of these buttons will vary according to the screen that is active when the buttons are pushed. See Using Your JBL On Air Wireless, on page 8, for more information. • up/down buttons: Press these buttons to scroll up or down the Volume menu screens and to highlight items. - Page 5 • alarm off button: Press this button to shut off the alarm sound until the next time the alarm is scheduled to ring. The remaining remote control buttons perform the same functions as their counterparts on the JBL On Air Wireless unit. www.jbl.com...
-
Page 6: Setup Wizard
1. Use the Up and Down buttons to highlight the region you live in. seTup wizard When you turn your JBL On Air Wireless on for the first time, the Setup Wizard requires that you set the language, region, time zone, time, day and network before you can play music or use the clock functions. - Page 7 3. Use the Up and Down buttons to set the current minute, and press the OK button. This screen sets the JBL On Air Wireless’s clock to match the time zone in your area. • If the clock is in the 24-hour mode, the Day screen will appear.
-
Page 8: Using Your Jbl On Air Wireless
4. Press the Home button to exit the Setup Wizard. The Home/Clock screen will appear. NOTE: If the JBL On Air Wireless cannot connect to your Wi-Fi network, it will display a “Wi-Fi connection not functioning” message. To connect to a network manually, see Settings: Network, on page 13. - Page 9 Wireless before docking your iPod/iPhone device (see illustration). Do you release the button. not place an iPod or iPhone device in the JBL On Air Wireless unless the dock adapter is installed. Otherwise, the iPod or iPhone device to save the currently tuned station as a preset: will not connect properly, and both it and the JBL On Air Wireless may Press the Right Soft button.
- Page 10 JBL On Air Wireless’s Aux Input connector. The JBL On Air Wireless will display the Aux playback screen. While the JBL On Air Wireless is playing an audio file or Internet radio station, the display will show any embedded art (if available) and will scroll song title, artist’s name and album title ID3 data, or will scroll...
- Page 11 • alarm time: Set the time you want the alarm to sound. • repeat: Set the alarm to repeat every day, weekdays only or This screen lets you configure your JBL On Air Wireless to operate the weekends only, or turn the alarm off.
- Page 12 1 – 6: Selecting one of these options manually sets the display and button brightness to the selected level. The brightness will not vary • Internet time: If you select “On,” the JBL On Air Wireless will according to ambient light conditions.
- Page 13 (e.g., password, IP settings), then the JBL On Air Wireless will attempt to connect to the network using these settings. If the network requires a password and the JBL On Air Wireless has not saved a password, it This menu provides access to all of the JBL On Air Wireless’s network will display the Settings –...
- Page 14 • add network: Select this option to add a network manually. See Appendix: Manual Network Setup, on page 17, for more information. NOTE: If the JBL On Air Wireless is searching for available Wi-Fi networks when you select Add Network, the search will immediately stop.
- Page 15 System Update screen. system reset USB Port This menu lets you return your JBL On Air Wireless to its out-of-the-box factory-default condition and erase all of your clock and alarm settings, network settings, menu settings and FM radio preset stations. When the JBL On Air Wireless completes the System Reset, it will return to the Setup Wizard screen (see page 6).
-
Page 16: Troubleshooting Your Jbl On Air Wireless
• Make sure that the iPod device’s EQ setting is set to “Off.” loud hum or buzzing: • Make sure that the audio cable is plugged all the way into the JBL On Air Wireless’s Aux Input jack. • Replace the audio cable. -
Page 17: Appendix: Manual Network Setup
NOTE: Resetting the microprocessor will erase all of your clock and alarm settings, network settings, menu settings and FM- radio preset stations. When the microprocessor reset is completed, the JBL On Air Wireless will return to the Setup Wizard screen (see on page 6). - Page 18 When you have finished entering all the information, select the Center Select and manually enter the network’s IP, Subnet, Router and DNS Soft (Test) button to test the proxy settings. The JBL On Air Wireless will addresses. A data-entry screen will appear for each one. Select the attempt to connect to the proxy server using the settings you entered.
-
Page 19: Specifications
Made for iPhone 4, iPhone 3GS, iPhone 3G and iPhone Not compatible with iPod/iPhone video and photo playback The above information is correct as of the printing of this manual. Please check www.jbl.com for the latest compatibility information. Wi-Fi network compatibility:... - Page 20 • Reorient or relocate the receiving antenna. JBL is a trademark of HARMAN International Industries, Incorporated, • Increase the separation between the equipment and receiver. registered in the United States and/or other countries.
Need help?
Do you have a question about the On Air Wireless and is the answer not in the manual?
Questions and answers