Table of Contents
Advertisement
• Updated information (the latest Instruction Manual, etc.) is available from
<http://www.jvc.net/cs/car/>.
• Des informations actualisées (le dernier mode d'emploi, etc.) sont disponibles sur le site
<http://www.jvc.net/cs/car/>.
• La información actualizada (el Manual de instrucciones más actualizado, etc.) está
disponible desde <http://www.jvc.net/cs/car/>.
• Estão disponíveis informações atualizadas (o Manual de Instruções mais recente, etc.) em
<http://www.jvc.net/cs/car/>.
Model name indication position
See "Removing the trim plate" (P.21)
Position d'indication du nom du modèle
Reportez-vous à la section «Retrait de la
plaque de garniture» (P.49)
Trim plate
Plaque de garniturea
Marco
Moldura
© 2017 JVC KENWOOD Corporation
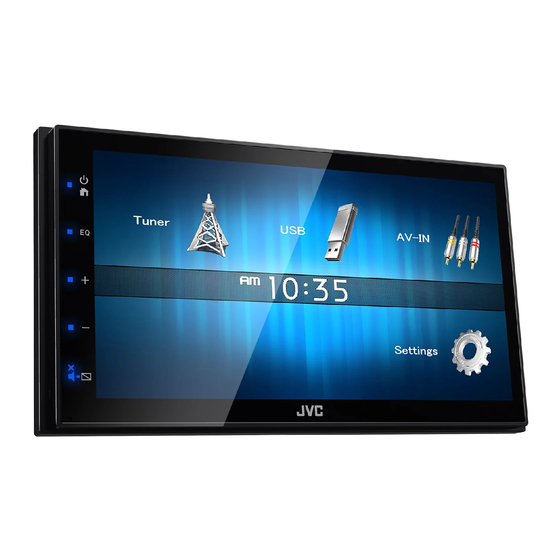
KW-M24BT
KW-M14
MONITOR WITH RECEIVER
INSTRUCTION MANUAL
ÉCRAN AVEC RÉCEPTEUR
MODE D'EMPLOI
MONITOR CON RECEPTOR
MANUAL DE INSTRUCCIONES
MONITOR COM RECETOR
MANUAL DE INSTRUÇÕES
Posición de la indicación del nombre del
modelo
Posição da indicação do nome do modelo
Consulte "Retirada del marco" (P.75)
Consulte "Retirar a moldura" (P.103)
B5A-2244-00 (K/E/Q)
Advertisement
Table of Contents


Need help?
Do you have a question about the KW-M24BT and is the answer not in the manual?
Questions and answers