Code Reader 2600 Quick Start Manual
Cr2600
Hide thumbs
Also See for Code Reader 2600:
- User manual (16 pages) ,
- Configuration manual (13 pages) ,
- Manual (10 pages)
Advertisement
Quick Links
Establishing a Bluetooth® Connection
1.
If establishing a Bluetooth connection using the Charging Station with embedded CodeXML®
Modem, slide the Communication Mode Switch (Figure 10) on the Charger/Modem Station
to Bluetooth mode (the direction of the arrow). For USB communication mode information,
please reference the CR2600 User Manual located at www.codecorp.com.
2.
Scan the QuickConnect Code located on the front of the Charger/Modem Station or on the
external CodeXML® M3 Modem. (Figures 14 and 15).
3.
The wireless icon located at the top of the reader will flash as it attempts to make connection.
(Figure 16) The blue LED on the Charging Station (or CodeXML® M3 Modem) will also flash as
it attempts to connect and will turn solid when the connection is established. The CR2600 will
beep once and the wireless icon will flash every 10 seconds. (Figures 14, 15 and 16)
For additional CodeXML® M3 Modem information, please reference the CodeXML® M3 Modem
QuickStart Guide.
QuickConnect
Code
Blue
LED
Figure 15
Figure 14
Important Note If Using a non-Code Bluetooth Device:
To connect to a Bluetooth device not manufactured by Code, you will need the Bluetooth address
(often referred to as the BD_ADDR) of that device. The 12-character Bluetooth address can be
found on the device near the serial number. Then visit Code's web site at:
http://www.codecorp.com/bdaddr.php and enter the 12-character address to create the
QuickConnect Code.
You will need to locate the Communications (COM) Port assigned to the Bluetooth serial port
protocol before installing the Bluetooth Configuration Manager software that is included with your
Bluetooth adapter (e.g., COM 10). This is the COM Port through which the CR2600 will connect.
Batch Mode
When the CR2600 is in batch mode, the storage icon (Figure 16) will flash every 10 seconds to
indicate data has been stored.
If the storage memory is full, the storage icon will flash 5 times every second. Data will need to be
downloaded or deleted to free up memory space. Note, the storage icon will not flash if there is
no data stored.
The put the CR2600 into Batch Mode, please reference the CR2600 Configuration Guide located at
www.codecorp.com.
Wireless Icon
Storage Icon
Blue
Figure 16
LED
www.codecorp.com
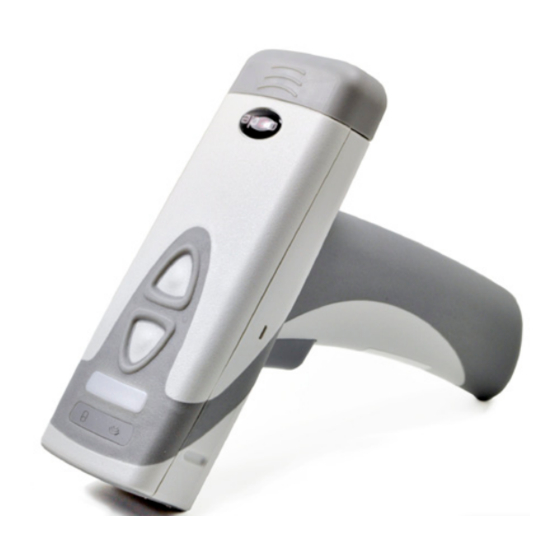
Code Reader™ 2600 (CR2600)
Included with the CR2600 (Palm and Handle Unit)
Depending on the kit purchased, a combination of the following components will be included with
your reader:
Good Read
Indicator
Charging Station with
or without
an Embedded
CodeXML® Modem
Charging Station Assembly Instructions
1. Plug the barrel side of the USB charge cable or power supply (depending on which you
ordered) into the charger. (Figure 1)
2. (Optional) To attach the weighted base, place the 'This Side Down' (Figure 2) side of the
weighted base onto the surface, place the Charging Station on top of it (Figure 3) and secure
with the screws provided. (Figure 3)
Figure 1
3. Rubber feet can be placed on the corners of the weighted base (Figure 4) or directly onto the
Charging Station (Figure 5) to prevent slipping from a surface.
C007502_02_CR2600_QuickStart_Guide
CR2611
CR2612
USB
Battery
Power
CodeXML®
Cable
Cartridge
Supply
M3 Modem
with RS232 or
USB Cable
Figure 2
Figure 3
Quickstart Guide
Screws and
Weighted
Rubber Feet
Base Plate
Advertisement

Related Manuals for Code Code Reader 2600


Summary of Contents for Code Code Reader 2600
-
Page 1: Batch Mode
Important Note If Using a non-Code Bluetooth Device: CodeXML® Modem USB Cable To connect to a Bluetooth device not manufactured by Code, you will need the Bluetooth address (often referred to as the BD_ADDR) of that device. The 12-character Bluetooth address can be Charging Station Assembly Instructions found on the device near the serial number. -
Page 2: Suffix Enter
Center the blue bars in Figure 7 the middle of a bar code. When the bar code is in the reader’s field of Figure 6 view and at the optimal distance (4” from the bar code) , the reader will Powering on the Reader automatically read the code.
Need help?
Do you have a question about the Code Reader 2600 and is the answer not in the manual?
Questions and answers