Table of Contents
Advertisement
Available languages
Available languages
Quick Links
Advertisement
Chapters
Table of Contents

Subscribe to Our Youtube Channel
Related Manuals for Phonic XP6000


Summary of Contents for Phonic XP6000
- Page 1 XP6000 User's Manual Manual del Usuario...
- Page 2 XP6000 POWER AMPLIFIER AMPLIFICADOR DE POTENCIA ENGLISH .........I ESPAÑOL ........II APPENDIX .
-
Page 3: Table Of Contents
USER'S MANUAL CONTENTS INTRODUCTION................1 FEATURES..................1 INSTALLATION................1 FRONT PANEL DESCRIPTION...........2 REAR PANEL DESCRIPTION.............3 SPECIFICATIONS..............6 APPENDIX DIMENSIONS..............1 Phonic reserves the right to improve or alter any information within this document without prior notice. XP6000... - Page 4 XP6000...
-
Page 5: Introduction
WIRING The balanced XLR and TRS input connectors will accept the line- Thank you for choosing XP6000 power amplifier. The unit is level output of most devices for ultimate input convenience. The designed to provide a good combination of power, audio clarity, amplifier built-in XLR and TRS connectors can be wired similarly reliability and durability. -
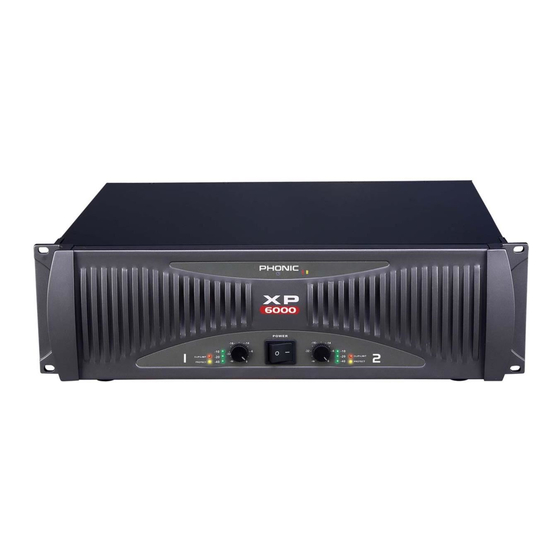
Page 6: Front Panel Description
When the amplifier is switched to the bridge mono mode, the low. Under these circumstances, the protect LED will stay on until bridge LED right next to the PHONIC logo will light up in red. the fault condition is rectified. -
Page 7: Rear Panel Description
These are in limiters, DIP switches 3 (channel 1 best used in long term or permanent installations. limiter) and 10 (channel 2 limiter) should be set to the right position. XP6000... - Page 8 PARALLEL / STEREO / BRIDGE MONO Turn the power off before changing the operation mode as to avoid damaging your XP6000. The number 4 and 5 DIP switches allow users to change between stereo and parallel input modes, whereas DIP switches 7 and 8 are used to activate bridge mono mode.
-
Page 9: Specifications
SPECIFICATION XP6000 Stereo Mode (both channels driven) 8 ohms FTC 20Hz-20kHz 0.1% THD 1420W 4 ohms FTC 20Hz-20kHz 0.1% THD 2180W 2 ohms FTC 20Hz-20kHz 0.1% THD 2600W 8 ohms EIA 1kHz 0.1% THD 1500W 4 ohms EIA 1kHz 0.1% THD... - Page 10 Phonic, at its option, shall repair or replace the defective unit covered by this warranty. Please retain the dated sales receipt as evidence of the date of purchase.
- Page 11 Manual del Usuario CONTENIDO INTRODUCCION..............1 CARACTERISTICAS..............1 INSTALACIÓN................1 DESCRIPCIÓN DEL PANEL FRONTAL........2 DESCRIPCIÓN DEL PANEL DE DORSO........3 ESPECIFICACIONES..............5 APPENDIX DIMENSIONES..............1 Phonic se reserva el derecho de mejorar o alterar cualquier información provista dentro de este documento sin previo aviso. XP6000...
- Page 12 XP6000...
-
Page 13: Introduccion
INTRODUCCION ENFRIAMIENTO Dos ventiladores de velocidad variable comienza a funcionar Gracias por elegir el amplificador de potencia de la XP6000 tan pronto como se enciende. Antes de montar su amplificador, de Phonic. La unidad está diseñada para proporcionar una usted debe familiarizarse con los requisitos de enfriamiento. -
Page 14: Descripción Del Panel Frontal
Cuando el amplificador se cambia al modo bridge mono, el LED tiempo para alcanzar a una temperatura suficientemente baja bridge al lado de logo de PHONIC se encenderá en rojo. para recomenzar. 8. PARALELO Cuando el amplificador se cambia al modo paralelo, el LED paralelo al lado del LED bridge se encenderá... -
Page 15: Descripción Del Panel De Dorso
TRS para su conveniencia de conexión. Los usuarios también encontrarán entradas de tira de barrera. Las entradas de la tira de barrera se deben atornillar firmemente para no dejar que el oxígeno entre a la conexión. Éstos son más utilizados en instalaciones de largo plazo o permanentes. XP6000... - Page 16 10 y 11 deben estar seteados a la izquierda. Usted también puede activar el LED de Bridge Mono seteando el interruptor DIP 9 a la derecha y el interruptor DIP 6 a la izquierda. La carga de altavoz en el modo bridge mono debe ser arriba de 4 ohms. XP6000...
-
Page 17: Especificaciones
41x (36dB) Impedancia de Entrada 20 k ohms balanceada, 10 k ohms desbalanceada Energía-Encendido: logo de Phonic ámbar; Paralelo: Icono de contraluz verde; Bridge: Icono de contraluz rojo; CLIP/LIM: LED Rojo; Indicadores PROTECCIÓN: LED Amarillo, LED Verde para -10dB, -20dB y -40dB Luces de Señal... - Page 18 Phonic, a su propia opinión, reparará o cambiará la unidad defectuosa que se encuentra dentro de esta garantía.
- Page 19 DIMENSIONS DIMENSIONES XP6000...
Need help?
Do you have a question about the XP6000 and is the answer not in the manual?
Questions and answers