Sorelle Princeton Elite Assembly Instruction Manual
4-in-1 convertible crib and changer
Hide thumbs
Also See for Princeton Elite:
- Assembly instructions manual (9 pages) ,
- Assembly instruction manual (8 pages)
Table of Contents
Advertisement
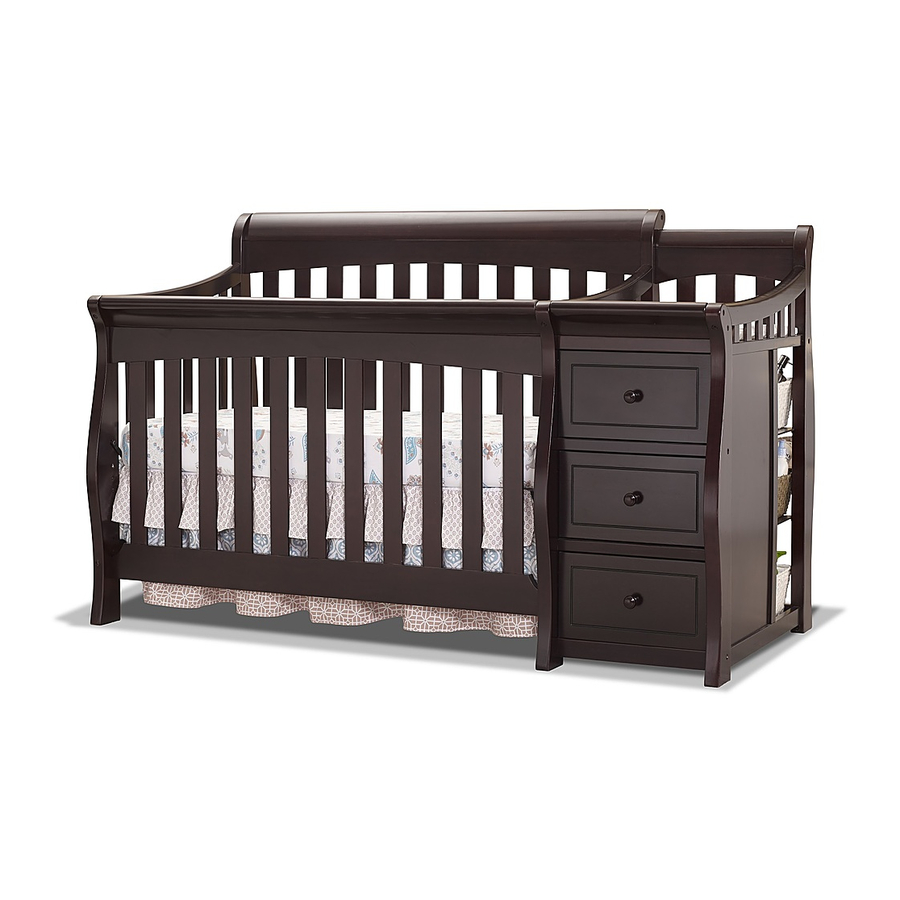
Princeton Elite Crib and Changer
Important Information:
Read all instructions
KEEP INSTRUTIONS FOR FUTURE USE.
By Sorelle - A Division of C & T International, Inc.
46 Whelan Road, East Rutherford, N.J.07073 U.S.A.
Tel, +1(201) 531 1919 Fax, +1(201) 531 1920
Website:
www.sorellefurniture.com
Assembly Instruction
BEFORE assembling crib.
Made in QHY, China
Advertisement
Table of Contents

Related Manuals for Sorelle Princeton Elite


Summary of Contents for Sorelle Princeton Elite
- Page 1 By Sorelle - A Division of C & T International, Inc. 46 Whelan Road, East Rutherford, N.J.07073 U.S.A. Tel, +1(201) 531 1919 Fax, +1(201) 531 1920 Website: www.sorellefurniture.com Princeton Elite Crib and Changer Assembly Instruction Important Information: BEFORE assembling crib.
- Page 2 Sorelle Crib Warnings: WARNING: *Infants can suffocate on soft bedding. Never add a pillow or comforter. Never place additional padding under an infant. *Failure to follow these warnings and the assembly instructions could result in serious injury or death. DO NOT use this crib if you cannot exactly follow the accompanying instructions.
- Page 3 Sorelle Toddler Bed Warnings: WARNING INFANTS HAVE DIED IN TODDLER BEDS FROM ENTRAPMENT. Openings in and between bed parts can entrap head and neck of a small child. NEVER use bed with children younger than 15 months. ALWAYS follow assembly instructions.
- Page 4 Sorelle NOTES ON ASSEMBLY: -During the assembly process whenever using screws or bolts, check each by placing the screw/bolt on the diagram of the item which is drawn actual size and design. Be sure to use the proper size and shape specified in the instructions.
- Page 5 Sorelle Crib Assembly Parts (A): Left Side Frame (x1) (A1): Left -Front Post (x1) (A2): Left -Back Post (x1) (B) Back Side Frame (x1) (C) Front Side Frame (x1) (D) Front&Back Contoured Top (x2) (F) Metal Mattress Support (x1) PARTS LIST FOR CHANGER/DRESSER ASSEMBLY...
- Page 6 Sorelle Crib Assembly Parts PARTS LIST FOR CHANGER/DRESSER ASSEMBLY (O6) Front - Middle Bar (x1) (O7) Front - Bottom Bar (x1) (O5) Front - Middle Bar (O8) Middle - Bottom Bar (x1) with Bolt Ends(x1) PARTS LIST FOR DRAWER ASSEMBLY...
- Page 7 Sorelle Crib Assembly Steps Step 1 DRAWER ASSEMBLY Parts Needed: refer to page 6, “Parts List For DRAWER ASSEMBLY”. Phillips screw driver needed for fightening (HG) screws Fig. 1 Fig. 2 Grooves 2. Slide Drawer Bottom(U) into drawer 1. Working on a padded, flat surface, attach assembly, see Fig 2.
- Page 8 Sorelle Step 2 CHANGER/DRESSER ASSEMBLY Parts Needed: refer to “PARTS LIST FOR CHANGER/DRESSER ASSEMBLY” Fig. 5 Fig. 6 Slide 1 Wood Dowel (HI) into each end of Part (O7) Slide 1 Wood Dowel (HI) into each end of Parts Wood Dowel (HI) into each end of Part (O8). then (O1&O2), Then attach Decorative Support Bar(O1)
- Page 9 Sorelle Step 3 CHANGER/DRESSER ASSEMBLY Parts Needed: refer to “ PARTS LIST FOR CHANGER/DRESSER ASSEMBLY” Fig. 9 6. Attach Middle Panel(H) with each support bar and secure with 6 Bolts (HE). See Fig 9. Fig. 10 Fig. 11 7. Insert Shelf Support Brackets (HH) 8.
- Page 10 Sorelle Step 4 CRIB ASSEMBLY Fig. 12 Fig. 13 & 2. Put Back Contoured Top(D) to Side Frame (B&C) and then 1. Slide 1 Wood Dowel (HI) into each end of Attach Side Frame (B&C) to change table secure to top and Front &...
- Page 11 Sorelle Step 5 MATTRESS SUPPORT ASSEMBLY Insert three (3) drawers into changer. Add changing pad (N) to top of organizer. Important : Tighten all bolts before use your Crib. Changing Pad Assembly Important : If changing pad and safety belt are assembled, make sure warnings are facing up and visible.
- Page 12 Converting to a Toddler Bed (Optional) Follow all instructions supplied with the 129/151# Toddler Rail System. NOTE: 129/151#Toddler Rail visit WWW.Sorellefurniture.com or contact C&T International / Sorelle for more information. ( 129/151# Toddler Rail System Not included, sold separately) Parts List...
- Page 13 M6 x 75mm Allen bolt x4 Follow all instructions supplied with the 228# Adult Rail System. NOTE: 228# Adult Rail System is not included. Please see your crib retailer, visit WWW.Sorellefurniture.com or contact C&T International / Sorelle for more information. Page 13...
Need help?
Do you have a question about the Princeton Elite and is the answer not in the manual?
Questions and answers
I need to purchase the hardware for the princess elite crib and changer 4 in 1 our got lost in the move. The model number is 1105-WG
The document mentions a listing for a Full Size Conversion Kit Bed Rails for the Sorelle Princeton Elite Crib & Changer (Model #1105) on Amazon. You may check Amazon for hardware availability. Additionally, you can contact Sorelle directly at their listed phone number (+1 201-531-1919) or visit their website (www.sorellefurniture.com) for inquiries about purchasing hardware.
This answer is automatically generated
Can we buy just the changing table part ? I got the rest of the crib from a family friend and it’s missing that part
Can I order replacement bolts? I need one M6x65, one M6x85 and one M6x17