Advertisement
Advertisement
Table of Contents

Summary of Contents for Omega Altise OAPC1217
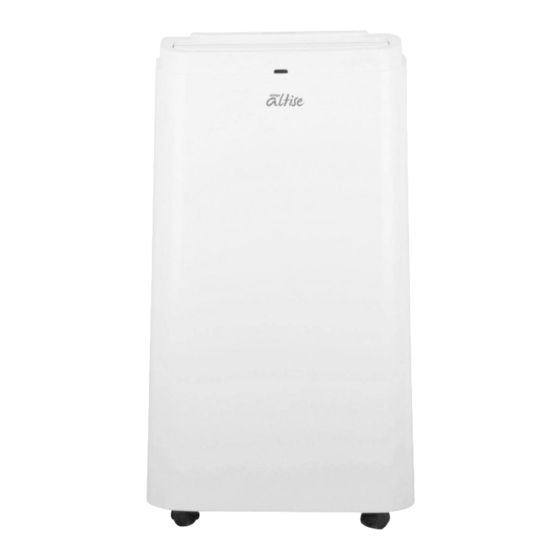
- Page 1 OAPC1217 PORTABLE AIR CONDITIONER...
-
Page 2: Table Of Contents
Table of Contents Table of Contents................2 Important Safeguards ..............3-4 Placement and Installation ............5-6 Parts List ..................6-7 Control Panel ................8 Remote Control ................9 Operation Methods ................ 9-10 Water Drainage ................11 Maintenance ................. 12 Troubleshooting ................13 Technical Data ................ -
Page 3: Important Safeguards
• If the power cord is damaged it must be repaired by an authorised agent of Omega Altise SAFETY RULES To prevent injury to the user or other people and to prevent property damage, the following instructions must be followed. Incorrect operation due to not reading the instructions may cause harm or damage. - Page 4 • Always contact an authorized qualified service agent to carry out repairs. • If the supply cord is damaged it must be repaired by a qualified repairer • Keep the area clear around the air condition. There needs to be an air path of a minimum of 50cm all around the air condition from walls, furniture and curtains.
-
Page 5: Placement And Installation
Placement and Installation Placement Place the on flat and dry ground, and keep at least 50 cm from walls etc (figure 1) Installation • Spin slide bar connector into exhaust hose first, then spin the exhaust hose into exhaust connector (counter-clockwise). •... - Page 6 FIGURE 2 FIGURE 3 Warning Use only the exhaust pipe supplied. Longer or extended pipes may damage the appliance Note: Maximum length of unfolding exhaust pipe is 1500mm, please shorten the length as much as possible and keep it level as much as possible when installing...
-
Page 7: Parts List
Parts List... -
Page 8: Control Panel
Control Panel NOTE: Above blue background color represents the display on the unit when turned on. 1. TIMER: under power-on or standby mode, press this key to setup on/off time from 1~24. 2. FAN: after air condition turns on, press this key to select fan speed (high, medium and low). -
Page 9: Remote Control
Remote Control Operation Methods Cooling mode • After the air condition turns on, it will revert to the setting that was last used. • Press “MODE” to select cooling mode, cooling mode inductor turns on. • Press “UP” or “DOWN” to adjust temperature (from 16 to 31 ). •... - Page 10 Timer mode • Select the timer mode by pressing , then use the buttons to adjust hours from 1-24. You can only set the auto-shut off timer while the air condition is operating (on) You can only set the auto- start timer while the air condition is switched off (standby) After you have set the timer it will initiate and the air conditions will start/ stop after the selected time.
-
Page 11: Water Drainage
Water Drainage This air condition has an auto-water-evaporating system. Condensed-water cycle is used to cool down the condenser, which not only improves cooling efficiency, but also saves energy. • When water in the water pan exceeds the warning level, the air condition will automatically sound an alarm, and the LCD temperature display area will show "FL". -
Page 12: Maintenance
Maintenance Note: in order to avoid electric shocks, please turn off at the control panel, switch off the power point then unplug the appliance before cleaning Cleaning Filter • Please switch off at the control panel, then at the power point then unplug before cleaning . -
Page 13: Troubleshooting
Troubleshooting Do not repair or disassemble the air conditioning by yourself. Unqualified repair will lead to failure of the warranty card, and may cause damage to users or their properties. Problems Reasons Solutions Turn it on after connecting it to a socket with There is no electricity. -
Page 14: Technical Data
Technical Data Model OAPC1217 BTU/h Cooling capacity 12000 Mains Power consumption 1340 Current Refrigerant R410A Rotary Compressor Fan speeds ℃ Thermostat 16-31 Timer 0-24 Dimensions(W*H*D) 420, 722, 360 Net weight... -
Page 15: Circuit Diagram
Appendix A Circuit Diagram... - Page 16 Omega Altise products are distributed in Australia by Shriro Australia Pty Ltd. Locked Bag 5002, Kingsgrove NSW 2208 Phone: 1300 795 572 Fax: (02) 9415 5525 Web: http://www.omegaaltise.com.au...


Need help?
Do you have a question about the OAPC1217 and is the answer not in the manual?
Questions and answers