Advertisement
Advertisement
Table of Contents

Related Manuals for Omega Altise OAPC29


Summary of Contents for Omega Altise OAPC29
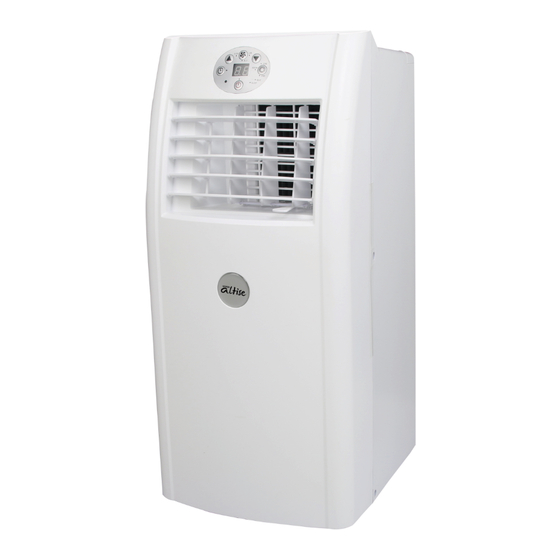
- Page 1 OAPC29 PORTABLE AIR CONDITIONER...
-
Page 2: Table Of Contents
Table of Contents Table of Contents …………………………………………………… 2 Important Safeguards ………………………………………………. 3-4 Placement and Installation …………………………………..…….. 5-6 Parts List ………………………………………………………………6-7 Control Panel ………………………………………………………... 8 Remote Control …………………..………………………………….. 9 Operation Methods ….……….……………………………………… 9-10 Water Drainage …..…………………………………….…….….. 11 Maintenance ……………………………………... …………… ..11-12 Troubleshooting ..………………………………………………..…... -
Page 3: Important Safeguards
• Young children should be supervised to ensure that they do not play with the appliance. • If the power cord is damaged it must be repaired by an authorised agent of Omega Altise SAFETY RULES To prevent injury to the user or other people and to prevent property damage, the following instructions must be followed. - Page 4 • Always contact an authorised qualified service agent to carry out repairs. • If the supply cord is damages it must be repaired by a qualified repairer • Keep the area clear around the appliance. There needs to be an air path of at least 30cm all around the unit from walls, furniture and curtains.
-
Page 5: Placement And Installation
Placement and Installation Placement Place the machine on flat and dry ground, and keep at least 30 cm from walls etc (figure 1) FIGURE 1 Installation • Spin slide bar connector into exhaust hose first, then spin the exhaust hose into exhaust connector(counter-clockwise). -
Page 6: Parts List
Warning Use only the exhaust pipe supplied. Longer or extended pipes may damage the appliance Note: extreme length of unfolding exhaust pipe is 1500mm, please shorten the length as much as possible and keep it level as much as possible when installing Parts List Front side (figure 5) - Page 7 Rear (figure 6) 6. Filter frame upper 7. Exhaust Connection 8. Power Cord Location 9. Filter frame lower 10. Rubber plug 11. Plug cap 12. Power Supply Cord FIGURE 6 Accessories (figure 7) FIGURE 7 1. Exhaust Pipe 2. Adapter 3. Remote control 4. Window seal plate 5.Screw/washer/nut combo Preassembly of window seal plate a) Take the screw/washer/nut combo apart (fig.
-
Page 8: Control Panel
Control Panel 12 11 10 9 HIGH COOL DEHUM 2.9kW SLEEP 1. ON/OFF(Power) indicator “Water Full” indicator 2. Display window Low ventilation indicator Fan function button 3. Sleep operation indicator High ventilation indicator Fan operation indicator “Temperature up” button Mode Function button Timer operation indicator Cooling operation indicator Timer mode indicator... -
Page 9: Remote Control
Remote Control 1. Power 2. Timer 3. Down 4. Mode 5. Up 6. Fan 7. Sleep Operation Methods Cooling mode • After machine turns on, default value is cooling mode with 22℃ and low fan speed. - Page 10 Timer mode • When in standby, press “TIMER” to setup the power-on time, press “TIMER” to adjust the timer (from 1 to 24). Timer indicator turns on. • Under power-on mode, press “TIMER” to setup power-off timer. Press “TIMER” to adjust the timer (from 1 to 24). Timer indicator truns on. Dehumidifying mode •...
-
Page 11: Water Drainage
Water Drainage This machine has an auto-water-evaporating system. Condensed-water cycle is used to cool down the condenser, which not only improves cooling efficiency, but also saves energy. • If inner water tank is full, “W.F” indicator will flash on the screen, a f t e r 8 seconds the machine goes into standby mode, the buzzer beeps, the compressor stops and all keys are invalid. -
Page 12: Troubleshooting
Seasonal Cleaning If the machine is not being used for a long time, please follow these steps. • Pull out drainage plug upper / lower to empty any water out. • Let the machine run under fan mode for 2 hours to dry out the machine internals ... -
Page 13: Technical Data
Technical Data Model OAPC29 Cooling capacity 10000 BTU/h Mains 220-240V/50Hz/1Ph Power consumption Current 3.95 Dehumidification L/24h Refrigerant R410A Compressor Rotary Fan speeds Thermostat 16-31 ℃ Timer 0-24 Dimensions(W*H*D) 320 X 730 X 370 Net weight... -
Page 14: Circuit Diagram
Appendix A Circuit Diagram... - Page 15 Omega Altise products are distributed in Australia by Shriro Australia Pty Ltd. Locked Bag 5002, Kingsgrove NSW 2208 Phone: 1300 795 572 Fax: (02) 9415 5525 Web: http://www.omegaaltise.com.au...
Need help?
Do you have a question about the OAPC29 and is the answer not in the manual?
Questions and answers
Omega Altise OAPC29 "water full "indicator is flashing- how to remove water? and how to clean filters thanks
To remove water and clean filters for the Omega Altise OAPC29 when the "water full" indicator is flashing:
1. Drain Water:
- Pull out the upper and lower drainage plugs to empty any water from the unit.
2. Restart the Machine:
- Turn off the machine and wait for three minutes before restarting.
3. Clean Filters:
- Remove the filters.
- Clean them thoroughly and allow them to dry.
- Reinstall the filters properly.
If the issue persists, contact a professional serviceman.
This answer is automatically generated