Optelec Compact 6 HD User Manual
Hide thumbs
Also See for Compact 6 HD:
- User manual (258 pages) ,
- Manual (2 pages) ,
- User manual (274 pages)
Table of Contents
Advertisement
Quick Links
Download this manual
See also:
User Manual
Advertisement
Table of Contents

Subscribe to Our Youtube Channel
Related Manuals for Optelec Compact 6 HD


Summary of Contents for Optelec Compact 6 HD
- Page 3 Optelec Compact 6 HD Compact 6 HD Compact 6 HD Speech User Manual Version 1.1 © 2017 Optelec, the Netherlands All rights reserved Optelec Phone: +31 (0)88 678 34 44 P.O. Box 399 E-mail: info@optelec.nl 2990 AJ Barendrecht Internet: www.optelec.com...
-
Page 4: Table Of Contents
IME AND DATE ............18 HE MAGNIFIER AND OVERVIEW CAMERAS ................. 19 SING THE SNAPSHOT BUTTON 3. USING THE COMPACT 6 HD SPEECH TEXT-TO-SPEECH AND OCR ..20 4. CHARGING THE BATTERY ............... 22 ..................23 ATTERY WARNING ....................... 23 TANDBY 5. - Page 5 Optelec Compact 6 HD and Compact 6 HD Speech ....................25 HE MAIN MENU Battery status .................... 25 Adjusting the brightness ................26 Save ......................26 Open ......................26 Voice ......................28 Voice Rate ....................29 ....................... 30 ETTINGS Line on / off ....................31 Bluetooth: connecting a Bluetooth speaker or headphone ......
- Page 6 Optelec Compact 6 HD and Compact 6 HD Speech Close stand ....................36 Restore defaults ..................37 APPENDIX A: TECHNICAL INFORMATION ..........38 APPENDIX B: SAFETY .................. 40 APPENDIX C: WARRANTY CONDITIONS ............ 41 CONTACT ....................... 46...
- Page 7 Optelec Compact 6 HD and Compact 6 HD Speech WEEE Notice The directive on Waste Electrical and Electronic Equipment (WEEE), which entered into force as European law on February 13, 2003, resulted in a major change in the treatment of electrical equipment at end-of-life.
-
Page 8: Introduction
Support section. This manual will familiarize you with the features and basic operation of the Compact 6 HD and Compact 6 HD Speech. Please read this manual carefully before using your device. Unless otherwise indicated, all references to the Compact 6 HD will also apply for the Compact 6 HD... -
Page 9: What's In The Box
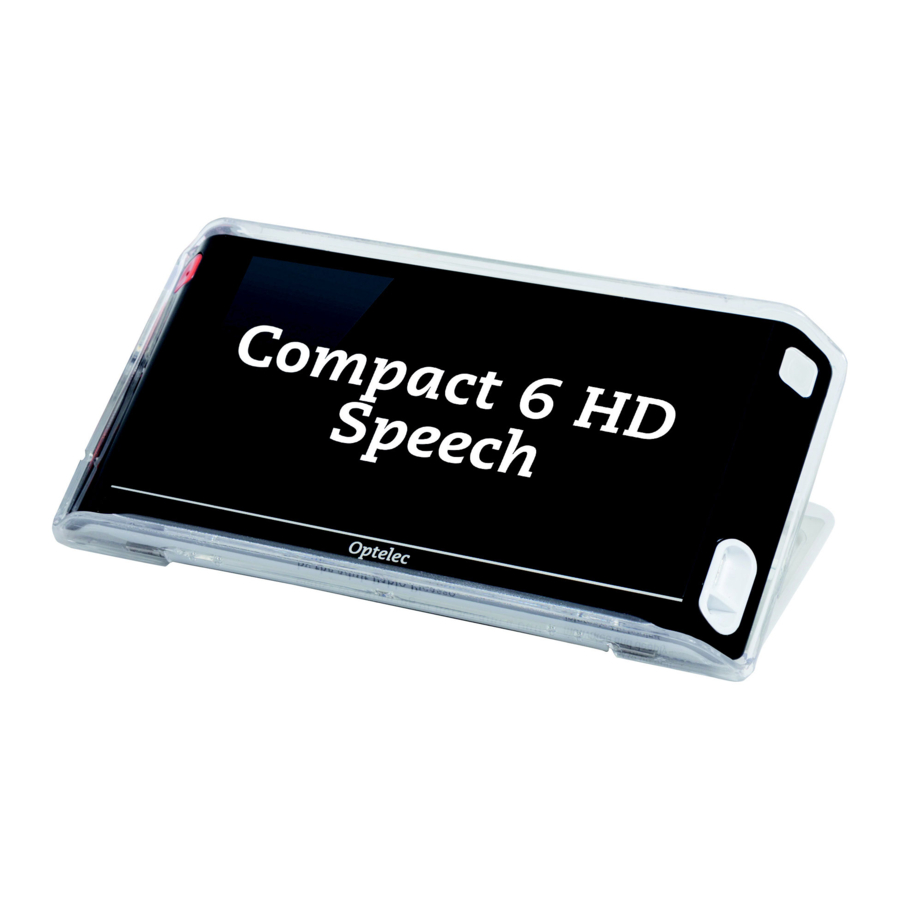
Speech logo What’s in the box? The Compact 6 HD packaging contains the following: The Compact 6 HD or Compact 6 HD Speech video magnifier and Reading Stand A protective pouch A wrist strap A USB power supply with USB-C cable ... -
Page 10: Getting Started
Compact 6 HD and Compact 6 HD Speech 2. Getting started The Compact 6 HD is placed correctly in front of you when the screen is facing up, and the white snapshot button and orange on / off button are at the top corners of the screen. -
Page 11: Hd With The Reading Stand
Using the Compact 6 HD with the Reading Stand The Compact 6 HD is delivered with a separate Reading Stand. When placed in its Reading Stand, the Compact 6 HD can be used with the Reading Stand closed or opened. - Page 12 If the overview camera is active, the button bar will be orange. To insert the Compact 6 HD into the Reading Stand, follow these steps: Insert the Compact 6 HD at the bottom of the Reading Stand.
- Page 13 To close the Reading Stand, follow these steps: 1. Place the Compact 6 HD in front of you so that the screen is facing up, and the white snapshot button and orange on / off button are at the top of the screen.
-
Page 14: Cleaning The Camera Window
Optelec Compact 6 HD and Compact 6 HD Speech Cleaning the camera window For an optimal quality image, it is recommended to ensure that the camera lens and object light window are kept clean. A dirty camera window will result in a fuzzy image and may cause the auto- focus camera to incorrectly focus. -
Page 15: Buttons
Compact 6 HD to power and charge the unit. Use the USB to 3.5 mm audio converter cable to connect speakers or a headset. Cameras The cameras of the Compact 6 HD are located at the back of the unit. -
Page 16: Power On And Off
Power on and off To switch on the Compact 6 HD for the first time, the unit needs to be charged. Once charged, press the orange on / off switch located on the top left corner of the screen for three seconds. To switch off the Compact 6 HD, press the orange button for three seconds again. -
Page 17: Adjusting The Magnification
Optelec Compact 6 HD and Compact 6 HD Speech Adjusting the magnification To change the magnification, simply tap the screen. The button bar will be shown at the bottom of the screen or at the right side of the screen, depending on the chosen button bar position. -
Page 18: Time And Date
Optelec Compact 6 HD and Compact 6 HD Speech Time and date To open the clock, swipe from the right edge of the screen to the left. Alternatively, tap the screen and tap on the arrow at the right edge of the screen. The colors of the clock will be displayed according to the first high contrast color setting. -
Page 19: The Magnifier And Overview Cameras
The Compact 6 HD is equipped with two cameras, a magnifier camera and an overview camera. When the stand is being opened, The Compact 6 HD will switch on and will automatically select the magnifier camera. When you switch on the Compact 6 HD with the stand closed, the overview camera will be activated. -
Page 20: Using The Snapshot Button
2. Press the snapshot button located on the top right side of the unit to take the snapshot. 3. Bringing the Compact 6 HD closer to your eyes will enable you to view the object or text closely. 4. Press the snapshot button again to and return to the live video mode. It is now possible to take a new snapshot. -
Page 21: Using The Compact 6 Hd Speech Text-To-Speech And Ocr
Tap the screen and tap the “Play” button in the button bar to have the Compact 6 HD Speech read the captured text to you. In case the processing of the text is still ongoing, a progress bar will be shown. - Page 22 Optelec Compact 6 HD and Compact 6 HD Speech Tap the “Mode” button to display the text in high contrast colors. The text will be formatted in a column to fit the width of the screen. In the high contrast view, pictures will not be shown.
-
Page 23: Charging The Battery
Charging the Compact 6 HD takes approximately 2 hours. A fully charged Compact 6 HD can operate for an average time of 3 hours, depending on the power settings. For safety reasons, please only use the power supply and USB cable that was delivered with the Compact 6 HD to charge the unit’s battery. -
Page 24: Battery Warning
Pressing the orange on / off button will switch it back on. The standby time can be changed or disabled in the Compact 6 HD menu. Please refer to the next chapter on how to change these settings. -
Page 25: The Compact 6 Hd Menu
Compact 6 HD and Compact 6 HD Speech 5. The Compact 6 HD Menu This chapter will familiarize you with the Compact 6 HD Menu. Opening and closing the menu To open the menu, swipe from the left edge of the screen to the right, Alternatively, tap on the screen and tap on the arrow icon at the left side of the screen. -
Page 26: The Main Menu
The main menu contains two rows of buttons and one or two sliders, depending on if you own a Compact 6 HD or 6 HD Speech. To activate a button, tap the button once. To adjust the slider, tap and hold the slider button while moving it to the right or left. Activating a button will open a new menu screen or list. -
Page 27: Adjusting The Brightness
Optelec Compact 6 HD and Compact 6 HD Speech About Tap on the “About” button in the battery screen to see the application version. Adjusting the brightness Use the slider with the sun icon to increase or decrease the brightness of the screen. - Page 28 Optelec Compact 6 HD and Compact 6 HD Speech Open to view saved snapshots Delete snapshots Delete To delete a snapshot, open the menu and tap on the “Open” button. In the open screen, tap on the “Delete” button. A list of thumbnails of the saved snapshots will be shown, showing the most recently saved snapshot first.
-
Page 29: Voice
Optelec Compact 6 HD and Compact 6 HD Speech Voice To select a voice, language and menu language, or to add or remove a voice or language, open the menu and tap the “Voice” button. Selecting a voice, language and menu language This menu item lets you select your reading voice and language. -
Page 30: Voice Rate
Optelec Compact 6 HD and Compact 6 HD Speech Adding or removing a voice or language To add or remove a voice or language, tap the voice icon in the top left corner of the main menu. In the list with preselected voices, tap on the “Add/Remove” button. To add or remove a reading voice, select the language from the list by tapping on the language. -
Page 31: Settings
Optelec Compact 6 HD and Compact 6 HD Speech Settings Tap on the “Settings” button to enter the Settings menu. The “Settings” button is the button with the gear icon next to the battery icon. The Settings menu contains four buttons: ... -
Page 32: Line On / Off
Line on / off The Compact 6 HD can display a reading line to help you position the Compact 6 HD straight on the document. To enable the reading line, tap the “Line” button. Tap this button again to hide the reading line. - Page 33 Optelec Compact 6 HD and Compact 6 HD Speech If no speaker or headphone is being paired, tap the “Search“ button to search for available devices. Before starting the Bluetooth search, make sure the speaker or headphone is switched on and is set to discoverable.
-
Page 34: Color
In the settings menu, tap the “Color” button to select the preferred high contrast colors. Color menu The Compact 6 HD supports four high contrast modes. For each of these four modes, the foreground and background colors can be selected. Three of the high contrast modes can be... -
Page 35: More
Optelec Compact 6 HD and Compact 6 HD Speech To change the foreground and background colors: 1. Tap on the mode number you would like to change. Each number represents a mode. 2. To select new high contrast colors for the foreground and background, tap on the up arrow head to move up or the down arrow head to move down within the list of color combinations. -
Page 36: Reading Light
If “Camera switch” is on, opening the stand will automatically activate the magnifier camera. If the Compact 6 HD is switched on with the stand closed, the overview camera will be activated. To disable the “Camera switch”, the active camera needs to be selected manually. By default, “Camera... -
Page 37: Positioning The Reading Line
Close stand If the Close stand option is set to Standby, the Compact 6 HD will go to standby when closing the stand. If the Close stand option is set to Overview and the Camera switch is set to ON, closing the... -
Page 38: Restore Defaults
Optelec Compact 6 HD and Compact 6 HD Speech Restore defaults Tap this menu item if you wish to restore the default settings. You will be prompted if you are sure to restore the defaults. To restore the defaults select “Yes”. To cancel restoring the defaults, select... -
Page 39: Appendix A: Technical Information
Optelec Compact 6 HD and Compact 6 HD Speech Appendix A: Technical information Magnification <0.5 – >21 times Viewing modes Full color photo mode High contrast, white on black High contrast, black on white High contrast color combination 1 High contrast color combination 2... - Page 40 Optelec Compact 6 HD and Compact 6 HD Speech Operating conditions Temperature +10°C to 35°C / 50°F to 95°F Humidity < 70%, no condensation Altitudes up to 3000 m (9842 feet) Pressure 700 – 1060 hPa Storage & transportation conditions Temperature +10°C to 40°C / 50°F to 104°F...
-
Page 41: Appendix B: Safety
Appendix B: Safety Intended Use: The Compact 6 HD is designed that it can be used in a hospital environment for general purpose such as reviewing medical records. The Compact 6 HD cannot be used for surgical procedures in combination with life supporting systems. -
Page 42: Appendix C: Warranty Conditions
Compact 6 HD and Compact 6 HD Speech Appendix C: Warranty Conditions Optelec warrants the Compact 6 HD, effective from the date of delivery, to be free of any defects in material and workmanship. The warranty is not transferable and does not apply to groups and multi-users. The Compact 6 HD was designed for the individual purchaser to be used at home or on the go. - Page 43 Warning – To avoid risk of electric shock, this equipment must only be connected to a grounded power outlet. Caution: The supplied adapter is part of the Compact 6 HD product. Caution, consult ACCOMPANYING DOCUMENTS. Follow the operating instructions or consult instructions for use.
- Page 44 Optelec Compact 6 HD and Compact 6 HD Speech RoHS Compliance This product is in compliance with Directive 2011/65/EU of the European Parliament and of the Council of 03 January 2013, on the restriction of the use of certain hazardous substances in electrical and electronic equipment (RoHS) and its amendments.
- Page 45 WARNING: The use of accessories, transducers and cables, with the exception of transducers and cables sold by the manufacturer of the Compact 6 HD as replacement parts for components, may result in increased emissions or decreased immunity of the Compact 6 HD.
- Page 46 Optelec Compact 6 HD and Compact 6 HD Speech Consult the dealer or an experienced radio/TV technician for help. WARNING: You are cautioned that changes or modifications not expressly approved by the party responsible for compliance could void your authority to operate the equipment.
-
Page 47: Contact
Contact – Optelec Offices Worldwide Optelec Europe Optelec U.S. Breslau 4 11800 31st Court North 2993 LT Barendrecht St. Petersburg, FL 33716 The Netherlands U.S.A. T: +31 (0)88 678 3444 T: +1 (800) 444-4443 www.optelec.com www.optelec.com Optelec Canada Optelec Nederland BV... - Page 48 Contact – Optelec Offices Worldwide...
Need help?
Do you have a question about the Compact 6 HD and is the answer not in the manual?
Questions and answers