
Related Manuals for Russell Hobbs RH115


Summary of Contents for Russell Hobbs RH115
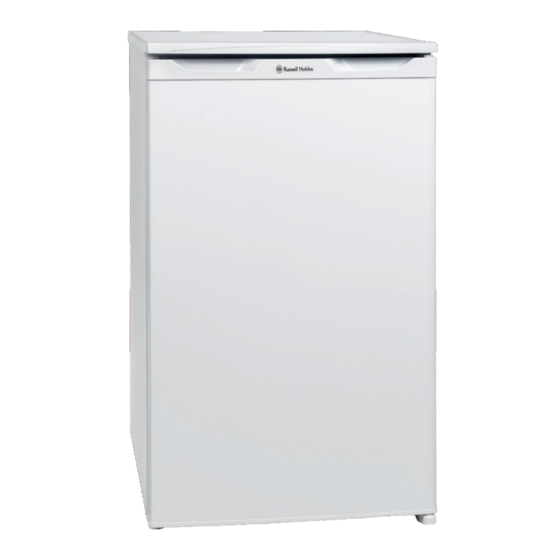
- Page 1 UNDER COUNTER FREEZER INSTRUCTION MANUAL Model num ber: RH115 Please read these instructions carefully and keep them for future reference...
-
Page 3: Table Of Contents
INDEX BEFORE USING THE APPLIANCE ..............2 Safety Instructions ......................2 Before Switching On ......................2 Recommendations ......................3 Installation and Switching On The Appliance ..............4 THE PARTS OF THE APPLIANCE ..............5 TEMPERATURE ....................6 Thermostat Setting ......................6 ARRANGING FOOD IN THE APPLIANCE ............ -
Page 4: Before Using The Appliance
BEFORE USING THE APPLIANCE Safety Instructions • The model, which contains R600a-see name plate under refrigerant (the coolant isobutane), naturals gas that, is very environmentally friendly but also combustible. When transporting and installing the unit care must be taken to ensure that none of the refrigeration circuit components become damaged. -
Page 5: Recommendations
Recommendations Warning: Do not use mechanical devices or other artificial means to accelerate the defrosting process. Do not use electrical appliances in the food storage of the appliance. Keep the appliance ventilation openings free. Do not damage the refrigerator’s refrigerant circuit. -
Page 6: Installation And Switching On The Appliance
Installation and Switching On The Appliance • This appliance is connecting to 220-240V and 50 Hz. • If you need help or are unsure how to install the unit pleace the service agent or appointel person. • Before making the connection to the power supply,ensure that the voltage on the name plate corresponds to the voltage of electrical system in your home. -
Page 7: The Parts Of The Appliance
THE PARTS OF THE APPLIANCE This presentation is only for information about the parts of the appliance. Parts may vary according to the appliance model. 1) THERMOSTAT DIAL 2) FREEZER COMPARTMENT COVER 4) FREEZER COMPARTMENT DRAWER 3) FAST FREEZER COMPARTMENT DRAWER 5) LEVELLING FOOT - 5 -... -
Page 8: Temperature
TEMPERATURE Thermostat Setting The freezer thermostat automatically regulates the inside temperature of the compartments. By rotating the knob from position 1 to 3, colder temperatures can be obtained. “0” position shows thermostat is closed and no cooling will be available. Freezer Thermostat Setting;... -
Page 9: Arranging Food In The Appliance
ARRANGING FOOD IN THE APPLIANCE • The use of freezer is for storing of deep-frozen or frozen food for long periods of time and making ice cubes. • Do not put fresh and warm food with frozen food side by side as it can thaw the frozen food. -
Page 10: Cleaning And Maintenance
CLEANING AND MAINTENANCE • Disconnect unit from the power supply before cleaning. • Do not clean the appliance by pouring water. • The freezer compartment should be cleaned periodically using a solution of bicarbonate of soda and lukewarm water • Clean the accessories separately with soap and water. Do not clean them in the washing machine. -
Page 11: Defrosting Freezer Compartment
Defrosting Freezer compartment • The frost, which covers the shelves of the freezer compartment, should be removed periodically. • Do not use sharp metal objects for this operation. They could puncture the refrigerator circuit and cause irreparable damage to the unit. Use the plastic scraper provided. •... -
Page 12: Transportation And Changing Of Installation Position
TRANSPORTATION AND CHANGING OF INSTALLATION POSITION Transportation and Changing of Installation Position • The original packages and foamed polystyrene (PS) can be concealed if required. • In transportation the appliance should be tied with a wide stripe or a strong rope. The rules written on the corrugated box must be applied while transporting. -
Page 13: Changing Door Position
Changing door position Step-1: Lie down the appliance on it’s left Step-1: Dismantle both levelling feet. side put a piece of protective material under neath appliance, i.e. card, towel, etc. Step-3: Unscrew the two screws which are Step-4: Dismantle the bottom hinge. fixing the bottom hinge. - Page 14 Step-7: Replace the bushing and bushing caps on the door as shown. Step-8: Unscrew the pin of the bottom hinge and screw it on the other hole. Step-9: Assemble the door and the bottom Step-10: Assemble both levelling feet to hinge with two screw on the left their places.
-
Page 15: Before Calling Your After Sales Service
BEFORE CALLING YOUR AFTER SALES SERVICE If your appliance is not working properly, it may be a minor problem, therefore check the following, before calling an electrician to save time and money. What to do if your appliance does not operate; Check that;... - Page 16 For Customer Services & Warranty Information please call 0845 683 8717 Opening times: Monday - Friday 8am until 8pm Saturday & Sunday 10am until 4pm Customer Service Department Picktree Court Picktree Lane Chester-le-Street Co Durham DH3 3SY Revision 1 This symbol is known as the 'Crossed-out wheelie bin Symbol'. W hen this symbol is marked on a product/batteries, it means that the product/batteries should not be disposed of with your general household waste.
Need help?
Do you have a question about the RH115 and is the answer not in the manual?
Questions and answers