Sign In
Upload
Download
Table of Contents
Contents
Add to my manuals
Delete from my manuals
Share
URL of this page:
HTML Link:
Bookmark this page
Add
Manual will be automatically added to "My Manuals"
Print this page
×
Bookmark added
×
Added to my manuals
Manuals
Brands
Meraki Manuals
Wireless Access Point
MR12
Hardware installation manual
Meraki MR12 Hardware Installation Manual
Hide thumbs
1
2
Table Of Contents
3
4
5
6
7
8
9
10
11
12
13
14
15
16
17
18
19
20
21
22
23
24
25
26
27
28
29
30
31
32
33
34
35
36
page
of
36
Go
/
36
Contents
Table of Contents
Troubleshooting
Bookmarks
Table of Contents
Table of Contents
1 Scope of Document and Related Publications
2 MR16 Overview
Package Contents
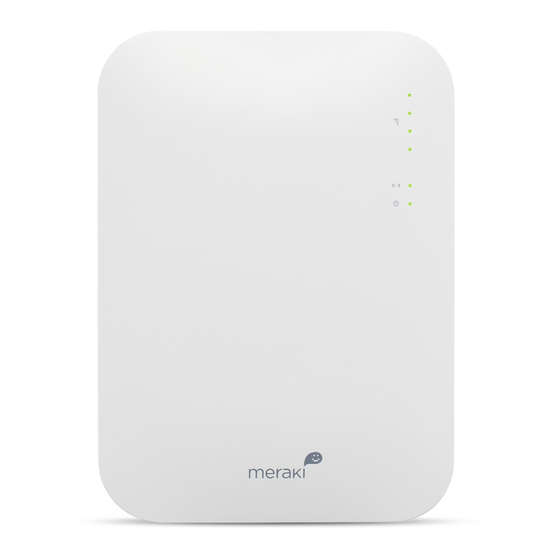
Understanding the MR16
Security Features
Power Source Options
Factory Reset Button
UL 2043 Plenum Rating
3 Pre-Install Preparation
Configure Your Network in Dashboard
Check and Upgrade Firmware
Check and Configure Firewall Settings
Assigning IP Addresses to Mr16S
Dynamic Assignment
Static Assignment
Static IP Assignment Via DHCP Reservations
Collect Tools
Collect Additional Hardware for Installation
4 Installation Instructions
Choose Your Mounting Location
Install the MR16
Attach the Mount Plate
Wall or Solid Ceiling Mount Using Mount Plate
Drop Ceiling Mount Using Mount Plate
Electrical Junction Box Mount Using Mount Plate
Power the MR16
Powering the MR16 with Meraki AC Adapter
Powering the MR16 with Meraki 802.3Af Power over Ethernet Injector
Powering the MR16 with an 802.3Af Power over Ethernet Switch
Mount the MR16
Assemble MR16 to the Mount Plate
Desk or Shelf Mount
Wall or Solid Ceiling Mount Without Mount Plate
Plenum Mount (above Drop Ceiling)
Secure the MR16
Security Screw
Kensington Lock
Verify Device Functionality and Test Network Coverage
5 Troubleshooting
6 Regulatory Information for MR12
7 Regulatory Information for MR16
Advertisement
Quick Links
1
Understanding the Mr16
2
Factory Reset Button
3
Configure Your Network in Dashboard
4
Pre-Install Preparation
5
Troubleshooting
Download this manual
Meraki MR 12/16
Hardware Installation Guide
Table of
Contents
Previous
Page
Next
Page
1
2
3
4
5
Advertisement
Table of Contents
Need help?
Do you have a question about the MR12 and is the answer not in the manual?
Ask a question
Questions and answers
Related Manuals for Meraki MR12
Wireless Access Point Meraki MR24 Hardware Installation Manual
Enterprise-class dual-concurrent 3x3 mimo 802.11n access point (35 pages)
Wireless Access Point Meraki MR62 Setup Manual
(32 pages)
Wireless Access Point Meraki MR62 Hardware Installation Manual
802.11n access point (32 pages)
Wireless Access Point Meraki MR11 Hardware Installation Manual
(33 pages)
Wireless Access Point Meraki MR14 Hardware Installation Manual
(29 pages)
Wireless Access Point Meraki MR16 Hardware Installation Manual
(36 pages)
Wireless Access Point Meraki MR53 Hardware Installation Manual
Cisco dual-band, 4x4:4, 802.11ac wave 2 high performance wireless access point (25 pages)
Wireless Access Point Meraki MR58 Hardware Setup Manual
(20 pages)
Wireless Access Point Meraki MR58 Implementation Note
(9 pages)
Wireless Access Point Meraki MR76-HW Hardware Installation Manual
(30 pages)
Wireless Access Point Meraki MX75 Hardware Installation Manual
(11 pages)
Wireless Access Point Meraki MX68 Hardware Installation Manual
(11 pages)
Wireless Access Point Meraki MX85 Hardware Installation Manual
(11 pages)
Wireless Access Point Meraki MR33 Hardware Installation Manual
(12 pages)
Wireless Access Point Meraki Outdoor Hardware Installation Manual
Weather-proof and uv-protected wireless access point/gateway/ repeater (20 pages)
Wireless Access Point Meraki Outdoor Specifications
High power indoor/outdoor access point and repeater (1 page)
This manual is also suitable for:
Mr16
Table of Contents
Print
Rename the bookmark
Delete bookmark?
Delete from my manuals?
Login
Sign In
OR
Sign in with Facebook
Sign in with Google
Upload manual
Upload from disk
Upload from URL


Need help?
Do you have a question about the MR12 and is the answer not in the manual?
Questions and answers