Table of Contents
Advertisement
Quick Links
Download this manual
See also:
User Manual
Advertisement
Table of Contents

Related Manuals for Advantech ADAM-6520


Summary of Contents for Advantech ADAM-6520
- Page 1 ADAM-6520 Preface and Table of Contents...
- Page 2 This document is copyrighted, 2001, by Advantech Co., Ltd. All rights are reserved. Advantech Co., Ltd., reserves the right to make improve- ments to the products described in this manual at any time without notice. No part of this manual may be reproduced, copied, translated or transmitted in any form or by any means without the prior written permission of Advantech Co., Ltd.
- Page 3 Each and every Advantech product is built to the most exacting specifications to ensure reliable performance in the unusual and demanding conditions typical of industrial environments. Whether your new Advantech equipment is destined for the laboratory or the factory floor, you can be assured that your product will provide the reliability and ease of operation for which the name Advantech has come to be known.
- Page 4 Because of Advantech’s high quality-control standards and rigorous testing, most of our customers never need to use our repair service. If an Advantech product ever does prove defective, it will be repaired or replaced at no charge during the warranty period. For out-of-warranty repairs, you will be billed according to the cost of replacement materi- als, service time and freight.
- Page 5 product returned without dated proof of purchase is not eligible for warranty service. 5. Write the RMA number visibly on the outside of the package and ship it prepaid to your dealer. Preface and Table of Contents...
- Page 6 ADAM-6520 manual...
- Page 7 Preface and Table of Contents...
- Page 8 ADAM-6520 manual...
- Page 9 Overview...
- Page 10 10Mbps or 100Mbps.Moreover,ADAM-6520 sup- ports auto crossover to make it flexible networking en- vironment, connecting to network by any port. The ADAM-6520 provides three ways to be fixed in any industrial environments: DIN Rail, panel, piggyback mounting. The ADAM-6520 also supplied +10~30 VDC operating voltage over the terminal block.
- Page 11 That makes the system more safe and reliable. Wide-range operating temperature The operating temperature of ADAM-6520 is from - 10 ~ 70 °C. That makes the ADAM-6520 been used in most harsh environment. Easy to trouble-shooting There are 6 LED indicators supplied that aid trouble- shooting in ADAM-6520.
- Page 12 • Storage Temperature: -20 to 80°C • Operating Humidity: 20 to 95% (non-condensing) • Storage Humidity: 0 to 95% (non-condensing) 1.4 Package Checklist • ADAM-6520 • ADAM-6520 Manual • NYLON Din-rail Mounting Adapter • SECC panel mounting bracket 4 ADAM-6520 manual...
-
Page 13: Installation
Installation... -
Page 14: Hardware Installation Procedures
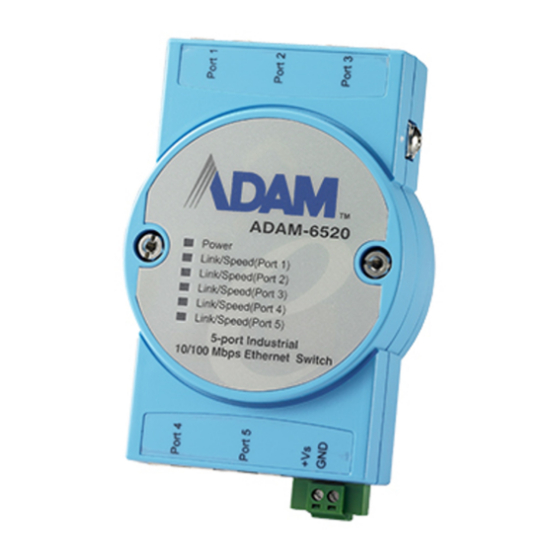
In this chapter, you will be given an overview of the ADAM- 6520 hardware installation procedures. 2.1 Top / Front / Rear View There are six network status LEDs located on the top panel of ADAM-6520, each with its own specific function. Color Description Green... - Page 15 Figure 2-1 ADAM-6520—Top Panel Figure 2-2 ADAM-6520—Front Panel Figure 2-3 ADAM-6520—Rear Panel Chapter 2 Installation 7...
-
Page 16: Panel Mounting
• fixed to a DIN Rail. • Piggyback Stack Panel Mounting The ADAM-6520 can be attached to a wall using the included metal brackets. Each bracket comes with four screws; first at- tach the brackets to the bottom of the ADAM-6520. Next, screw each bracket to a wall. -
Page 17: Din Rail Mounting
DIN Rail Mounting You can mount the ADAM-6520 on a standard DIN Rail. First, using two screws, attach the metal plate to the DIN Rail bracket. Because the screw heads are beveled, the tops of the screws will be flush with the metal plate. Din Rail... -
Page 18: Piggyback Stack
Piggyback Stack ADAM-6520 can be stacked as seen in the figure below. Figure2-6 Piggyback Stack 10 ADAM-6520 manual... - Page 19 ADAM-6520 can be connected to other hub or switch via a two-pair straight through cable or crossover cable. The connection can be made from ADAM-6520 any port (MDI- X) to other Hub or Switch either MDI-X port or uplink MDI port.
- Page 20 2.3.3 Power Connection You should take the following steps to connect ADAM-6520 power. 1. Connect the power cable to 2-pin connector 2. Connect power cable to power adapter 12 ADAM-6520 manual...
Need help?
Do you have a question about the ADAM-6520 and is the answer not in the manual?
Questions and answers