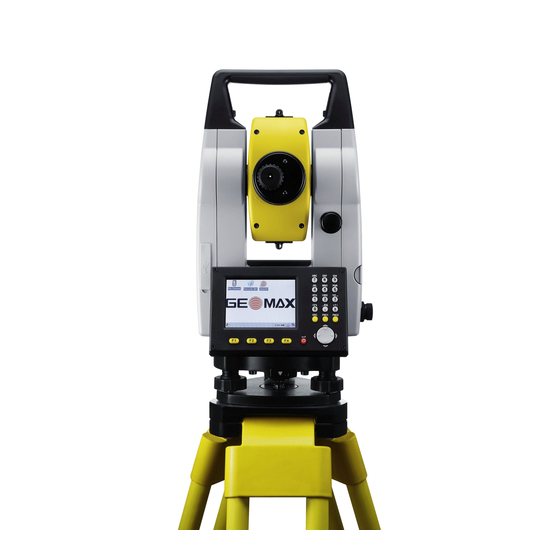
Summary of Contents for GeoMax Zipp20 Series
- Page 1 GeoMax TPS Zipp20 Series Installation Guide Version: 1.0 English - 1 - Zipp20 TPS Series Installation Guide...
-
Page 2: Table Of Contents
..........6 PLOADING IELD ENIUS Windows Mobile Device Center ..............6 Connecting to the PC .................. 6 Installation of GeoMax FieldGenius ............. 8 Registration of GeoMax FieldGenius ............11 Starting GeoMax FieldGenius ..............12 -, U ......13 NINSTALL OR... -
Page 3: Introduction
For further information regarding the operation of the Zipp20, please refer to the respective manuals. The Zipp20 Quick Guide is included with the container set. The comprehensive user manual is available from the included USB stick and also from GeoMax Partner Area in the Zipp20 folder at www.geomax-positioning.com. -
Page 4: Preparation Of The Tps Instrument
To customize the instrument for personal requirements, the firmware file in the required language should be installed. The respective files can be obtained from GeoMax Partner Area in the Zipp20/Firmware folder and are in the format Zipp20_XX.fw where “XX” indicates the specific language. The firmware files also contain all available applications. -
Page 5: Uploading Onboard Firmware To The Instrument
2.3 U PLOADING NBOARD IRMWARE TO THE NSTRUMENT The firmware file is uploaded to the instrument directly from the USB stick. Therefore copy the downloaded file to the System directory on the USB stick using a PC. Insert the stick into the instrument and power on. To load the file onto the instrument, start the Zipp20 application and choose (3)-Tools / (3)-Load FW / (F1)-Firmware. -
Page 6: Uploading Geo Max Field Genius
EVICE ENTER An upload and installation of the GeoMax FieldGenius on the Zipp20 requires a PC or Laptop. To upload the field software to the Zipp20, it is mandatory to install the Windows Mobile Device Center on the PC or Laptop. - Page 7 Turn on the instrument and the connection will be established. After the initial connection, the Windows Mobile Device Centre or ActiveSync will automatically start and connect as soon as the powered instrument is connected to the PC. The contents of the PS336 internal memory can also be seen now with Windows Explorer and are defined as a drive named Zipp20_SerialNumber.
-
Page 8: Installation Of Geomax Fieldgenius
The latest version of GeoMax FieldGenius can be downloaded from the GeoMax website, at http://www.geomax-positioning.com. Here the latest installation version and user manual of GeoMax FieldGenius in English is available. Download the Devices Installer and save onto your PC. On this page, all the available languages for FieldGenius are shown. - Page 9 Please select “No” when prompt for Default Installation Path and then choose “Internal Memory” of the Total Station to install the program. When the application downloading is completed, you are requested to check the Zipp20 screen. Click OK and Finish to exit the installation process on your PC. - 9 - Zipp20 TPS Series Installation Guide...
- Page 10 Confirm the proposed installation folder for GeoMax FieldGenius on the Zipp20 screen by clicking OK. The installation on the Zipp20 will be started. Once the installation process is completed, the GeoMax FieldGenius software can be started by selecting it from the Zipp20 Desktop.
-
Page 11: Registration Of Geomax Fieldgenius
EGISTRATION OF IELD ENIUS When GeoMax FieldGenius is started, a registration window with the Device ID is displayed as shown below. It is possible to use GeoMax FieldGenius without registration by tapping Run Demo Mode. This provides full functionality, but is limited to the storage of 30 points. -
Page 12: Starting Geomax Fieldgenius
The activation key will then be displayed in the password field. Enter this key into the Zipp20 at the provided fields and click Apply Key. More details about the GeoMax FieldGenius installation and registration can be found in the user manual available from the GeoMax Partner Area. -
Page 13: Ninstall Or Pdate Eo Ax Ield Enius
You are now ready to work with the Zipp20 total station and GeoMax FieldGenius. More details about the use of GeoMax FieldGenius can be found in the user manual document available from the GeoMax Partner Area. -, U NINSTALL OR... -
Page 14: Uninstall Geomax Fieldgenius
NINSTALL IELD ENIUS To uninstall GeoMax FieldGenius from the Zipp20, you need to start the software at least one time after the instrument has been turned on. Exit GeoMax FieldGenius again and go to the Windows program “Remove Programs”. - 14 -... - Page 15 Mark GeoMax FieldGenius and click Remove. The program will be removed. A message appears as further folder and files still need to be removed. In order to complete the uninstall process, the following folder and files need to be deleted manually. Please access the Windows Explorer with My Device.
- Page 16 The following folder and files needs to be deleted in the Internal Memory drive: Internal Memory\GeoMax FieldGenius (remove complete folder) GeoMax FieldGenius.lnk in Internal Memory\Documents and settings\Programs GeoMax FieldGenius.lnk in Internal Memory\Documents and settings\Desktop To finish the uninstall process the instrument needs to be shut down.


Need help?
Do you have a question about the Zipp20 Series and is the answer not in the manual?
Questions and answers