Table of Contents
Advertisement
Advertisement
Table of Contents

Summary of Contents for Voodoo Lab PX-8 PLUS
- Page 1 PX-8 PLUS PEDAL SWITCHING SYSTEM User’s Manual voodoolab.com...
- Page 2 Copyright ©2015-2017 by Digital Music Corporation. This publication is protected by copyright and all rights are reserved. Voodoo Lab, Pedal Power, Ground Control and Dingbat are trademarks of Digital Music Corp. rev 0.9 5/2017...
-
Page 3: Table Of Contents
TABLE OF CONTENTS OVERVIEW DESCRIPTION Top Panel Rear Panel CONNECTIONS Power Audio Loops MIDI OPERATION Preset Method Loop Strip Method Using Ground Control Pro SETUP Select Preset or Loop Strip Method Quiet Switching MIDI > Enable Message Types MIDI > Set Channel MIDI >... -
Page 4: Overview
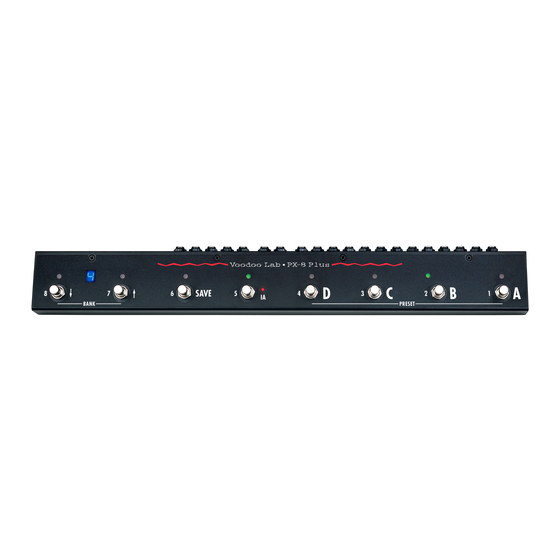
Dingbat PX Pedalboards. The unique mounting of these pedalboards puts PX-8+ and all its cabling underneath, leaving the valuable top surface area clear for more pedals. The world leader in power and switching for guitar rigs, Voodoo Lab has produced electronics for professional musicians since 1986. All Voodoo Lab products are designed and manufactured to the highest standards in Santa Rosa, California. -
Page 5: Rear Panel
MIDI IN. CONNECTIONS Power Connect the PX-8+ power jack to any 9VDC output of a Voodoo Lab Pedal Power, using a standard barrel cable. Most 9V power supplies intended for battery operated pedals are also acceptable. PX8+ requires 9VDC at 100mA (minimum) to a standard 5.5x2.1mm center negative barrel... -
Page 6: Midi
point where you can break the chain between loops 6 and 7. INSERT SEND connects to the output of loop 6. INSERT RETURN provides access to the input of loop 7. For each PX-8+ loop, connect a patch cable from the loop SEND to your effect pedal’s input. -
Page 7: Loop Strip Method
Instant Access mode Use the bank buttons to select Low (1-4) or High (5-8). When the display shows L, then buttons A, B, C, D will control loops 1-4. Pressing either bank button changes the display to H, now buttons A, B, C, D will control loops 5-8. Save preset To save the currently active loops as a preset: 1. -
Page 8: Using Ground Control Pro
Using Ground Control Pro When connected via MIDI to the Voodoo Lab Ground Control Pro, PX-8+ will function exactly like the Voodoo Lab GCX Guitar Audio Switcher. You will create presets and control the loops from the Ground Control Pro. You can also directly toggle loops using buttons 1-8 on PX-8+. -
Page 9: Midi > Enable Message Types
MIDI Program Change and Control Change messages include a channel number, 1-16. PX8+ will only respond to messages received on its specified channel. The default MIDI channel is 1. NOTE: When PX8+ is being controlled by a Voodoo Lab Ground Control Pro, the MIDI channel setting is ignored. -
Page 10: Midi > Control Change Number
1) Apply power while holding down button #2. The LEDs will flash until you release the button. 2) Press buttons #1 through #4 to select the MIDI channel: MIDI Channel LED #4 LED #3 LED #2 LED #1 3) Remove power when finished. MIDI >... -
Page 11: Factory Reset
2) Press buttons #1 through #4 to select the number group: CC Group LED #4 LED #3 LED #2 LED #1 80-87 88-95 64-71 56-63 3) Remove power when finished. Factory Reset You can restore the factory default settings and clear any saved presets. 1) Apply power while holding down both buttons #2 and #3. -
Page 12: Warranty
If the product should become defective within the warranty period, Voodoo Lab will repair it or replace it free of charge, provided it is returned freight prepaid to Voodoo Lab with a valid RMA (return material authorization) number. Return shipping will be paid by Voodoo Lab within the U.S.


Need help?
Do you have a question about the PX-8 PLUS and is the answer not in the manual?
Questions and answers