Table of Contents
Advertisement
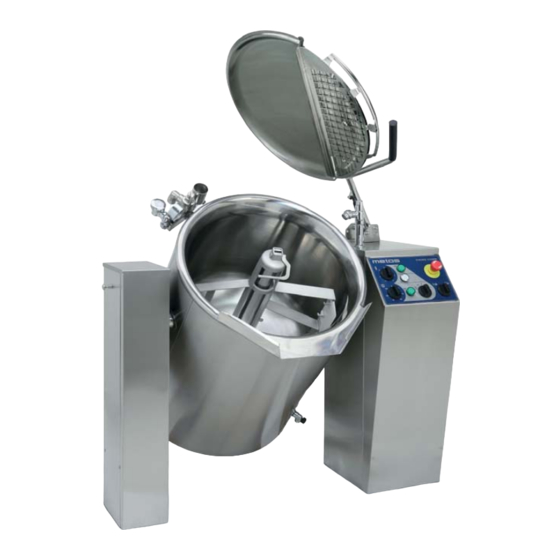
VIKING KETTLE
VIKING / VIKING COMBI
ELECTRICALLY HEATED / DIRECT STEAM HEATED
TYPE:
40E, 60E, 80E, 100E, 150E, 200E, 300E, 400E
40EM, 60EM, 80EM, 100EM, 150EM, 200EM, 300EM, 400EM
40S, 60S, 80S, 100S, 150S, 200S, 300S, 400S 40SM,
60SM, 80SM, 100SM, 150SM, 200SM, 300SM, 400SM
Accessories
MIXER
COOLING
AUTOMATIC WATER FILLING
HACCP
Installation and Operation Manual
Translation of the original manual in Finnish
Rev 2.0
(1.8.2017)
From 08. 02. 2010
4215340, 4215341, 4215343, 4215344, 4215345, 4215346, 4215850, 4215851, 4215939, 4215940, 4215941, 4215942, 4215943, 4215944, 4215945, 4215946
4215348, 4215349, 4215350, 4215351, 4215352, 4215353, 4215354 , 4215542, 4215544, 4215545, 4215546, 4215828, 4215539, 4215540, 4215541
Advertisement
Table of Contents


Need help?
Do you have a question about the 40E and is the answer not in the manual?
Questions and answers