Advertisement
Quick Links
Elite Pro Systems
™
EPS-168 T
Installation Guidelines
Congratulations on purchasing an EPS-168T
System from Auralex
Acoustics. You're
™
®
now on your way to creating a world class listening environment.
Elite Pro Systems offer a sophisticated look by utilizing products covered with specialized
acoustical fabrics. The EPS-168T system contains B22 ProPanels
, CT45 Bass Traps
and
™
™
ProFusors
, which when used together, provide incredibly effective acoustical control in
™
any room. Use the EPS-168T alone for treatment of small to medium-sized rooms or in
combination with other Auralex products for full control of larger spaces.
Auralex
Total Sound Control
Thank you for Purchasing
®
®
Products!
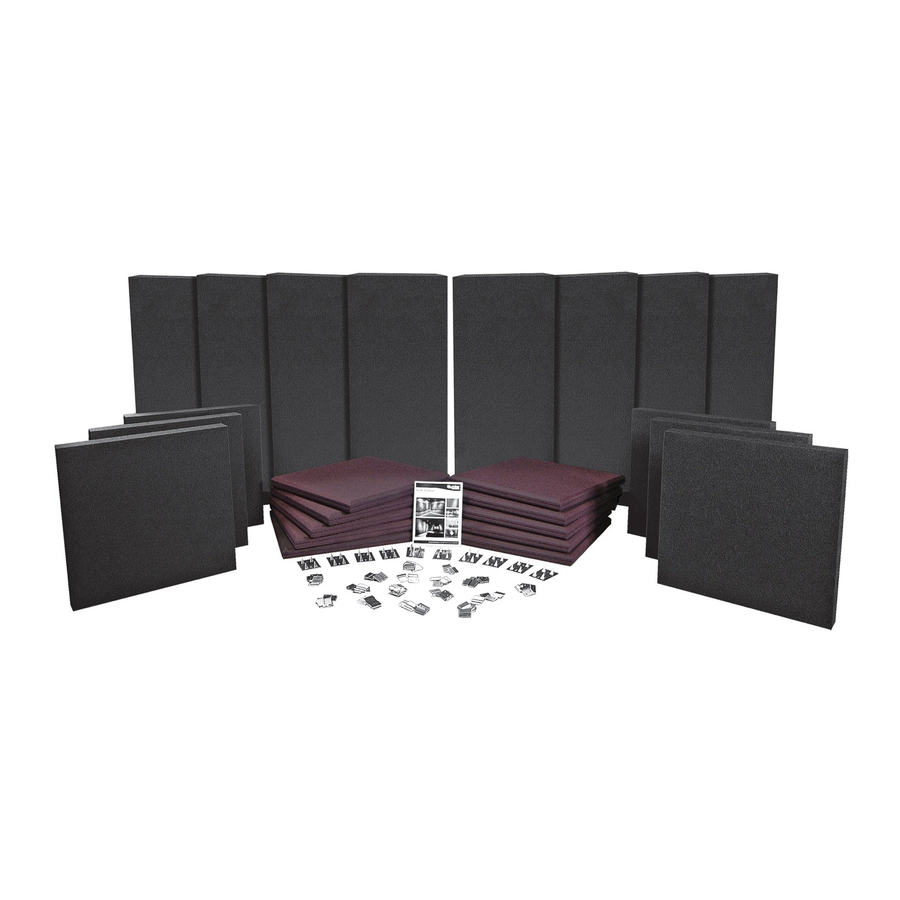
Elite Pro System EPS-168T Components
20
8
6
B22 ProPanels
CT45 Bass Traps
ProFusors
™
™
™
2
48
80
Tubetak Pro™
Z-Clips
Impaling Clips
845-606 | Rev. 1 | 070506 EF
Advertisement

Related Manuals for Auralex Acoustics Elite Pro Systems EPS-168T


Summary of Contents for Auralex Acoustics Elite Pro Systems EPS-168T
- Page 1 Elite Pro Systems ™ EPS-168 T Installation Guidelines Congratulations on purchasing an EPS-168T System from Auralex Acoustics. You’re ™ ® now on your way to creating a world class listening environment. Elite Pro Systems offer a sophisticated look by utilizing products covered with specialized acoustical fabrics.
- Page 2 Elite Pro System EPS-168T General Information Recommended Additional Installation Materials • Power Drill • Carpenters Level • Nail Set • Pencil • Straight Edge B22 ProPanel Installation Guide ➊ Mark intended location of each B22 ProPanel on the wall or ceiling. ➌...
- Page 3 CT45 Bass Trap Installation Guide ➊ Mark a vertical line 16.75” from the intended placement corner on both sides. 16.75” ➌ While continuing to hold panel in place, install one finish nail though the fabric face and the hardened edge of the CT45. Make sure finish nail is installed perpendicular to the wall surface.
- Page 4 Elite Pro System Installations ➊ Hold the ProFusor to the wall or ceiling in its intended location with the back facing out. Make sure diffusor is level. Completely trace its outline. ➌ On the back of the ProFusor, mark a rectangle 4” in from the outer edge on all sides.
Need help?
Do you have a question about the Elite Pro Systems EPS-168T and is the answer not in the manual?
Questions and answers