NETGEAR ARLO Quick Start Manual
Hide thumbs
Also See for ARLO:
- User manual (38 pages) ,
- Quick start manual (27 pages) ,
- Manual (11 pages)
Advertisement
Quick Links
Advertisement

Related Manuals for NETGEAR ARLO


Summary of Contents for NETGEAR ARLO
- Page 1 Quick Start Guide...
- Page 2 Welcome Thank you for choosing Arlo. Getting started is easy.
-
Page 3: What's Included
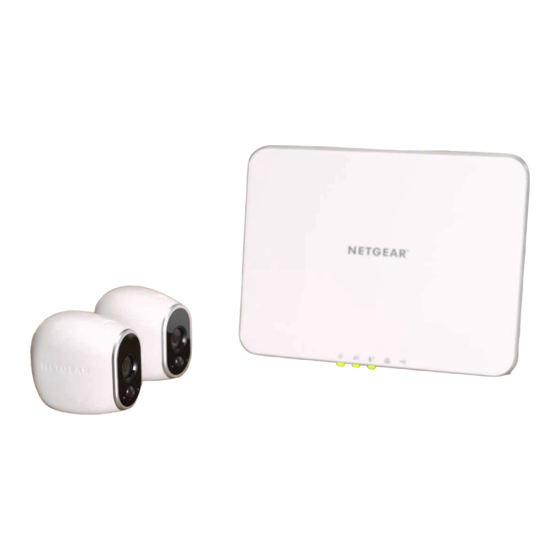
What’s Included Base station Base station Ethernet cable Magnetic wall Mounting power adapter mounts screws 100% wireless Lithium 123 batteries camera(s) (number of batteries varies with number of cameras) - Page 4 Get the App For the best experience, download the Arlo app for your smartphone by scanning the QR code below or searching for “Arlo” in the app store. http://www.netgear.com/arloapps...
- Page 5 Connect Your Base Station to the Internet Connect the base station to your router Connect the AC adapter to your base using an Ethernet cable. station and plug it in.
- Page 6 Turn the base station on by pressing the The power LED and Internet LED on the On-Off button. front of the base station turn green in about two minutes. (If this doesn’t happen, visit http://support.arlo.com for troubleshooting tips.)
-
Page 7: Get An Account
Get an Account Launch the app from your smartphone and Or from a computer, visit click the New System Setup button. https://arlo.netgear.com/ and follow the Follow the on-screen instructions. on-screen instructions. - Page 8 Set Up and Sync Your Cameras Insert batteries • Unlock the battery compartment by sliding and holding the latch. • Slide the battery door back and lift it to open the compartment. • Insert the batteries as shown and close the battery door.
- Page 9 Sync your cameras with the base station Bring the camera within one to three feet (30 to 100 centimeters) of the base station. 1’ - 3’ 30 cm - 100 cm...
- Page 10 Sync your cameras with the base station (cont’d) Press the Sync button on the side of the Press the Sync button on top of base station. the camera. Wait for the sync status LED to Cameras must be synced one at a time. blink green.
- Page 11 A blue LED on the camera blinks rapidly to The camera LED on the base station turns confirm sync. solid green after the camera is synced. The camera is ready for viewing. Note: The LED blinks amber if the sync is not Note: If the sync successful.
-
Page 12: Place Or Mount Your Cameras
Locate a spot for your camera You can place your camera on a shelf or other flat surface, or you can mount it to the wall. Tip: Use the Arlo app in Position mode (found in Camera Settings) to help aim the camera. - Page 13 To mount your camera to the wall: Fasten the mounting screw into the wall, and hang the magnetic mount from the screw. If you’re mounting the camera to drywall, be sure to use the drywall plastic anchors that are provided. Tip: You can also use double-sided tape instead of screws.
-
Page 14: You're Done
You’re Done! Congratulations! Your Arlo System is set up and ready to go. To view useful tutorial videos, find troubleshooting tips, or get support, visit http://support.arlo.com or call (US only) 1-888-NETGEAR. - Page 15 Base Station LED Guide Power Internet Camera Green Green Green The base station The base station Cameras are is powered on. is connected to connected to the the Internet. base station. Blinking green Blinking green Blinking green The base station A firmware update The base station is is in progress.
- Page 16 ©2014 NETGEAR, Inc. NETGEAR, the NETGEAR Logo, and Arlo are trademarks of NETGEAR, Inc. Compliance For regulatory compliance information, visit http://www.netgear.com/about/regulatory/. 350 East Plumeria Drive San Jose, CA 95134, USA October 2014...
Need help?
Do you have a question about the ARLO and is the answer not in the manual?
Questions and answers