Table of Contents

Related Manuals for ZyXEL Communications C1100Z


Summary of Contents for ZyXEL Communications C1100Z
- Page 1 C1100Z 802.11n Wi-Fi Router Version 1.00 Edition 1, 04/2015 Quick Start Guide Default Login Details LAN IP Address http://192.168.0.1 User Name admin Password Check the device label www.zyxel.com Copyright © 2015 ZyXEL Communications Corporation...
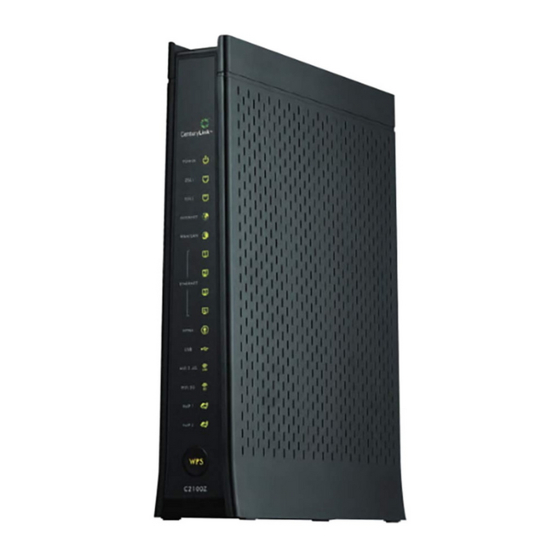
- Page 2 Device Panels POWER RESET USB SLOT POWER WAN PORT INTERNET WAN/LAN ETHERNET PORTS 1-4 ETHERNET PHONE WI-FI 2.4G PORT DSL PORT BUTTON...
- Page 3 Overview The Device is a VDSL2 router and Ethernet gateway with a four-port built-in Ethernet switch and IEEE 802.11n wireless. The Device allows wired and wireless clients to safely access the Internet. The USB port allows you to connect a USB memory stick or USB hard drive for storing or sharing files through the network.
-
Page 4: Hardware Setup
Hardware Setup To connect your Device: 1. Use a telephone cable to connect your Device’s DSL port to a telephone jack (or the DSL or modem jack on a splitter if you have one). 2. ETHERNET: Use an Ethernet cable to connect a computer to a LAN port for initial configuration and/or Internet access. - Page 5 3. USB: You can connect a USB memory stick or a USB hard drive for file sharing. The Device automatically detects the USB device. Alternatively, use a USB cable (not provided) to connect a USB printer to this port. 4. POWER: Use the provided power adaptor to connect the POWER socket to an appropriate power source.
-
Page 6: Internet Connection Setup
Internet Connection Setup Your Device can automatically detect and configure your Internet connection once the hardware is connected properly. Automatic Connection 1. Open your web browser to a website. Wait while your Device tries to detect your DSL connection to your ISP. This may take a few minutes. - Page 7 1. In your browser, if the Device does not automatically re-direct you to the login screen, go to http://192.168.0.1. 2. Enter the default user name admin and password (see the Device’s label). Click Apply. If the login screen does not open, make sure you allow web browser pop-up windows, JavaScripts and Java permissions.
-
Page 8: Set Up A Wireless Network
4. Enter the user name and password provided by your ISP. Click Apply to finish the configuration. 5. The DSL light is green on your Device and the INTERNET light comes on when the Internet is ready for you to use. If you still cannot access the Internet, contact your ISP. - Page 9 Follow these steps to add a WPS-enabled device to the wireless network using the WPS button. Place the devices you want to connect near one another. Press the WPS button on the Device. Press the WPS button on a compatible device within 2 minutes of pressing the button on the Device.
-
Page 10: Wall Mounting
Wall Mounting The following are dimensions of a screw anchor and M3 tap screw used for wall mounting. All measurements are in millimeters (mm). 1. Locate a high position on a wall that is free of obstructions. Use a sturdy wall. 2. - Page 11 3. Drill the two screw holes in the wall. Make sure the distance between the centers of the holes is the same as the wall-mount holes. Be careful to avoid damaging pipes or cables located inside the wall when drilling holes for the screws. 4.
- Page 12 5. Insert and slowly screw the screws into the anchors (or the holes if you are not using anchors). Make sure the screws are snugly fastened to the wall. They need to hold the weight of the Device with the connection cables. Do not screw the screws all the way into the wall.
-
Page 13: Federal Communications Commission (Fcc)
Federal Communications Commission (FCC): This device complies with part 15 of the FCC Rules. Operation is subject to the following two conditions: (1) This device may not cause harmful interference, and (2) This device must accept any interference received, including interference that may cause undesired operation. -
Page 14: Important Note
This device and it's antenna(s) must not be co-located or operating in conjunction with any other antenna or transmitter except in accordance with FCC multi-transmitter product procedures. IMPORTANT NOTE: Radiation Exposure Statement: This equipment complies with FCC RF radiation exposure limits set forth for an uncontrolled environment. - Page 15 This equipment may not be used on coin service provided by the telephone company. Connection to party lines is subject to state tariffs. COMPANY: ZyXEL Communications Inc. ADDRESS: 1130 N. Miller St.,Anaheim CA, 92806 USA TEL NO.: 714-6320882...
-
Page 16: Safety Warnings
Safety Warnings • Do NOT use this product near water, for example, in a wet basement or near a swimming pool. • Do NOT expose your device to dampness, dust or corrosive liquids. • Do NOT store things on the device. •... - Page 17 • Do NOT attempt to repair the power adaptor or cord. Contact your local vendor to order a new one. • Do not use the device outside, and make sure all the connections are indoors. There is a remote risk of electric shock from lightning.
Need help?
Do you have a question about the C1100Z and is the answer not in the manual?
Questions and answers