Advertisement
OWNER'S
MANUAL
Part Number 070160
PAGE 1 OF 12
You can rely on Defy. To simplify
SOLID PLATE
HOBS
2
Introduction.
2
Unpacking.
2
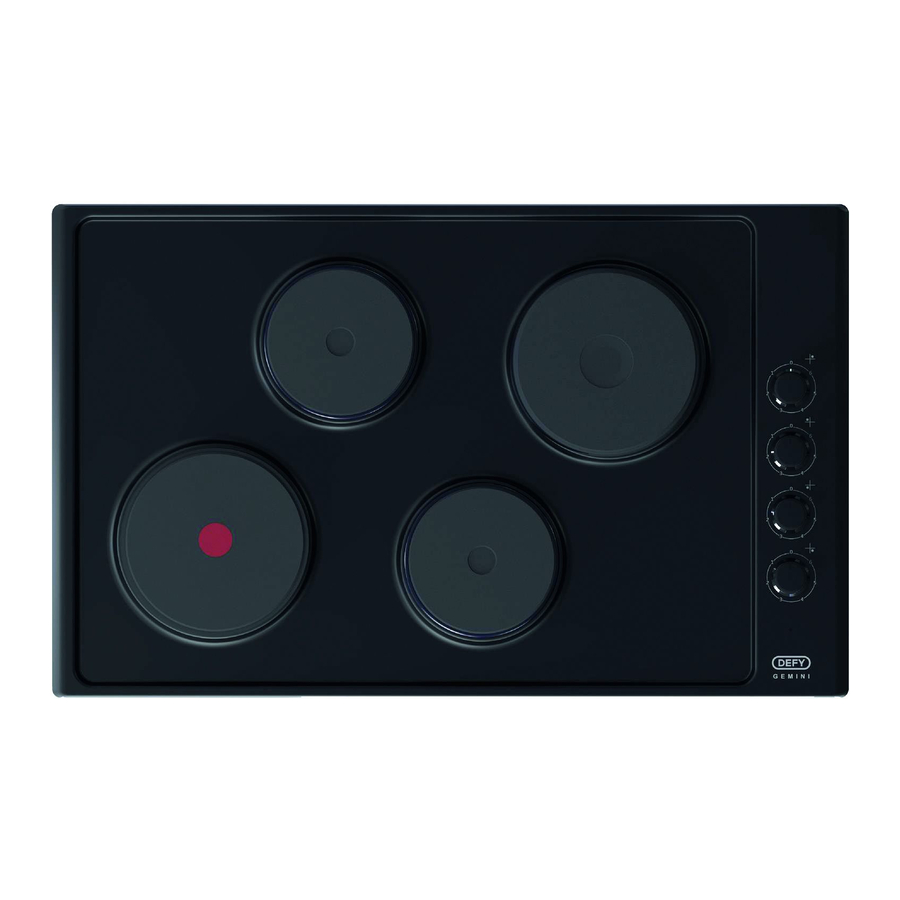
Know your product
2
Cupboard design.
3
Aperture sizes
4
Installation Solid plate hobs
5
Electrical installation
5
Safety advice
6
The controls
6
Solid plate care guide
7
Solid plates
8
Care guide for stainless steel models
9
Technical specifications.
10 Problem check.
10 Owner's responsibility
10 Purchase details to be filled in.
11 Defy Service Centres
12 Warranty.
Please register your product at
www.defy.co.za
Advertisement
Table of Contents

Subscribe to Our Youtube Channel
Related Manuals for Defy GEMINI SOLID PLATE


Summary of Contents for Defy GEMINI SOLID PLATE
- Page 1 OWNER’S MANUAL You can rely on Defy. To simplify SOLID PLATE HOBS Introduction. Unpacking. Know your product Cupboard design. Aperture sizes Installation Solid plate hobs Electrical installation Safety advice The controls Solid plate care guide Solid plates Care guide for stainless steel models Technical specifications.
-
Page 2: Know Your Product
Hobs with control panels may be used on their own or with an eye –level oven. Hobs without control panels may only be used when connected to a Defy under- counter oven. The hob controls in this instance, are located on the oven fascia. - Page 3 Aperture sizes Gemini black enamel hobs WITH a control panel WITHOUT a control panel Slimline black enamel hobs WITH and WITHOUT a control panel Slimline stainless hobs WITH a control panel WITHOUT a control panel PAGE 3 OF 12...
-
Page 4: Fixing Method
Installation for Solid plate hobs Installation is the buyer’s responsibility. The manufacturer accepts no liability for this service. Any action that the manufacturer has to take as a result of an erroneous installation will not be covered by the warranty. The hob should be installed in a ventilated cupboard fitted with a sturdy worktop and must be secured using the fixing brackets provided. -
Page 5: Electrical Installation
Electrical installation This appliance must be earthed and the manufacturer and the seller do not accept responsibility for any damage due to incorrect installation or electrical connection. Hobs with control panels Earth leakage This hob should not be connected through an earth leakage system. Refer to S.A.N.S.10142 Connection to the power supply must be carried out by a licensed electrician, who will ensure that the hob is correctly connected and safely earthed. -
Page 6: The Controls
SHORT PERIOD TO DRY TO INHIBIT CORROSION, PERIODICALLY APPLY SALT-FREE VEGETABLE OIL, TO CONSERVE ENERGYAND AVOID SPILLS WE RECOMMEND SEWING MACHINE OIL OR ELECTRICAL HOT-PLATE POLISH, YOU KEEP A LID ON THE POT. (AVAILABLE FROM DEFY SERVICE CENTRES) PAGE 6 OF 12... -
Page 7: Solid Plates
After cleaning, dry the plates by switching them on for a short while. To prevent rust, periodically apply some, sewing machine oil or electrical hotplate polish available from Defy Service Centres. Extra attention is required in areas of high humidity or in close proximity to the sea. - Page 8 Buff to shine. Stubborn stains and Use a little Ceran cleaning Repeat several times rather Discolouration. paste. (available from Defy than resorting to a single Service Centres). aggressive cleaning method. Rinse and dry. Grease and fat splatter.
-
Page 9: Technical Specifications
Technical Specifications Model GEMINI SLIMLINE SOLID PLATE SOLID PLATE 230V –250V 50Hz~ 230V –250V 50Hz~ Volts Amperes Plate power rating (W) Large plate front 2000 2000 Small plate front 1000 1000 Small plate back 1000 1000 Large plate back 1500 1500 Hobs with control panels Integrated... -
Page 10: Problem Check
Clean plates with a nylon brush, wipe off and dry. Apply a thin coating of salt free vegetable oil or hotplate polish available from Defy Service Centres The timer on Gemini hobs make a This is normal. Timers do make a clicking noise clicking noise. -
Page 11: Defy Service Centres
Defy Service Centres If you have followed the instructions and still have a problem, contact the nearest Defy Technical Support Centre. They will be able to advise you on any aspect of the product or send a qualified technician to repair it. -
Page 12: Warranty
Warranty This certificate is issued by DEFY APPLIANCES (PTY) LTD manufacturers of Defy and Ocean products, hereinafter the Company, to the original purchaser only, of the appliance described on the certificate and shall constitute the only warranty given in respect of this appliance.
Need help?
Do you have a question about the GEMINI SOLID PLATE and is the answer not in the manual?
Questions and answers
How to fit installation clamp and to put putty I can't read the sketch is not clear pls show video
To install the Defy GEMINI SOLID PLATE hob:
1. Place the hob into a ventilated cupboard with a sturdy worktop.
2. Secure the hob using the fixing brackets (clamps) provided.
3. For hobs without control panels, install them directly above the oven.
4. Ensure there is at least 75mm of unrestricted air space below the hob for ventilation.
5. Attach the rubber ‘U’ seal around the perimeter of the hob to prevent liquid spills from entering between the hob and the worktop.
There is no mention of applying putty in the provided information.
This answer is automatically generated
How to assemble defy gemini & Slimline solid plate hobs
To assemble Defy Gemini Solid Plate and Slimline Solid Plate hobs:
1. Remove Protective Film: If the hob has a protective film over the stainless steel, remove it carefully before use.
2. Attach Rubber ‘U’ Seal: Fit the rubber ‘U’ seal around the perimeter of the hob to prevent liquid spills from entering between the hob and the worktop. Do not use silicone sealer.
3. Position the Hob: Invert the hob on the worktop next to the cut-out (aperture) before making the electrical connection. This ensures enough cable length for servicing.
4. Fix the Hob: Use the securing bracket and screw suitable for the type of hob—standard or thicker countertop. This applies to Gemini Black Enamel hobs, Slimline Black Enamel hobs, and Slimline Stainless Steel hobs.
5. Electrical Installation:
- The appliance must be earthed.
- It should not be connected through an earth leakage system.
- Connection must be performed by a licensed electrician according to S.A.N.S.10142.
Make sure the hob is not damaged before installation.
This answer is automatically generated