Table of Contents
Advertisement
Quick Links
Advertisement
Table of Contents

Related Manuals for Eastwood TIG 200 DC WELDER


Summary of Contents for Eastwood TIG 200 DC WELDER
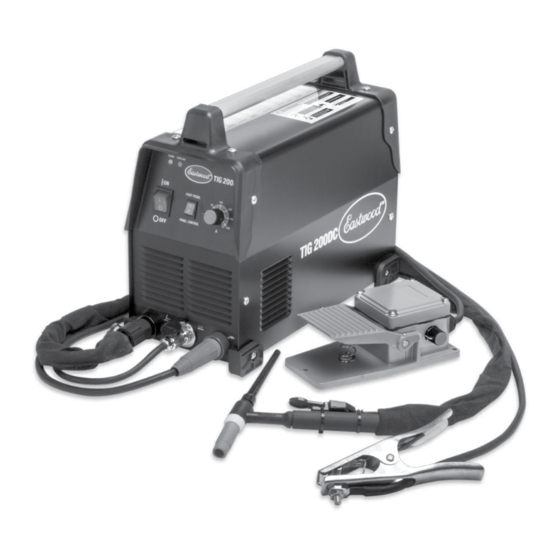
- Page 1 Part #14100 TIG 200 DC WELDER ASSEMBLY & OPERATING INSTRucTIONS...
-
Page 2: Specifications
STATEMENT OF LIMITED WARRANTY The Eastwood Company (hereinafter “Eastwood”) warrants to the end user (purchaser) of all new welding and cutting equipment that it will be free of defects in workmanship and material. This warranty is void if the equipment has been subjected to improper installation, improper care or abnormal operations. -
Page 3: Duty Cycle
DuTY cYcLE The rated Duty cycle refers to the amount of welding that can be done within an amount of time. The Eastwood TIG200 DC has a duty cycle of 60% at 150 Amps. It is easiest to look at your welding time in blocks of 10 Minutes and the Duty Cycle being a percentage of that 10 Minutes. - Page 4 ELECTRICAL SAFETY DON’TS • Never bypass the ground plug. Grounding is necessary for proper operation of the unit and reduces shock hazard. • Do not touch the torch tip until after the activation switch is off and the unit is UNPLUGGED. •...
-
Page 5: Required Items
REquIRED ITEMS Before you begin using the Eastwood TIG200 DC, make sure you have the following: • A properly grounded 110-120 VAC 50/60 Hz. 20 Amp Circuit or a 220-240 VAC 50/60 Hz. 30-50 Amp Circuit. • NOTE: Unit must be grounded to work properly and safely! •... -
Page 6: Components And Controls
cOMPONENTS AND cONTROLS 1. Power Switch – The Power Switch is located at the left of the front panel (Fig A). 2. Amperage (Front Panel) – Set the Output Amperage Knob marked “A” (Fig. A) located at right of the front panel to an appropriate setting based on the thickness and type of the metal being welded. -
Page 7: Shielding Gas Connection
Welding Supply Stores. Eastwood recommends the use of 100% Argon shielding gas when TIG welding Steel and Stainless Steel. 1. Place the Eastwood TIG200 DC in its dedicated area or on a welding cart. 2. Secure your Shielding Gas Bottle to a stationary object or mount to your welding cart if it is equipped to hold one so that the cylinder cannot fall over. -
Page 8: Preparing To Weld
PREPARING TO wELD Tungsten FIG. G TORCH DISASSEMBLY/ASSEMBLY DISASSEMBLY: 1. Make sure the welder is turned off and unplugged. 2. Remove the back cap from the torch. Collet 3. If there is a tungsten installed in the torch pull Gas Nozzle it out of the front of the torch 4. - Page 9 SETTINGS SELEcTION With the materials selected of which you will be welding you can begin to set up the welder for the specific material. 1. Foot Pedal / Panel Control – Determine whether you will be using the switch on the torch or the foot pedal for arc starting and stopping and put the selector switch in the appropriate position.
-
Page 10: Important Note
These instructions are intended only to provide the user with some familiarity of 90° the Eastwood TIG200 DC. TIG welding is a highly complex procedure with many variables. If you have no experience with TIG welding; it is extremely important... - Page 11 TROUBLESHOOTING TROuBLESHOOTING Problem Cause Check G round c onnection. M ake s ure that t he g round i s o n a f reshly c leaned Incomplete ...
-
Page 12: Troubleshooting
TROuBLESHOOTING... -
Page 13: Replacement Items
TROuBLESHOOTING AccESSORIES TIG WELDING SUPPLIES: • #12253 – ER70S-2 TIG Wire 1/16-36” • #12254 – ER70S-2 TIG Wire 3/32-36” • #2463 – 308L Stainless TIG Wire 1/16-36” • #12464 – 308L Stainless TIG Wire 3/32-36” • #12871 – Thoriated Tungsten (Red) 1/16-7” 2pc •...
Need help?
Do you have a question about the TIG 200 DC WELDER and is the answer not in the manual?
Questions and answers