Table of Contents
Advertisement
Quick Links
Advertisement
Table of Contents

Related Manuals for LaserLiner AutoCross-Laser ACL 3 P


Summary of Contents for LaserLiner AutoCross-Laser ACL 3 P
- Page 1 AutoCross-Laser ACL 3 P Bedienungsanleitung Operating instructions 7-10 Gebruiksaanwijzing 11-14 Betjeningsvejledning 15-18 Mode d´emploi 19-22 Instrucciones para su uso 23-26 Istruzioni d'uso 27-30 Instrukcja Obsługi 31-34 Käyttöohje 35-38...
- Page 2 AutoCross-Laser ACL 3 P...
-
Page 3: General Safety Instructions
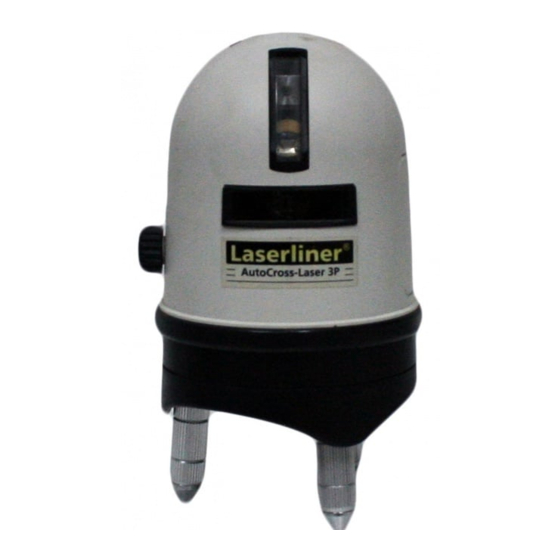
AutoCross-Laser ACL 3 P The cross-line laser with 3 line lasers and 1 plumb line laser The automatic line laser with laser crosses projected forwards and upwards and additional plumb line laser. Thanks to the upward laser cross and the plumb line laser, it is easy to draw a plumb line from ceiling to floor. - Page 4 AutoCross-Laser ACL 3 P 1 Window for vertical laser line 2 Window for horizontal laser line 3 On / Off switch Transport securing device 4 Knob for precision adjustment 5 Base 6 Adjustable feet 7 Window for plumb laser 8 Battery compartment...
- Page 5 AutoCross-Laser ACL 3 P Alignment For approximate alignment, the upper part of the device can be turned on the base. Exact positioning can be done with the adjusting knob (4). Because of the adjustable feet (6), the device can also be placed on surfaces which are not level.
- Page 6 AutoCross-Laser ACL 3 P Preparing the calibration check: It is possible for you to check the calibration of the laser. To do this, position the device midway between 2 walls, which must be at least 5 metres apart. Switch the device on (Laser cross ON). The best calibration results are achie- ved if the device is mounted on a tripod.
- Page 7 AutoCross-Laser ACL 3 P Zubehör (optional) Accesorios (opcional) Accessories (optional) Accessori (optional) Accessoires (optioneel) Akcesoria (opcja) Tilbehør (flere typer) Lisämahdollisuuksia Accessoires (en option) valinnaisvarusteilla www.laserliner.com Art.-Nr: 023.61A Art.-Nr: 090.120 Art.-Nr: 080.00...
- Page 8 AutoCross-Laser ACL 3 P LASERSTRAHLUNG NICHT IN DEN STRAHL BLICKEN! LASER KLASSE 2 M EN 60825-1:2001 Service- und Versand-Anschrift: Dirección de envío y de servicio post-venta: Service-Telefon +49 2932 638-486 +49 2932 638-489 Telefon: +49 2932 638-300 +49 2932 638-333...
Need help?
Do you have a question about the AutoCross-Laser ACL 3 P and is the answer not in the manual?
Questions and answers