
Related Manuals for Apricorn Aegis Padlock DT FIPS


Summary of Contents for Apricorn Aegis Padlock DT FIPS
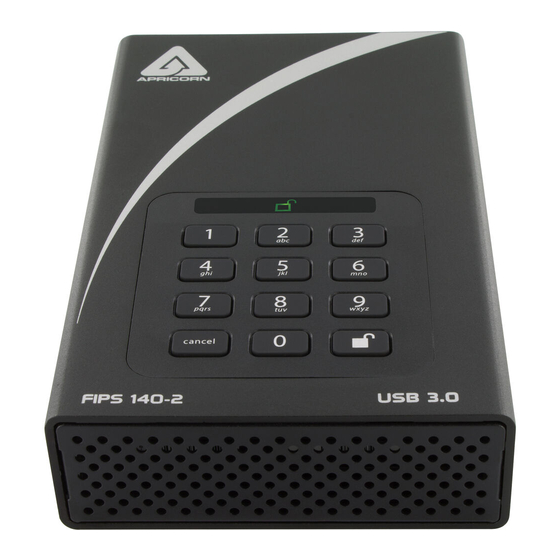
- Page 1 Aegis Padlock DT FIPS User’s Manual Remember to memorize / save your authentication and recovery PINs in a safe place. Data Security at Your Fingertips...
-
Page 2: Table Of Contents
Setting LED Flicker / Button Press Indicator Mode Setting Minimum PIN Length Requirement Setting the Unattended Auto-Lock Feature Setting a Self-Destruct PIN Aegis Padlock DT FIPS Brute-Force Protection Performing a Complete Reset Initializing and Formatting After a Complete Reset Hibernating or Logging Off from the Operating System... -
Page 3: Package Contents
BLUE / blinking GREEN LEDs. Copyright © Apricorn, Inc 2017. All rights reserved. Windows is a registered trademark of Microsoft Corporation. All other trademarks and copyrights referred to are the property of their respective owners. Distribution of modified versions of this document is prohibited without the explicit permission of the copyright holder. -
Page 4: First-Time Use
ON. Each Aegis Padlock DT FIPS is shipped without a preset Personal Identification Number (PIN) installed on the device. A 7- to 16-digit Admin PIN must first be established before the drive can be used. -
Page 5: Locking The Drive
Unlocking the Drive Enter either a User PIN or Admin PIN and press the button. If the PIN is accepted, the GREEN LED will blink three times, then will rapidly blink for a short time, followed by steady glowing, indicating that it’s now unlocked and ready for use. If the PIN is incorrect, the LED will blink. -
Page 6: Adding A New User Pin (Via Admin Mode)
Establishing a User PIN If no additional Users beyond the Admin will be permitted to access the drive’s data, disregard this page’s contents as it relates only to the “User” PINs. The Aegis Padlock DT can have one Admin and four additional Users, making a total of five authentication PINs. -
Page 7: Deleting The User Pin
Deleting the User PIN You can delete the User PIN by doing the following: Enter the Admin mode. (Hold + 0 for five seconds. With the LED blinking, enter the Admin PIN and press the button.) The BLUE LED will now glow steadily. Press the 7 + 8 buttons together for five seconds. -
Page 8: Setting One-Time-Use Recovery Pins
Setting One-Time-Use Recovery PINs Gives the Admin the ability to set Recovery PINs that will allow a User to access data on the Padlock DT FIPS in the event of a forgotten PIN by creating a new state of User Forced Enrollment in which a new User PIN can be established without wiping any data off of the drive. -
Page 9: Setting Read-Only Or Read / Write Modes From Admin Mode
Setting Read-Only or Read / Write modes from Admin Mode With a large number of viruses and Trojans that attach themselves to USB devices, this feature is especially useful if you need to access data on the drive when used in a public setting. -
Page 10: Setting Read-Only Or Read / Write Modes From The User Mode
Setting Read-Only or Read / Write From the User Mode This mode allows the User to set the Read / Write status of the drive without having access to the Admin functions. When the drive is unlocked in Read-Only mode the LED will blink once every GREEN three seconds while the... -
Page 11: Setting Led Flicker / Button Press Indicator Mode
Setting LED Flicker / Button Press Indicator Creates a flickering effect in LED lights indicating positive button presses Enter the Admin mode. (Hold + 0 buttons for five seconds – with LED blinking, BLUE enter the Admin PIN and press the button.) The LED will glow steadily. -
Page 12: Setting A Self-Destruct Pin
Setting a Self-Destruct PIN For certain users, it’s important to have a “last-resort” level of security where sensitive data falling into the wrong hands must be avoided. The Padlock DT’s Self-Destruct PIN defends against physically compromising situations by erasing the key’s contents, leaving it to look as if it never had any data written to it. -
Page 13: Aegis Padlock Dt Fips Brute-Force Protection
Aegis Padlock DT Brute-Force Protection What is Brute-Force Attack? A Brute-Force Attack is a means of breaching a cryptographic data defense scheme by systematically running an astronomical number of decryption possibilities. With AES 256 having never been cracked, the data stored on a Padlock DT FIPS is going to be more than well-protected against brute-force. -
Page 14: Performing A Complete Reset
Performing a Complete Reset NOTE: A complete reset will erase encryption keys and PINs and leave the Aegis Padlock DT FIPS in an unformatted condition. There may be circumstances (forgotten PIN, redeployment, return to factory default settings) when you need to completely reset the drive. The complete reset feature will perform a crypto-erase on the drive, generate a new encryption key, delete all users, and return all of the settings to factory default. -
Page 15: Initializing And Formatting After A Complete Reset
Initializing and Formatting the Aegis Padlock DT FIPS After a Complete Reset A complete reset of the Aegis Padlock DT FIPS will erase all information and partition settings. You will need to initialize and format the drive again after reset. -
Page 16: Hibernating Or Logging Off From The Operating System
Away from your computer • Using the switching user function by sharing a computer with others Aegis Padlock DT FIPS Setup for Mac OS ® Your Aegis Padlock 3 is pre-formatted in NTFS for Windows. To reformat the drive to a Mac compatible format please perform the following: Once the key is unlocked, open Disk Utility from Applications/Utilities/Disk Utilities. -
Page 17: Diagnostic Mode
Diagnostic Mode The keypad has a manual diagnostic mode built-in to verify proper keypad function and troubleshooting key issues. This mode will not allow access to any data or admin function. It can only be used to identify the firmware level and to test button recognition. -
Page 18: Lock-Override Mode
Lock-Override Mode Certain users may encounter a case where they need the drive to remain unlocked during a reboot, passing the device through a virtual machine or other similar situations which, under normal circumstances, would cause the drive to lock. To help facilitate this use case, “Lock-Override Mode” will allow the drive to remain unlocked through USB port re-enumeration and will not lock again until USB power is interrupted. -
Page 19: Troubleshooting / Faqs
Troubleshooting This section contains troubleshooting information and FAQs for the Aegis Padlock 3. Q: What can I do if I forget the User PIN? A: Use your Admin PIN to enter the Admin Mode and create another User PIN. Additionally you may access the drive by enabling a recovery PIN and establishing a new USER PIN. -
Page 20: Quick Reference Guide For Key Command Programming
Quick Reference Guide for Programming Key Combinations Standby Mode • 7+6 = Read-Only On • 7+9 = Read-Only Off Cancel +1 then hold 0 = Diagnostic Mode User Mode • Unlock + 1 = Enter User PIN (from forced enrollment state) •... -
Page 21: Warranty And Rma Information
Warranty and RMA information Three Year Limited Warranty: Apricorn offers a 3-year limited warranty on the Aegis Padlock DT FIPS against defects in materials and workmanship under normal use. The warranty period is effective from the date of purchase either directly from Apricorn or an authorized reseller. - Page 22 © Apricorn, Inc. 2017. All rights reserved. 12191 Kirkham Road Poway, CA, U.S.A. 92064 1-858-513-2000 www.apricorn.com...
Need help?
Do you have a question about the Aegis Padlock DT FIPS and is the answer not in the manual?
Questions and answers