Do you have a question about the My Cloud PR2100 and is the answer not in the manual?
Questions and answers
chip
May 29, 2025
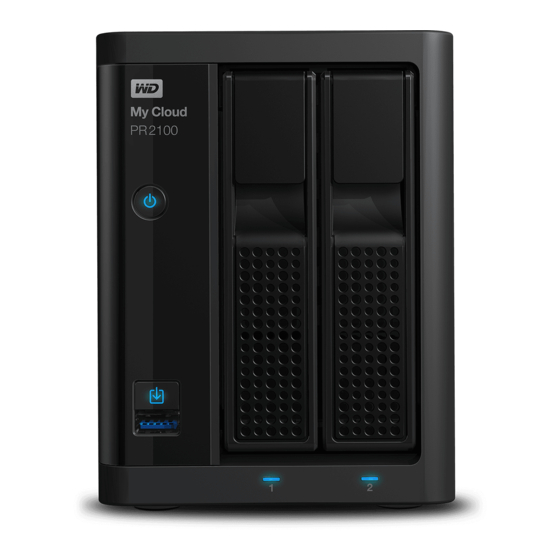
both hard new hard drives have solid red lights after hours
1 comments:
Mr. Anderson
May 29, 2025
When both hard drives in a Western Digital PR2100 have solid red lights, it may indicate that the device is unable to mount a USB drive, even if the drive appears to function normally. However, red lights can have multiple meanings, including issues with the drives being nearly full or other hardware or software problems. A system diagnostic test from the device’s Utilities screen can help determine the exact issue.
This answer is automatically generated
Related Manuals for Western Digital My Cloud PR2100


Need help?
Do you have a question about the My Cloud PR2100 and is the answer not in the manual?
Questions and answers
both hard new hard drives have solid red lights after hours
When both hard drives in a Western Digital PR2100 have solid red lights, it may indicate that the device is unable to mount a USB drive, even if the drive appears to function normally. However, red lights can have multiple meanings, including issues with the drives being nearly full or other hardware or software problems. A system diagnostic test from the device’s Utilities screen can help determine the exact issue.
This answer is automatically generated