Table of Contents
Advertisement
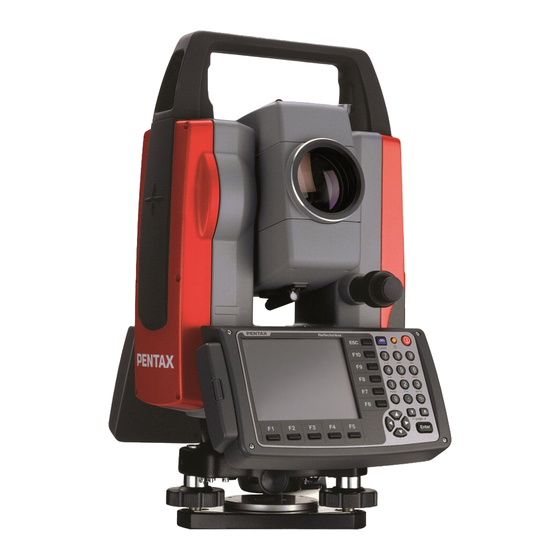
TOTAL STATION
W-800
BASIC
INSTRUCTION
MANUAL
W-821NX
W-822NX
W-823NX
W-825NX
W-835NX
TI Asahi Co., Ltd.
International Sales Department
4-3-4 Ueno Iwatsuki-Ku, Saitama-Shi
Saitama, 339-0073 Japan
Tel.: +81-48-793-0118
Fax. +81-48-793-0128
E-mail: International@tiasahi.com
www.pentaxsurveying.com/en/
SERIES
Advertisement
Table of Contents


Need help?
Do you have a question about the W-821NX and is the answer not in the manual?
Questions and answers