
Related Manuals for RODE Microphones NT2000


Summary of Contents for RODE Microphones NT2000
- Page 1 NT2000 Instruction Manual www.rodemic.com ( EMC, LVD )
- Page 2 Thank you for investing in the NT2000 seamlessly variable studio condenser microphone. We are extremely proud of the NT2000. It is not only the world’s fi rst large diaphragm condenser studio microphone with seamlessly variable polar pattern, fi lter and PAD located conveniently on the microphone...
-
Page 3: Specifications
Specifi cations Acoustic Externally polarised 25mm (1”) Principle: dual diaphragm condenser Active JFET impedance converter with Electronics: bipolar output buffer Directional Continuously variable Pattern: multi pattern - Omni, through Cardioid to Figure 8 (see graphs) Frequency 20Hz ~ 20kHz Range: (see graph) Output 200Ω... -
Page 4: Frequency Response
Specifi cations Frequency Response Cardioid 2 0 Hz 1 00 10 00 10 000 20 00 0 Omni Polar Response – – – – – – 0˚ +5.0 -2.0 -2.0 -4.0 -6.0 -8.0 -10.0 -10.0 -12.0 -14.0 -16.0 -18.0 -20.0 -20.0 -22.0 -24.0... - Page 5 Features • Large 1” (25mm) HF1 gold sputtered capsule • Continuously variable polar pattern, from Omni to Cardioid to Figure 8 controlled on the mic • Continuously variable PAD and High-Pass Filter • Ultra low noise, transformerless SMT circuitry • Wide dynamic range •...
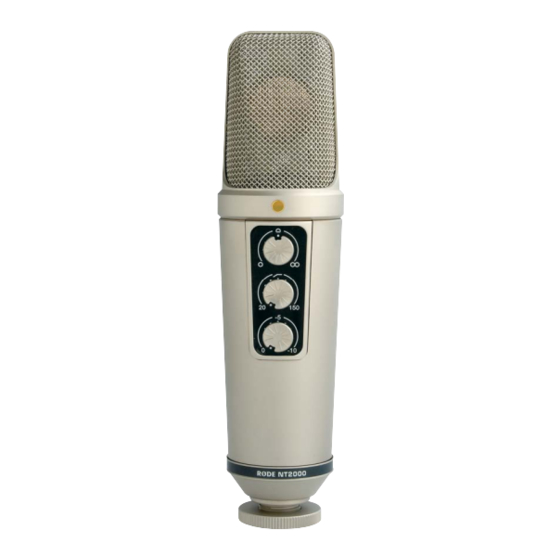
- Page 6 Polar pattern control dial • The gold dot on the face of the NT2000 indicates the front of the microphone, and the primary pick- up area for the cardioid pattern.
- Page 7 Using the NT2000 Using the High-Pass Filter • The High-Pass Filter controls the bass frequencies. Sometimes referred to as a ‘bass cut’, this will reduce the selected bass frequency and all frequencies below that. The HPF can be adjusted by moving the middle of the three dials on the microphone.
- Page 8 • Connect all cables before applying power to the microphone and never remove the microphone cable while the power is connected. • The NT2000 requires P48 volts or P24 volts phantom power. • If the mixer or preamp does not contain this phantom power requirement, then an external phantom power supply is needed.
- Page 9 fi nding the preferred ‘sound’ is a matter of experimentation. Storing the NT2000 • After use the NT2000 should be removed from its shock mount, wiped with a dry, soft cloth and placed in its protective case. • Be sure to place the moisture-absorbent crystals (supplied) at the head of the microphone(s), so as to absorb any moisture present.
- Page 10 Notes These diagrams are for you to write down any settings you may wish to recreate at a later date. - 10 -...
- Page 11 Notes It is important to remember however that room acoustics will also dramatically effect the sound. - 11 -...
-
Page 12: Warranty
Warranty microphones are warranted for one year from date of purchase. You can extend that to a full ten years if you register online at www.rodemic.com. The warranty covers parts and labour that may be required to repair the microphone during the warranty period.
Need help?
Do you have a question about the NT2000 and is the answer not in the manual?
Questions and answers