
Related Manuals for Audiovox PROV916 P


Summary of Contents for Audiovox PROV916 P
-
Page 1: Installation Guide
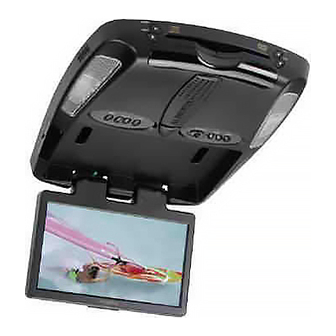
® ELECTRONICS CORP . VOD916 Drop Down Video TV/Monitor with DVD PROV916/PROV916 S/PROV916 P Drop Down Video TV/Monitor with DVD AUTO ON OFF AUTO PROG CHANNEL SOURCE VOLUME SELECT Installation Guide... -
Page 2: Important Notice
Important Notice It is unlawful in most jurisdictions for a person to drive a motor vehicle which is equipped with a television viewer or screen that is located in the motor vehicle at any point forward of the back of the driver's seat, or that is visible directly or indirectly to the operator of the motor vehicle. -
Page 3: Materials Included In This Package
MATERIALS INCLUDED IN THIS PACKAGE: 1) VOD916/PROV916/PROV916 S/PROV916 P TV/Video Monitor with DVD (1pc) 2) 12 Pin Power / Signal harness (P/N 112B2821) (1 pc) 3) 3 Pin Power Wire Harness with choke (P/ N 112B3274) (1 pc) 4) Hardware Package #4 x 3/8”... -
Page 4: General System Configurations
The following is intended to provide some of the system configurations that are possible with the VOD916/ PROV916/PROV916 S/PROV916 P series Drop Down Video Systems: System 1: Video Monitor with TV tuner (VOD916/PROV916/PROV916 S/PROV916 P), with DVD. Notes : There are a few audio output options that can be added as follows: a) Wired headphone jacks can be added to a VOD916/PROV916/PROV916 S/PROV916 P system. -
Page 5: Vehicle Preparation
VEHICLE PREPARATION: Locate a constant power source (+12v at all times), an accessory power source (+12v when key is in the ACC. and run positions, and 0v when key is off), and also a good ground generally, these wires can be found at the ignition switch or fuse-box. The mounting method and location will vary from vehicle to vehicle, so this manual will only focus on the installation of the video monitor and related console accessories. - Page 6 MINI CONSOLE INSTALLATION: This page only covers special installation considerations for the mini-console installation. If the video monitor is to be installed in a vehicle with the mini console, this console may need to be trimmed to fit the contour of the vehicle headliner. In this installation, the video monitor is mounted directly to the overhead cross-member in the roof using the mounting screw bosses.
- Page 7 MOUNTING THE MINI-CONSOLE Roof Roof Support Headliner 12”x9”x3/4” Plywood Block (4) Self-Tapping Screws (not supplied) Mini-Console Video Unit (5) #8 Flat Washers (5) #8x3/4” Self-Tapping Screws...
- Page 8 VOD916/PROV916/PROV916 S/PROV916 P FACTORY RADIO To Secondary AV Monitor INPUT 12 VDC Power and Ground VIDEO Auxillary video display Optional Remote Headphone Stations Green (Right+) Black (Ground) Gray (Left+) 1) Make the connections to the vehicle for the 12 pin wiring harness and battery wire.
- Page 9 POD modulator (FTR3000) using the POD remote control. Using an Audiovox XM satellite receiver 1) The Audiovox XM-01 satellite receiver does not operate the same as the Sirius, the FM modulator is external to the XM receiver.
-
Page 10: Connecting The Dome Lights
CONNECTING THE DOME LIGHTS The dome lights in the video monitor require three connections to the vehicle's wiring. There are two common types of dome light circuits used, positive or negative switched. Positive systems supply voltage to the interior lights to turn them on, negative switched systems apply ground to illuminate the bulbs. -
Page 11: Troubleshooting
Negative Switched Dome lighting Factory Dome light circuit Troubleshooting: SYMPTOM: No power at Video Monitor Power but no video or sound Picture, but no sound Static on TV Stations (Tuner Version Only) No Infrared remote func- tions for VCP (or other com- ponents) Red / black - Lamp on To 12 pin... - Page 12 For Customer Service Visit Our Website At .audiovox.com Product Information, Photos, FAQ’s Owner’s Manuals 128-6744 © Copyright 2003 Audiovox Electronics Corp. 150 Marcus Blvd. Hauppauge, NY 11788...
Need help?
Do you have a question about the PROV916 P and is the answer not in the manual?
Questions and answers