Table of Contents
Advertisement
Quick Links
OPERATION and MAINTENANCE MANUAL
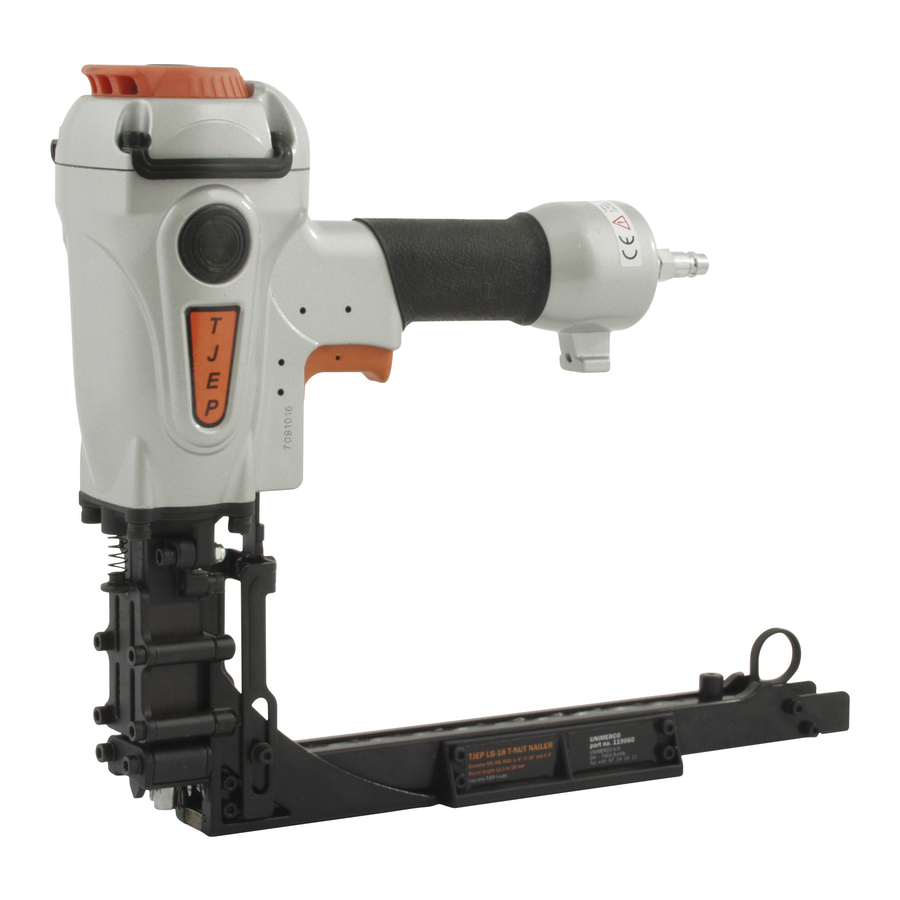
MODEL : TJEP LB-18 T-NUT
NAILER
DRIVES 11,5-18MM (7/16"-3/4") T-NUTS
WARNING:
,!
BEFORE OPERATING THIS TOOL, ALL OPERATORS SHOULD STUDY MANUAL
TO UNDERSTAND AND FOLLOW THE SAFETY WARNINGS AND INSTRUCTIONS.
KEEP THESE INSTRUCTIONS WITH THE TOOL FOR FUTURE REFERENCE. IF
YOU HAVE QUESTIONS, CONTACT YOUR DISTRIBUTOR.
- 1 -
1
Advertisement
Table of Contents

Related Manuals for TJEP LB-18 T-NUT


Summary of Contents for TJEP LB-18 T-NUT
- Page 1 OPERATION and MAINTENANCE MANUAL MODEL : TJEP LB-18 T-NUT NAILER DRIVES 11,5-18MM (7/16”-3/4”) T-NUTS WARNING: BEFORE OPERATING THIS TOOL, ALL OPERATORS SHOULD STUDY MANUAL TO UNDERSTAND AND FOLLOW THE SAFETY WARNINGS AND INSTRUCTIONS. KEEP THESE INSTRUCTIONS WITH THE TOOL FOR FUTURE REFERENCE. IF YOU HAVE QUESTIONS, CONTACT YOUR DISTRIBUTOR.
-
Page 2: Table Of Contents
MAINTENANCE…………………………………………………………………………….….10 OPERATOR TROUBLESHOOTING…………………………………………………………14 TOOL SPECIFICATIONS MODEL LENGTH WIDTH HEIGHT WEIGHT CAPACITY 322 mm 403mm 81mm 3.2kg TJEP LB-18 13 T-NUTS (12 11/16“) (15 7/8“) (3 3/16“) (7,1lbs) FASTENER SPECIFICATIONS: MODEL T-NUT SIZE DIAMETER BARREL LENGTH 23×21mm M6, M8, M10 11,5-18mm TJEP LB-18 ×13/16”) -
Page 3: Safety Instructions
SAFETY INSTRUCTIONS SAFETY FIRST These safety instructions provide information necessary for safe operation of pneumatic tools. DO NOT attempt to operate the tool until you read and understand all safety precautions and manual instructions. WEAR EYE AND HEARING PROTECTION Always wear hearing and eye protection devices, including side shields when operating or working in the vicinity of a tool. - Page 4 SAFETY INSTRUCTIONS OPERATE THE TOOL ONLY ON A WORKPIECE The tool should be operated only when it is in contact with the work piece. Even then you should be careful when fastening thin material or working near the edges and corners of the work piece since the fasteners may drive through or away from the work piece.
- Page 5 SAFETY INSTRUCTIONS ALWAYS USE THE PROPER FITTING FOR THE TOOL Only MALE pneumatic type air connectors should be fitted to the tool, so that high pressure air in the tool is vented to atmosphere as soon as the air line is disconnected. NEVER install FEMALE quick disconnect couplings on the tool.
-
Page 6: Air Systems
AIR SYSTEMS For air-powered tools to work their best, the air supply system must be properly installed and maintained regularly. A drawing in this section shows a properly installed air supply system. Handy checklists for installing and maintaining air supply systems follow. INDOOR AIR SYSTEM INSTALLATION BE CERTAIN THAT: All pipes supplying air have a large enough inside diameter to... - Page 7 AIR SYSTEMS The air system is lubricated regularly. A regular maintenance program is followed. FILTER/REGULATOR/LUBRICATOR UNITS: Filter/regulator/lubricator units that can supply enough air and protection for pneumatic tools must meet the following specifications: Minimum 3/8 inch NPT port size. 50 micron or finer filters. Regulated pressure from zero to 120 psi.
-
Page 8: Tool Installation
TOOL INSTALLATION DANGER Air pressure at the tool must never exceed 120 psi. Your pneumatic tool comes ready for immediate use and can be installed by following these steps: i. SAFETY-All tool operators and their immediate supervisors must become familiar with the operator safety instructions before operating the tool. -
Page 9: Tool Loading
TOOL LOADING WARNING Never point the tool at yourself and others in work area. i. Hold the tool handle firm, pull the pusher backward to the end of magazine and rotate the pusher downward to position. ii. Insert T-nut strips from rear of magazine. iii. -
Page 10: Tool Operation
v. The tool is now ready to operate. TOOL OPERATION SEQUENTIAL OPERATION: The sequential operating prevents successive or “bounce” driving. Depress the work contacting element and hold it against the work surface before pulling the trigger. After each fastener is driven, completely release the trigger and lift the tool from the work surface. -
Page 11: Maintenance
MAINTENANCE These tools are built for ease of maintenance. A few simple details will assure trouble-free operation and long tool life. Anyone who uses or maintains the tool must read the safety and maintenance instructions. Study the schematic drawing before starting any repairs on the tool. Air-operated tools must be inspected periodically, and worn or broken parts must be replaced to keep the tool operating safety and efficiently. - Page 12 Once the tool is warmed up, readjust the regulator to the proper working pressure and reload the tool. Tool operators working outdoors or in unheated areas in extremely cold temperatures. Use recommended air tool oil with antifreeze in the lubricator. MAINTENANCE Once a week, depending on the amount of tool use, take the tool apart and wash away any sludge with degreaser cleaner parts to...
- Page 13 Use only approved fasteners in the tool, and ensure that they are correct for the application. Ensure that a male air fitting is securely connected to the tool. Test the tool by driving fasteners into a workpiece identical to the tool’s application.
- Page 14 MAINTENANCE CAUTION Disconnect the tool when performing repairs. MAINTENANCE TABLE ACTION Drain air line filter Prevent accumulation Open manual petcock( (daily). of moisture and dirt. most air supply systems have such a valve). Keep lubricator filled. Keep tool lubricated. Fill with recommended air tool lubricant Clean filter element-then Prevent clogging of...
-
Page 15: Operator Troubleshooting
feeder mechanism clean. fasteners. Lubricate ”O” rings that Assure long life and Use lithium grease or are replaced. proper operation of equivalent. tool. Use only recommended Keep tool operating Order any replacement replacement parts. efficiently. parts needed from local service center dealer. OPERATOR TROUBLESHOOTING CAUTION Disconnect the tool when performing... - Page 16 - 16 -...
- Page 17 - 17 -...
- Page 18 - 18 -...
- Page 19 - 19 -...
Need help?
Do you have a question about the LB-18 T-NUT and is the answer not in the manual?
Questions and answers