NRI Currenza C2 Owner's Manual
Hide thumbs
Also See for Currenza C2:
- Technical documentation manual (90 pages) ,
- Reference manual (46 pages) ,
- Technical documentation manual (11 pages)
Table of Contents
Advertisement
Advertisement
Table of Contents

Related Manuals for NRI Currenza C2


Summary of Contents for NRI Currenza C2
- Page 1 Technical Documentation Owner’s Manual...
- Page 2 SAFETY INSTRUCTIONS Please, read these safety instructions before operating the unit. Proper use: The C Currenza coin changer was designed to operate in vending machines with MDB interface. There are C models available which operate with other interfaces. This coin changer has been manufactured with state of the art technology and observing all safety regulations, however, this unit could be a source of hazard.
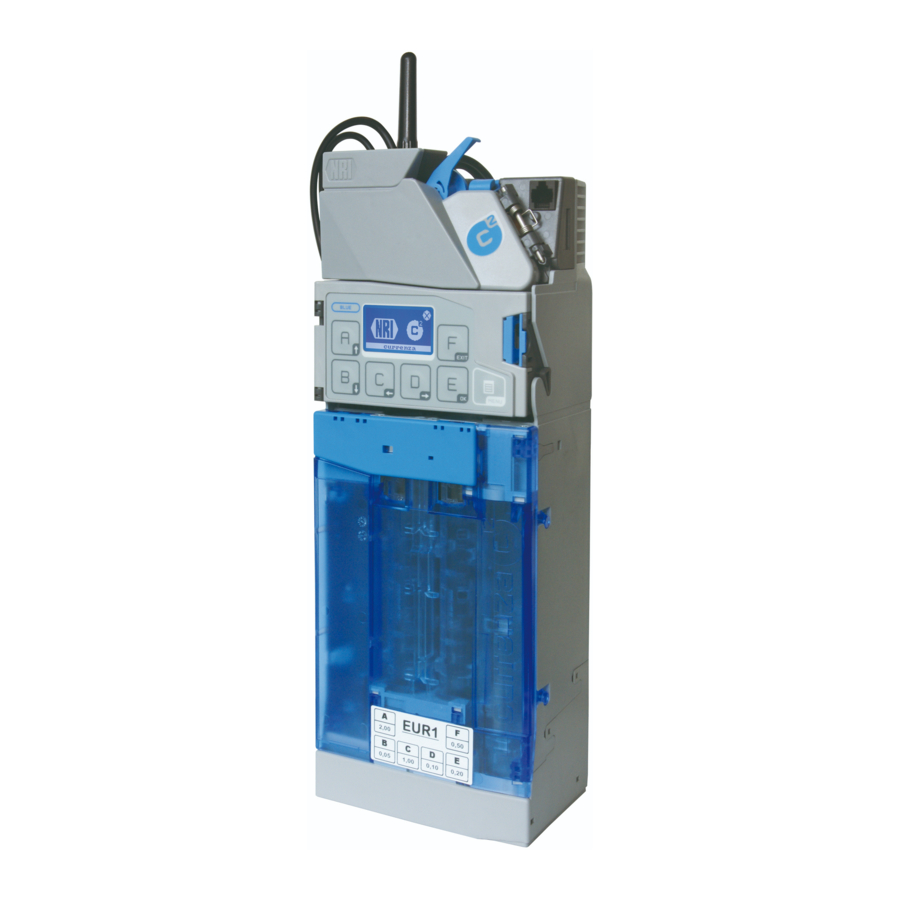
- Page 3 Overview The Currenza is a six tube, flexible cassette coin changer, equipped with four optical sensors per tube for coin level detection and an easy to navigate, intuitive, 2”x 1”display human interface. The acceptor lid and sorter section door open up allowing complete access to the coin path for routine maintenance.
- Page 4 Installation 1. Turn vending machine power off. 2. Unlatch coin changer head (blue latch next to coin return lever). Remove head from main chassis. 3. Hang coin changer on the machine by the three mounting points, fasten mounting screws. 4. Replace coin changer head. 5.
- Page 5 b. By removing the coin cassette: This is the fastest way to fill the coin cassette. Remove cassette by pulling the blue cassette latch, followed by an up and out motion. The cassette comes straight out. Fill manually with the necessary coins (as indicated on the cassette label).
- Page 6 Pressing the Menu key takes you to the Main Menu screen. Pressing A through F takes you to the associated submenu. When navigating in the submenus, pressing “F” takes you one level Up and “E” acts as the Enter key. In addition, where applicable, “A” and “B” are used to scroll up and down.
- Page 7 Keys “A” and “B” allow you to scroll up and down to highlight the desired function. Once the desired function is selected, pressing “E” allows you to enter that function. Show payout combination; Displays the current payout combination programmed in the coin changer. It should match the cassette label. ...
- Page 8 Procedure: Press Menu → Press “C” for Service → Scroll down to highlight Token Teach → Press “E” to enter this selection → Highlight Token teach then press “E” → Scroll down to select the channel where you want to program the new token (the has three dedicated token channels) →...
- Page 9 If the module selected is OK the shows “Status: OK” When there is a problem with that module the will show”Status: Error”, pressing the “D” key provides access to the details. Settings: All the settings are done via the built-in human interface. To access: Press Menu →...
- Page 10 1. Operating modes: Configure inventory keys: This setting pertains to the keypad which could be “keys enabled”, “keys blocked” and “controlled by VMC”. Default setting is “keys enabled”. Security stock in the tubes: This determines if the coin changer pays out the safety coins (last three coins).
- Page 11 Default setting is “not active”. Simple pay out: If active, the coin changer dispenses one coin at a time, used with battery operated machines. Options are “active” or “not active” Default setting is “not active”. 2. Inhibit mask: It is used to enable and disable acceptance for the different coin denominations.
- Page 12 4. Coin settings: Filling level limitation: It is used to program the maximum capacity for each individual tube. By default, this capacity is coincident with the top level sensor but it can be set to a lower number. Highlight “Filling level limitation” and press the “E” key → with “A” and “B” scroll up/down to select the coin tube to be set →...
- Page 13 Below is the table of preset payout combinations including the CMS part #”s, cassette code (USD1, etc.) and coin denominations involved. Description Part # 5900545 C2 CASSETTE-USD1-NNDQQ$ 5900546 C2 CASSETTE-USD2-NNDQQQ 5900547 C2 CASSETTE-USD3-NDQQ$$ 5900548 C2 CASSETTE-USD4-NQ$$$$ 5900549 C2 CASSETTE-USD5-NQQQQQ 5900550 C2 CASSETTE-USD6-NNDDQQ 5900551 C2 CASSETTE-USD7-NNDQ$$...
- Page 14 Security level: If needed, it is possible to have different acceptance windows to be able to reject eventual fraud coins. This is similar to the “High Security/High Acceptance” setting for bill validators. The Currenza is capable of having three different acceptance settings per coin denomination. At this time there is only “normal”...
- Page 15 Currency code: The currency code is the international code for currency. It is passed to the VMC. Default setting is “1840” US code. MDB-Level: This level sets the MDB communications between the VMC and the coin changer. Options are: level 2, level 3. Default setting is “level 3”.
- Page 16 The up-date is downloaded into the unit by means of the NRI proprietary HENRI module. This module is distributed by CMS under the following part #:...
- Page 17 Validator module, Changer module and Display. The new software as well as the HenriFlash application are available for download from the NRI website www.nri24.com It can also be requested from Crane Merchandising Systems.
- Page 18 4. When the file selection is complete click on Update. The selected file will be sent to the Henri module. This process only takes a few seconds. Disconnect the USB cable from the PC. 5. Now the Henri is ready to update the unit on-site.
- Page 19 9. Press the key corresponding to the module to be updated, i.e.: “B” for coin changer, which is the microprocessor on the interface PCB. 10. Henri will display the current software for that module as well as the version ready to be downloaded. Pressing “E” starts the download. The display shows how the download is progressing.
- Page 20 Appendix “A” CMS part #’s Currenza Number of Tubes by coin Changer’s denomination – USA Changer Model ready Cassette .01 .05 .10 .25 1.00 Part # C2-B6M-R-USD-USD1 USD1 5900512 C2-B6M-R-USD-USD2 USD2 5900513 C2-B6M-R-USD-USD3 USD3 5900514 C2-B6M-R-USD-USD4 USD4 5900515 C2-B6M-R-USD-USD5 USD5 5900516 C2-B6M-R-USD-USD6 USD6...
Need help?
Do you have a question about the Currenza C2 and is the answer not in the manual?
Questions and answers