Table of Contents
Advertisement
Sussman Lifestyle Group
New York Corporate Office: 43-20 34th Street
Long Island City, NY 11101
•
West Coast Regional Office: 9410 S. La Cienega Blvd., Los Angeles CA 90301
®
800.76.STEAM (800.767.8326)
fax: 718.472.3256
•
•
email: slg@sussmancorp.com
www.mrsteam.com
•
•
S
Mr
team
A Lifetime of Pleasure
TEMPO/REMOTE
™
TEMPO/PLUS
™
-
WIRELESS REMOTE CONTROL
IN
SHOWER
/
FOR TEMPO
PLUS
ELECTRONIC CONTROL
_____________
Owner's Manual
_____________
Installation Guide
_____________
Safety Information
_____________
User's Instructions
_____________
Care Tips
®
®
TEMPO
™
TEMPO/EXT
™
-
/
IN
SHOWER
ON
OFF SWITCH
ELECTRONIC CONTROL
FOR TEMPO AND
/
TEMPO
PLUS
Advertisement
Table of Contents

Related Manuals for mr. steam TEMPO/PLUS


Summary of Contents for mr. steam TEMPO/PLUS
- Page 1 ® A Lifetime of Pleasure ® TEMPO/REMOTE ™ TEMPO/PLUS ™ TEMPO ™ TEMPO/EXT ™ WIRELESS REMOTE CONTROL SHOWER SHOWER OFF SWITCH FOR TEMPO PLUS ELECTRONIC CONTROL ELECTRONIC CONTROL FOR TEMPO AND TEMPO PLUS _____________ Owner's Manual _____________ Installation Guide...
-
Page 2: Table Of Contents
SUSSMAN LIFESTYLE GROUP, MRSTEAM, AUTOFLUSH, STEAM@HOME, MRSAUNA, WARMATOWEL & Des., AROMAFLO, A LIFETIME OF PLEASURE and STEAM ON DEMAND are registered trademarks of Sussman-Automatic Corporation ALLEGRO, F1 PLUS, SAUNA/ONE, TEMPO, TEMPO/PLUS, TEMPO/REMOTE and TEMPO/EXT are trademarks of Sussman-Automatic Corporation. _____________________________________________________________________________ ©... -
Page 3: Safety & Operating Information
TEMPO/PLUS ™ call MrSteam If a TEMPO/PLUS control is to be used with a TEMPO/REMOTE control the TEMPO/PLUS must be in technical service for replacement parts. located for "direct line of sight" operation with the TEMPO/REMOTE control. See the TEMPO/REMOTE operating instructions before installation of the TEMPO/PLUS control. -
Page 4: Installation Instructions
Determine the desired installation location of the con- Control Cable (30 ft.) the control as shown in diagram 3. Provide trol. The TEMPO and TEMPO/PLUS controls are Steam Head power and test the control to verify correct designed to be installed inside or outside the steam Tube of Silicon Sealant connections. -
Page 5: Tempo/Remote Tm
Operating Instruction TEMPO/ PLUS Operating Instruction ™ The Tempo/Plus Control features programmable digital The Tempo Control features programmable digital temperature control, a fixed (60) minute duration, ON/OFF and PAUSE. temperature control, programmable time duration, ON/OFF and PAUSE and two personal settings storage. -
Page 6: Tempo Tm
To program preferred settings: Press a PROG1 or PROG2 TEMPO/REMOTE Control key. Enter the preferred time and temperature settings. Control Holder The TEMPO/PLUS will store these settings when the (2) Holder Screws PROG keys are selected. User's Manual To select PROG1 or PROG2 : Press ON then press PROG1 or PROG2. -
Page 7: Programming The Code
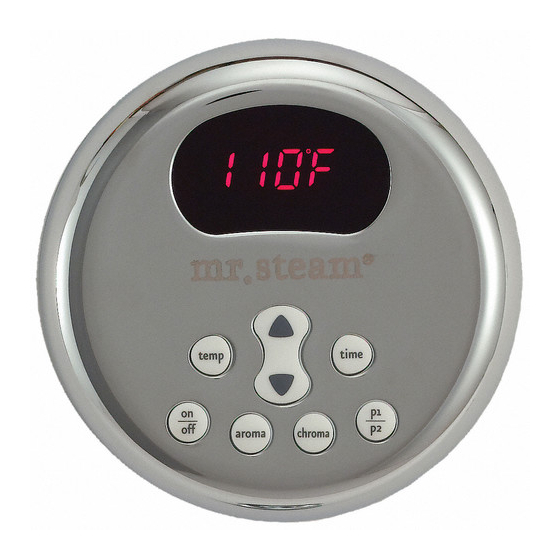
Temp Time • Press SETUP key to set the mode. Setting Temperature Set Point Turn on the TEMPO/PLUS control. Turning Unit ON/OFF 1. Press SETUP key. 2. Press and hold PROG 1 Press the TEMP UP or TEMP DOWN key. -
Page 8: Setting Program Values
If LED indicator flashes 3 times, it means that programmed code settings have been erased and remote control has reverted to factory settings. TEMPO / TEMPO/PLUS / TEMPO/REMOTE / TEMPO/EXT Owner’s Manual TEMPO / TEMPO/PLUS... -
Page 9: Tempo/Ext
Seal screw holes in the wall against moisture as required. ™ TEMPO REMOTE The TEMPO/EXT ® control can only be used together with a TEMPO or TEMPO/PLUS control SCREWS PROVIDED The TEMPO/EXT ® control functions as an external ON/OFF switch for the HOLDER TEMPO or TEMPO/PLUS control... - Page 10 4. STEP 4 - Diagram 5 Apply silicone (provided with TEMPO or TEMPO/PLUS control) to the hole in the wall Diagram 4 as required to create a moisture seal. Diagram 5 Apply silicone to the back of the switch as required to seal grout lines or as required for additional adhesion.
Need help?
Do you have a question about the TEMPO/PLUS and is the answer not in the manual?
Questions and answers