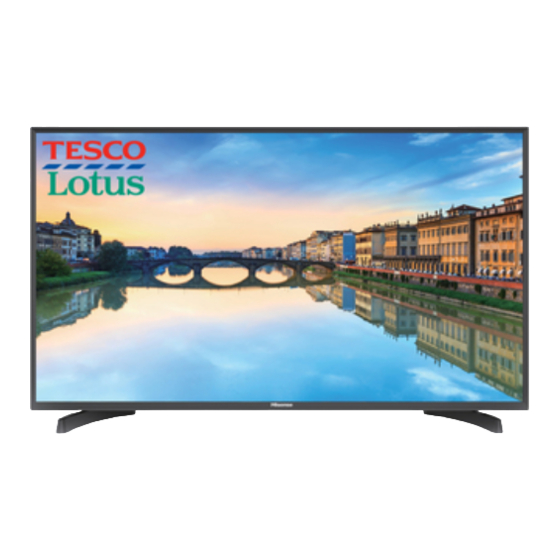
Summary of Contents for Hisense 32D60TSP
-
Page 1: Quick Setup Guide
32D60TSP 40D60TSP QUICK SETUP GUIDE Before using the TV, please read this guide thoroughly and retain it for future reference. For more detailed instructions,please see the User Manual. English... -
Page 2: Table Of Contents
Contents Product image is only for reference, actual product may vary in appearance. Parts of the software function changes with the system upgrade. Contents Accessories List......................1 Installing the Stand ......................TV Front..........................3 TV Rear ..........................4 Making Connections .......................5 Remote Control ......................9 Specifications ....................... -
Page 3: Installing The Stand
Installing the Stand Installing the Stand NOTES The TV screen is very fragile,and must be protected at all times when removing the base stand. Be sure that no hard or sharp object, or anything that could scratch or damage the screen, come into contact with it.DO NOT exert pressure on the front of the TV at any time because the screen could crack. -
Page 4: Tv Front
TV Front TV Front Remote Sensor Remote Indicator STANDBY / I tem Description Receive remote signals from the remote control. Remote sensor Do not put anything near the sensor, as its function may be affected. Red light up in standby mode. Blue light up in power on Remote indicator mode. -
Page 5: Tv Rear
TV Rear TV Rear TV Side View TV Bottom Panel NOTES The Picture is Only for Reference. Check the jacks for position and type before making any connections. Loose connections can result in image or color problems. Make sure that all connections are tight and secure. -
Page 6: Making Connections
Making Connections Connect an outdoor VHF/UHF antenna or cable. ANT1 Outdoor Antenna TV JACK Cable ANT1 ANT OUT DVB-T2/C Antenna Cable (75Ω) (not included) VHF/UHF Antenna Connecting a satellite antenna. ANT2 TV JACK Connect an HDMI cable from an external A/V equipment. HDMI Some devices such as DVD player require HDMI signal to be set to output in the device's settings. - Page 7 Making Connections the USB devices such as hard drives, USB sticks and digital cameras for Connect browsing photos, listening music and watching recorded movies. At the same time update is also an easy thing and will be done just by plugging the USB with the updating files into the same interface.
- Page 8 Making Connections COMMON INTERFACE Insert the CI+ module for watching scrambled services like pay-tv channels or some HD channels. TV JACK COMMON INTERFACE(CARD FACE FRONT) CAM CARD SMART CARD NOTES Before you insert/remove the CI+ module, ensure that the TV is switched off. Then insert the CI card into the CI+ module in accordance with the Service Provider’s instructions.
- Page 9 Making Connections Connect a component cable and an audio cable from an external A/V Device. YPbPr The component output ports Y, P and P on the VCD or DVD can sometimes be identified as Y, C and C · Press [Source] button, when the list of Input Source appears, press [▲/▼] to select the source [YPbPr] and press [OK] to connect.
- Page 10 T.Shift Pvr list Set the Audio Description on or off...
-
Page 11: Installing Batteries In The Remote Control
Remote Control Installing Batteries in the Remote Control 1. Slide the back cover to open the battery compartment of the remote control. 2. Insert two AAA size batteries. Make sure to match the (+) and ( - ) ends of the batteries with the (+) and ( - ) ends indicated in the battery compartment. - Page 12 32D60TSP 40D60TSP 733 × 469 × 176 916 × 573 × 206 733 × 439 × 91 916 × 542 × 81...


Need help?
Do you have a question about the 32D60TSP and is the answer not in the manual?
Questions and answers