Advertisement
QUICK CONSUMER
REFERENCE GUIDE
YOUR System: Galaxy 16+ / 8+
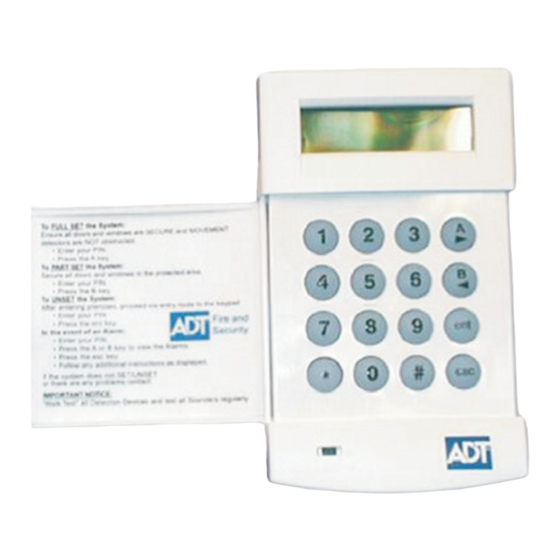
Setting Your System
Step 1
When leaving your home ensure that all protected doors/windows, including your
front door, are closed before setting your System.
Step 2
Enter your User Code and press the A key:
• If all the System zones are closed when the setting routine is initiated the Keypad
sounders will emit a continuous tone and the Keypad displays the Exit Time
countdown blocks.
• If any zones are open (for example: protected doors or windows; or if someone
activates a movement detector when the setting process is started) then the
Keypad sounders pulse rapidly and the Keypad displays which zones are open
Closing the open zones allows the setting routine to restart.
Step 3
Leave the building using the agreed Exit Route. Close and lock the Final Exit Door
and then, if fitted, operate the Exit Terminator; the horn outputs and the Keypad
buzzers become silent for four seconds, the countdown blocks all clear and the
Keypad buzzers emit two long tones to confirm that the System is Set. On the
Keypad the message System IS SET appears before the display goes blank. The
setting routine can be aborted, before the System sets, by pressing the esc key on
the Keypad used to initiate the setting routine.
1
Advertisement
Table of Contents


Need help?
Do you have a question about the Galaxy 16+ and is the answer not in the manual?
Questions and answers