Table of Contents
Advertisement
Quick Links
Advertisement
Table of Contents

Related Manuals for Varytec Strobe Mini LED20


Summary of Contents for Varytec Strobe Mini LED20
- Page 1 Manual Strobe Mini LED20...
-
Page 2: Table Of Contents
Table of contents Safety instructions ..........................3 1.1. FOR SAFE AND EFFICIENT OPERATION ................3 1.2. Further safety instructions ....................... 4 Introduction ............................9 Connections ............................. 9 3.1. Electrical connections ......................9 3.2. DMX connections ........................9 3.3. DMX connection with terminator....................9 Control ............................ -
Page 3: Safety Instructions
1. Safety instructions • This device is suitable for indoor use (not outdoors) only. • All modifications to the device will void the warranty. • Repairs are to carry out by skilled personnel only. • Use only fuses of the same type and original parts as spare parts. •... -
Page 4: Further Safety Instructions
Important: Damages caused by the disregard of this user manual are not subject to Damages caused by the disregard of this user manual are not subject to Damages caused by the disregard of this user manual are not subject to warranty. - Page 5 Prevent that the power cable has contact Prevent that the power cable has contact with other cables. Handle carefully with power cables and with other cables. Handle carefully with power cables and power connections. Don’t touch them with clammy hands. power connections.
- Page 6 You have to attend that with an ambient temperature von 40°C it is not allowed that the relati You have to attend that with an ambient temperature von 40°C it is not allowed that the relati You have to attend that with an ambient temperature von 40°C it is not allowed that the relative humidity exceeds 50%.
- Page 7 Basically installation has to be made by using a second separate suspension. This can be e.g. a suitable net. The second suspension must be designed and attached so no part of the installation can fall down in case of failure. During construction, reconstruction and deconstruction unnecessary stay in the range of moving areas, on lightning bridges, under elevated work stations or any other danger zones is forbidden.
- Page 8 truss or an appropriate fastening point. Hang up the end in the fastening element and tie up the locking nut. A safety rope once exposed to failing load or damaged may not be used furthermore. The maximum drop exceed must not exceed 20cm. A safety rope once exposed to failing load or damaged may not be used furthermore.
-
Page 9: Introduction
2. Introduction Thank you for buying the Strobe LED 100DMX. It is a powerful device. For a successful installation and operation, please read this manual carefully. 3. Connections 3.1. Electrical connections If you wish to change the power supply settings, see the chapter Appendix. Connect the fixture to the mains with the enclosed power cable and plug. -
Page 10: Control
120Ω PIN 3 PIN 2 If you using a controller with 5 pins DMX output, you need to use a 5 to 3 pin adapter-cable. 4. Control To get to the menu you have to press MENU. With UP/DOWN you can scroll through the menu. If you have reached the desired point of menu press ENTER. -
Page 11: Technical Data
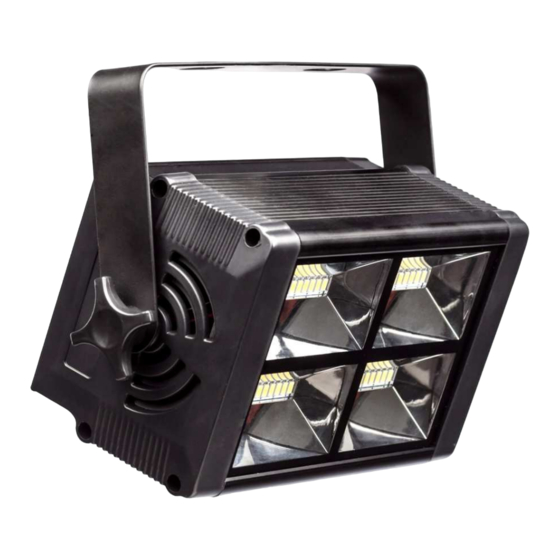
6. Technical data Power supply Voltage AC110-240V, 50/60Hz Power consumption max. 28 W Battery Light source LM type SMD LEDs Power 19,2 W Number/Power 48/0,4 W Optics Flash rate 0-20 Flashes/s Connections Current in Schutzko Current out XLR in/out 3Pin Controlling Sound-to-light Automatic... - Page 12 Importer: B & K Braun GmbH Industriestraße 2 D-76307 Karlsbad www.bkbraun.com info@bkbraun.com 12 / 12...
Need help?
Do you have a question about the Strobe Mini LED20 and is the answer not in the manual?
Questions and answers