Table of Contents

Related Manuals for General MM8


Summary of Contents for General MM8
- Page 1 PINLESS LCD MOISTURE METER WITH TRICOLOR BAR GRAPH USER’S MANUAL Please read this manual carefully and thoroughly before using this product. Test Equipment Depot - 800.517.8431 - 99 Washington Street Melrose, MA 02176 TestEquipmentDepot.com...
-
Page 2: Table Of Contents
Manual del Usuario (en español) ....18 – 27 INTRODUCTION Thank you for purchasing General Tools & Instruments’ MM8 Pinless LCD Moisture Meter with Tricolor Bar Graph. Please read this user’s manual carefully and thoroughly before using the instrument. - Page 3 Behind the back cover of the MM8 are two metal plates. When the meter is powered on, the plates are given small and opposite charges. The potential difference causes current to flow, creating a three-dimensional electric field.
-
Page 4: Key Features
To extend battery life, the MM8 automatically powers off after two minutes of inactivity. The instrument is powered by a “9V” battery included in the blister pack. -
Page 5: Product Overview
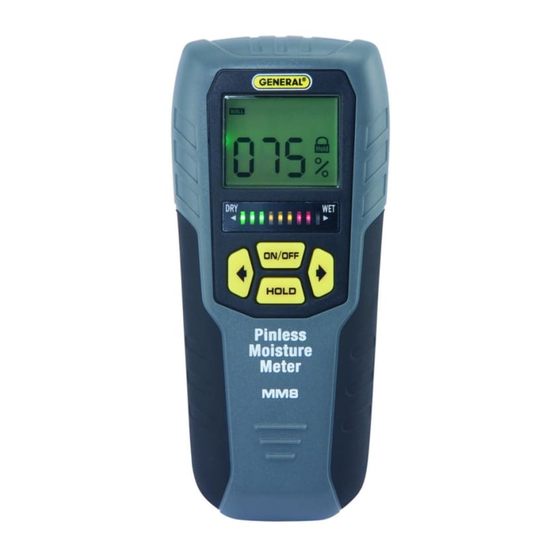
PRODUCT OVERVIEW Fig. 1 shows all of the controls, indicators and physical features of the MM8. Familiarize yourself with their names, positions and functions before moving on to the Setup Instructions. Fig. 1. The controls, indicators and physical features of the MM8 A. -
Page 6: Setup Instructions
SETUP INSTRUCTIONS INSTALL BATTERY To open the battery compartment, turn the meter over and lift the tab at the top of the battery compartment cover (Fig. 1, Callout N). Remove the cover and set it aside. Then plug the included “9V” battery into the wired socket inside the compartment. -
Page 7: Specifications
The sample’s length and width should be at least as large as the dimensions of the sensing area: 1.6 x 1.6 in. (40 x 40mm). Measurements of wood are skewed by two variables: ambient humidity and the density of the wood species. The best way to compensate for the effect of these variables is to develop your own moisture level curves, based on your experience working with different species of wood on a day-to-day basis. -
Page 8: Warranty Information
General will repair or replace this instrument if, after examination, the company determines it to be defective in material or workmanship. This warranty does not apply to damages that General determines to be from an attempted repair by non-authorized personnel or misuse, alterations, normal wear and tear, or accidental damage.
Need help?
Do you have a question about the MM8 and is the answer not in the manual?
Questions and answers