Table of Contents
Advertisement
1601 J. P. Hennessy Drive, LaVergne, TN USA 37086-3565 615/641-7533 800/688-6359
HENNESSY INDUSTRIES INC. Manufacturer of AMMCO
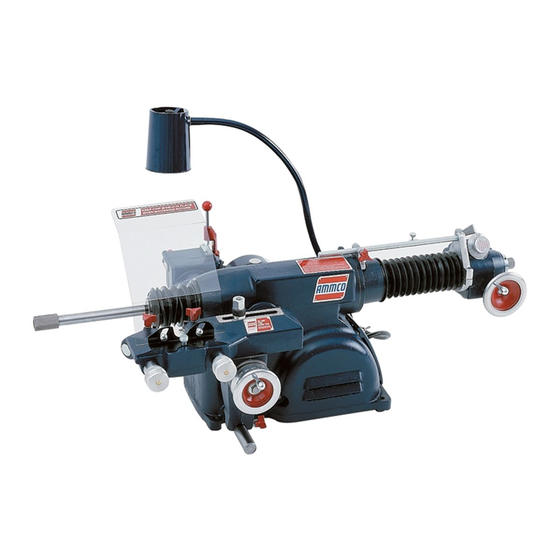
3000, 4000,
4100, 7500
Drum & Disc
Brake Lathes
®
Installation Instructions
Operating Instructions
Safety Instructions
Maintenance Instructions
READ these instructions before placing unit in
service. KEEP these and other materials delivered
with the unit in a binder near the machine for
ease of reference by supervisors and operators.
, COATS
and BADA
Automotive Service Equipment and Tools.
®
®
®
Manual Part No.: 911005 51
Revision:
10/12
Advertisement
Table of Contents

Related Manuals for AMMCO 3000


Summary of Contents for AMMCO 3000
-
Page 1: Safety Instructions
1601 J. P. Hennessy Drive, LaVergne, TN USA 37086-3565 615/641-7533 800/688-6359 Manual Part No.: 911005 51 HENNESSY INDUSTRIES INC. Manufacturer of AMMCO , COATS and BADA Automotive Service Equipment and Tools. -
Page 2: Table Of Contents
Shear Gear Replacement ....15 decals/labels/notices on the unit clean and visible. • If ownership of the unit is transferred, provide new owner all information, manuals, and provide AMMCO new ownership information. ii • AMMCO Drum & Disc Brake Lathes... -
Page 3: Safety Notices And Decals
4. Keep bystanders out of work area. (615) 641-7533 or (800) 688-6359 5. Unplug unit from power source before servicing www.ammcoats.com or adjusting. 6. Maintain unit properly, keep work surfaces and work area clean. AMMCO Drum & Disc Brake Lathes • iii... -
Page 4: Important Safety Instructions
14. Remove power from the unit and disconnect tools before servicing and when changing accessories such as blades, bits, cutters, etc. Follow lock-out and tag-out proce- dures as required. SAVE THESE INSTRUCTIONS iv • AMMCO Drum & Disc Brake Lathes... -
Page 5: Before You Begin
115 VAC 230 VAC cuit breaker. Serious personnal injury could result if circuit breaker is re-set while lathe is still on. Figure 1 - Power Cord Plug and Receptacle Types AMMCO Drum & Disc Brake Lathes • 1... -
Page 6: Operating Specifications
200 lbs. (90.72 kg) all models * The no. 906936 Cross Feed Extension – for use with the 4000, 4100 and 7500 lathes only – increases the maximum rotor diameter to 19” (483 mm). 2 • AMMCO Drum & Disc Brake Lathes... -
Page 7: Principle Operating Parts
Keep fingers out of these areas and away from rotating parts. Draw Bar Cross Feed Gearbox Drive Motor Infimatic Variable ® Pulley Guard Feed Gearbox Assembly ON/OFF Switch V-Belt & Speed Belt Tension Adjusting Lever Adjusting Nut AMMCO Drum & Disc Brake Lathes • 3... -
Page 8: Arbor Installation
(all models). stone. If damage cannot be corrected, replace the part. Feed speed refers to the thousandths of an inch the cutting tools move per revolution of the spindle. The 4 • AMMCO Drum & Disc Brake Lathes... -
Page 9: V-Belt Tension And Adjustments
4. Retighten the adjusting nut. Cross Feed Handwheel Figure 8 – Counterclockwise rotation of handwheels ⁄ ” ⁄ ” Push in Figure 6 – Press the belt in and tighten adjusting nut AMMCO Drum & Disc Brake Lathes • 5... -
Page 10: Reconditioning Brake Drums
4. Position the cross slide and spindle by turning their tighten the arbor nut. respective handwheels to their maximum clockwise (in) position. Then back off the cross feed handwheel 2 com- plete turns and the spindle handwheel 4 complete turns. 6 • AMMCO Drum & Disc Brake Lathes... - Page 11 Screw ening the lock knob. Figure 14 – Set drum diameter measurement 10. Back the tool bit off and turn the lathe OFF. AMMCO Drum & Disc Brake Lathes • 7...
-
Page 12: Reconditioning Disc Brake Rotors
Upper and lower Cross slide self-aligning nut/washer 22. Engage the feed lever to begin drum recondi- boring bar clamps tioning. Twin cutter Cross slide self-aligning nut/washer Figure 19 – Install the twin cutter 8 • AMMCO Drum & Disc Brake Lathes... -
Page 13: Rotor Mounting
F - Small Hubless Adapter G - Large Hubless Adapter H - Centering Cone I - Small Double Taper Adapter J - Large Double Taper Adapter K - Adapter, Used as Spacer AMMCO Drum & Disc Brake Lathes • 9... -
Page 14: Set Up And Reconditioning Rotors
The safety shield is eas- Figure 25 – Tool bit controls ily screwed onto the twin cutter in the threaded mount- ing hole provided. 10 • AMMCO Drum & Disc Brake Lathes... - Page 15 Slow Fast Note: For roughing cuts, move the cross feed lever Neutral to the FAST position. Figure 28 – Second scratch cut Figure 30 – Engage automatic cross feed AMMCO Drum & Disc Brake Lathes • 11...
-
Page 16: Model 7900 Twin Cutter - 4100
12 • AMMCO Drum & Disc Brake Lathes... - Page 17 Hazard Areas must be protected during lathe operation. Keep shields and guards in place. Keep fingers out of these areas and away from rotating parts. Figure 33 – Scratch Cuts 14. Turn the lathe ON. AMMCO Drum & Disc Brake Lathes • 13...
-
Page 18: Maintenance And Service
Lubricate the cross feed once each month with an automotive chassis grease. Pump the grease into the fitting until clean grease comes out the relief slot at the base of the fitting. 14 • AMMCO Drum & Disc Brake Lathes... -
Page 19: Cleaning
Remove the shear gear. Remove any stripped teeth from the drive housing. Install the new gear. The con- cave side of the C-clip faces the gear to maintain pres- sure. Replace the dot plug button. AMMCO Drum & Disc Brake Lathes • 15... - Page 20 911005 51 10/12 © Copyright 1992 Hennessy Industries and AMMCO All Rights Reserved Printed in USA...
Need help?
Do you have a question about the 3000 and is the answer not in the manual?
Questions and answers