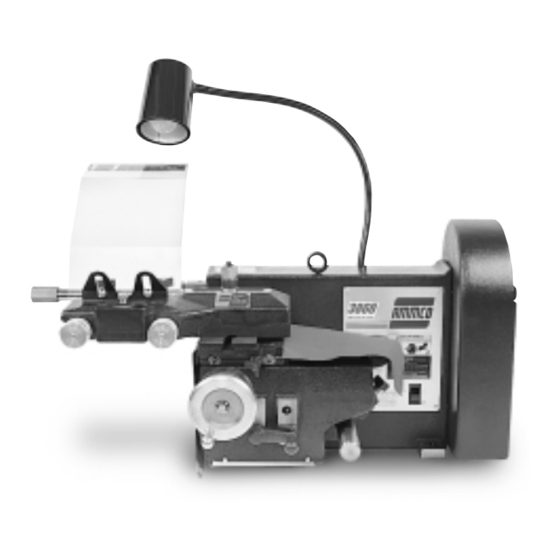
AMMCO 3860 Installation Instructions Manual

AMMCO 3860 Installation Instructions Manual

Drum & disc brake lathes

Advertisement

1601 J. P . Hennessy Drive, LaVergne, TN USA 37086-3565 615/641-7533 800/688-6359
HENNESSY INDUSTRIES INC. Manufacturer of AMMCO
3850, 3860
Drum & Disc
Brake Lathes
®
Installation Instructions
Operating Instructions

Safety Instructions

Maintenance Instructions
READ these instructions before placing unit in
service. KEEP these and other materials delivered
with the unit in a binder near the machine for
ease of reference by supervisors and operators.
®
, COATS
®
and BADA
®
Automotive Service Equipment and Tools.
Manual Part No.: 929250 09
Revision:
05/01

Advertisement

Table of Contents
loading
Need help?

Need help?

Do you have a question about the 3860 and is the answer not in the manual?

Questions and answers

Summary of Contents for AMMCO 3860

  • Page 1: Safety Instructions

    1601 J. P . Hennessy Drive, LaVergne, TN USA 37086-3565 615/641-7533 800/688-6359 Manual Part No.: 929250 09 HENNESSY INDUSTRIES INC. Manufacturer of AMMCO ® , COATS ®...
  • Page 2 Brake Lathes ii • AMMCO 3850, 3860 Brake Lathes...
  • Page 3: Table Of Contents

    Gib Adjustment ......16 3860 Drum Tool Bar Adjustment ... .17...
  • Page 4: Safety Notices And Decals

    For additional copies of either, or further information, contact: Hennessy Industries, Inc. 1601 J.P . Hennessy Drive LaVergne, TN 37086-3565 (615) 641-7533 or (800) 688-6359 www.Hennessy-Ind.com iv • AMMCO 3850, 3860 Brake Lathes...
  • Page 5: Owner's Responsibility

    3. Keep all guards, shields, and covers in place and in working order. 4. Keep bystanders out of work area. 5. Unplug unit from power source before servicing or adjusting. 6. Maintain unit properly, keep work surfaces and work area clean. AMMCO 3850, 3860 Brake Lathes • v...
  • Page 6: Important Safety Instructions

    16. Secure the work properly to the unit for setup and tool bit positioning. Do not attempt to hold a drum or rotor steady on the arbor with your hands. Both hands must be free to operate unit. SAVE THESE INSTRUCTIONS vi • AMMCO 3850, 3860 Brake Lathes...
  • Page 7: Before You Begin

    Our willingness to assist in every possible manner does not make AMMCO responsible for collection of claims or replacement of lost or damaged materials. Shipping damage claims will not be handled under warranty.
  • Page 8: Installation

    Overall Lathe Height ......16.5 in Spindle to Floor (on AMMCO bench) ... .39.625 in Spindle Speed (full load) .
  • Page 9: Principle Operating Parts

    Shallow cuts also do not allow the bit to dig enough, and may cause the bit to break. AMMCO 3850, 3860 Brake Lathes • 3...
  • Page 10: Starting The Lathe

    Note: Look for this plate on the lathe. It has been placed on the unit to assist you while working with the lathe. Notice also that rotor and drum positions are indicated on the handwheel with arrows pointing inward and outward. 4 • AMMCO 3850, 3860 Brake Lathes...
  • Page 11: Reading The Drum Depth-Of-Cut Micrometer Dial

    0.002” . A 0.010” cut (five micrometer divisions) from an 8” drum will result in a refinished diameter of 8.010” . (3860 ONLY) The divisions on the micrometer dial of the adjustable drum boring bar indicate actual depth of cut. A 0.010"...
  • Page 12: Mounting Drums

    - Arbor Nut - Large Hubless Adapter - Self-Aligning Spacer - Centering Cone - Spacer - Small Double Taper Adapter - Spring - Large Double Taper Adapter Figure 4 - Typical Drum Mounting Configurations 6 • AMMCO 3850, 3860 Brake Lathes...
  • Page 13 6. Wrap the drum silencer band snugly around the drum. The band must fully cover the outside of the drum (Figure 8). (3860 ONLY) Turn the end knob of the tool bar counterclock- wise until the tool bit is fully retracted.
  • Page 14 Clean metal and cutting .030 is aligned with the mark. debris from the adapters, spacers, arbor, and lathe. Important: Read and understand the description of Negative and Positive Rake bits on page 3. 8 • AMMCO 3850, 3860 Brake Lathes...
  • Page 15 .002". A cut of .002" from an 8" drum will result in a refin- ished diameter of 8.004". Note: A round, smooth, flat drum may require only a finish cut .002"—.004" deep. AMMCO 3850, 3860 Brake Lathes • 9...
  • Page 16: Mounting Brake Rotors

    - Self-Aligning Spacer - Spacer - Spring - Small Hubless Adapter - Large Hubless Adapter - Centering Cone - Small Double Taper Adapter - Large Double Taper Adapter - Adapter, Used as Spacer 10 • AMMCO 3850, 3860 Brake Lathes...
  • Page 17: Reconditioning Brake Rotors

    Tighten the self-aligning nut to 50 foot pounds after cutter Figure 17 - Attach Silencer Band is positioned. AMMCO 3850, 3860 Brake Lathes • 11...
  • Page 18 Do not allow the adapters to rotate along with the rotor. Retighten the arbor nut. 18. Turn the handwheel counterclockwise a half turn to move the tool bit away from the first scratch cut. Figure 21- First Scratch Cut 12 • AMMCO 3850, 3860 Brake Lathes...
  • Page 19 Back the handwheel off a half turn after hat is cleaned. 24. Dial both tool bit control knobs to zero and then dial in an additional .005 inch minimum for positive AMMCO 3850, 3860 Brake Lathes • 13...
  • Page 20: Maintenance And Service

    They may become entangled in the arbor or spindle, and pull the operator into the lathe causing personal injury. 14 • AMMCO 3850, 3860 Brake Lathes...
  • Page 21: Cleaning

    B. Use a shop vac to help keep the lathe and bench area clean of metal chips, dirt and debris that can dam- age the lathe and affect performance. Dispose of the material properly. AMMCO 3850, 3860 Brake Lathes • 15...
  • Page 22: Gib Adjustment

    Adjust again if the smoothly with only moderate force. Use a 5/32 inch movement is jerky or difficult. allen wrench on the set screws. 16 • AMMCO 3850, 3860 Brake Lathes...
  • Page 23: 3860 Drum Tool Bar Adjustment

    8. Slowly loosen the allen head cap screw until the tool holder slips back. 9. Screw the micrometer all the way in and repeat steps 7 and 8 for the other allen head cap screw. AMMCO 3850, 3860 Brake Lathes • 17...
  • Page 24 929250 09 05/01 © Copyright 1994 Hennessy Industries and AMMCO All Rights Reserved Printed in USA...

This manual is also suitable for:

3850

Table of Contents