Sign In
Upload
Download
Table of Contents
Contents
Add to my manuals
Delete from my manuals
Share
URL of this page:
HTML Link:
Bookmark this page
Add
Manual will be automatically added to "My Manuals"
Print this page
×
Bookmark added
×
Added to my manuals
Manuals
Brands
Clevo Manuals
Laptop
W765S
Service manual
Clevo W765S Service Manual
Hide thumbs
1
2
3
4
5
6
7
8
9
10
11
12
13
14
15
16
17
18
19
20
21
22
23
24
25
26
27
28
29
30
31
32
33
34
35
36
37
38
39
40
41
42
43
44
45
46
47
48
49
50
51
52
53
54
55
56
57
58
59
60
61
62
63
64
65
66
67
68
69
70
71
72
73
74
75
76
77
78
79
80
81
82
83
84
85
86
87
88
89
90
91
92
93
94
page
of
94
Go
/
94
Contents
Table of Contents
Bookmarks
Table of Contents
English
Table of Contents
Instructions for Care and Operation
Power Safety
Battery Precautions
Introduction
Overview
System Specifications
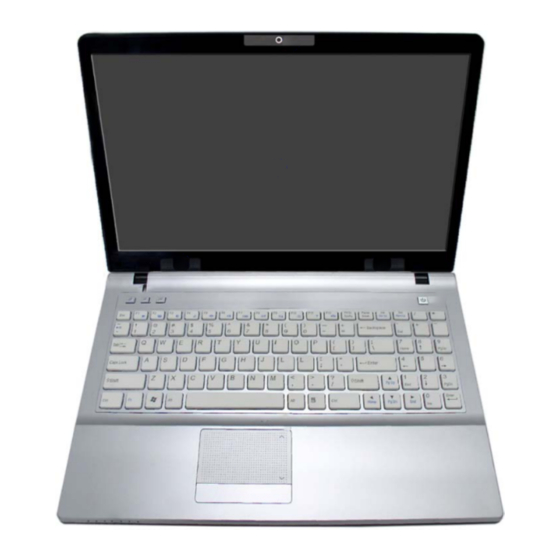
External Locator - Top View with LCD Panel Open
External Locator - Front & Right Side Views
External Locator - Left Side & Rear View
External Locator - Bottom View
Mainboard Overview - Top (Key Parts)
Mainboard Overview - Bottom (Key Parts)
Mainboard Overview - Top (Connectors)
Mainboard Overview - Bottom (Connectors)
Disassembly
Overview
Maintenance Tools
Connections
Maintenance Precautions
Disassembly Steps
Removing the Battery
Removing the Hard Disk Drive
Removing the Optical (CD/DVD) Device
Removing the System Memory (RAM)
Removing the Inverter Board
Removing and Installing the Processor
Removing the Wireless LAN Module
Removing the Bluetooth Module
Removing the Keyboard
Removing the Modem
Part Lists
漢語
Part List Illustration Location
Top Without Fingerprint
Top Without Fingerprint (W765S
Bottom
Lcd
Hdd
Sata DVD Super-Multi
Top Without Fingerprint (W760S
DVD-Super-Multi
Schematic Diagrams
System Block Diagram
Penryn (Socket
Penryn (Socket-P) 2/2
Sism672 Host, PCIE 1/5
Sism672 DRAM 2/5
Sism672 Mutiol VGA 3/5
Sism672 PWR 4/5
Sism672 GND 5/5
Ddrii So-DIMM - 1
Ddrii So-DIMM - 2
Sis307Elv
Panel, CRT
Inverter, Bluetooth, Fan
PCI, IDE, Mutiol, SPI 1/4
Pcie, Lan, Gpio 2/4
Usb Sata 3/4
Pwr, Gnd 4/4
Clock Generator & Clock Buffer
PHY Realtek 8201CL
Kbc Ite8512E
JMB385, Card Reader
Audio Codec ALC662
Audio AMP
Sata Hdd, Pwr, Lid
Multi I/O, ODD, 3G, Click BD for M74
New Card, Mini PCIE, USB
LED, PC Beep, TP, FP
System/Ext-VGA Power
AC-IN, Charger
Vcore
Vdd3, Vdd5
1.05Vs, 1.2V, 1.5V
1.8V, 0.9Vs
Click BD, Finger BD for M76
Multi Function Board
Audio Board
Power Switch Board for M74
External Odd Board for W76
External ODD Board for W76
Updating the FLASH ROM BIOS
Download the BIOS
Unzip the Downloaded Files to a Bootable CD/DVD/ or USB Flash Drive
Set the Computer to Boot from the External Drive
To Update the Flash Rom Bios You Must
Use the Flash Tools to Update the BIOS
Restart the Computer (Booting from the HDD)
Advertisement
Quick Links
1
System Specifications
2
Mainboard Overview - Top (Key Parts)
Download this manual
Table of
Contents
Previous
Page
Next
Page
1
2
3
4
5
Advertisement
Chapters
English
3
漢語
46
Table of Contents
Need help?
Do you have a question about the W765S and is the answer not in the manual?
Ask a question
Questions and answers
Related Manuals for Clevo W765S
Laptop Clevo W760SUN Specification
15.6" wide (2 pages)
Laptop Clevo W765TUN User Manual
(362 pages)
Laptop Clevo W760SUA Service Manual
(104 pages)
Laptop Clevo W760K User Manual
Notebook (230 pages)
Laptop Clevo W760TH Service Manual
(99 pages)
Laptop Clevo W760S Service Manual
(94 pages)
Laptop Clevo M740TG series Service Manual
(115 pages)
Laptop Clevo W740SU Service Manual
(88 pages)
Laptop Clevo ITAUTEC W244HUQ Series Service Manual
(98 pages)
Laptop Clevo M740TUN Service Manual
(114 pages)
Laptop Clevo W370ST Service Manual
Notebook computer (108 pages)
Laptop Clevo W170HN Service Manual
(100 pages)
Laptop Clevo W251ESQ Service Manual
(104 pages)
Laptop Clevo W515GU Service Manual
(84 pages)
Laptop Clevo WA50SFQ Service Manual
(102 pages)
Laptop Clevo W24XCZ Service Manual
(101 pages)
This manual is also suitable for:
W760s
W76 s series
Table of Contents
Print
Rename the bookmark
Delete bookmark?
Delete from my manuals?
Login
Sign In
OR
Sign in with Facebook
Sign in with Google
Upload manual
Upload from disk
Upload from URL


Need help?
Do you have a question about the W765S and is the answer not in the manual?
Questions and answers