Table of Contents
Advertisement
Advertisement
Table of Contents

Related Manuals for TechniSat DIGITRADIO 51


Summary of Contents for TechniSat DIGITRADIO 51
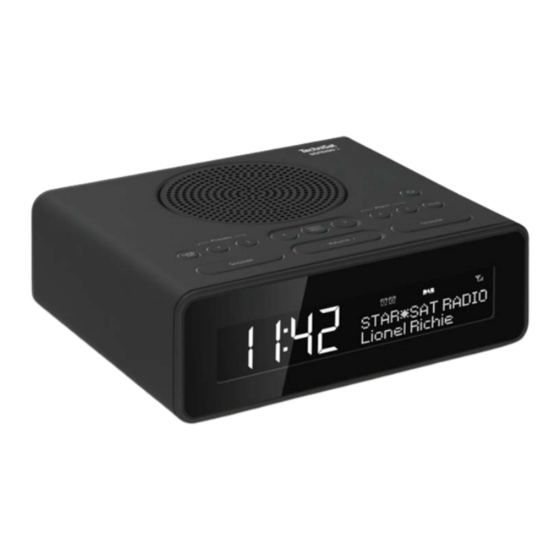
- Page 1 Instruction Manual DIGITRADIO 51 DAB/FM digital clock radio...
-
Page 2: Table Of Contents
Contents Important safety information Your DAB/FM clock radio Packing List Software update 5 Steps guide to getting started 1 Basic operation 2 Scanning 3 Clock 4 Alarm setting 5 Sleep 6 Dimmer function 7 Info 8 Radio presets 9 Advance settings 10 Troubleshooting Specifications... -
Page 3: Important Safety Information
Important safety information Thank you for purchasing this DAB/FM radio. Please read the instructions and warnings carefully before use, to ensure safe and satisfactory operation of this product. It is most important this instruction leaflet be retained with the product for future reference. -
Page 4: Your Dab/Fm Clock Radio
Your DAB/FM clock radio Select/Menu button DAB/FM button Preset 1 button Preset 2 button Snooze button Station down button - Volume + buttons Station up button Snooze button 10 LCD display 11 Alarm 1 button 12 Alarm 2 button 13 Sleep button 14 Power button 15 Speaker 16 DAB/FM aerial... -
Page 5: Packing List
Packing list DAB/FM digital radio x 1 AC Power adapter x 1 Instruction manual x 1 Software update The ‘UPDATE’ port on the rear of radio is for service professional only. 5 Steps guide to getting started Press ’ ’ button to turn radio on. For DAB Press ‘DAB/FM’... -
Page 6: Basic Operation
Basic operation 1.1 Switching between Standby, DAB and FM mode Connect the power adapter to DC IN socket of the radio, it will then turn on. Press ‘DAB/FM’ button to switch between DAB and FM mode. Press ’ ’ button to switch radio go to standby mode. 1.2 DAB radio mode DAB mode receives DAB digital radio and displays information about the station and program/track as broadcast. -
Page 7: Sleep
button to confirm. Duration options: 15/30/45/60/90Mins Press ‘ < ’ or ‘ > ’ button to set alarm source, and then press ‘Select/Menu’ button to confirm. Source options: Buzzer/DAB/FM When choosing DAB and FM for alarm source, Last listened and Preset stations you have stored are available. -
Page 8: Dimmer Function
Dimmer function The brightness of the display can be adjusted manually with the ‘- Dimmer +’ buttons on the rear panel. There are a total of 9 levels of light intensity. Press ‘Dimmer –‘ button once to decrease the level by 1 step. Press ‘Dimmer +‘... -
Page 9: Advance Settings
Advance settings The advance settings allow you to tailor the DAB/FM radio with a variety of options to suit you. In order to access advance settings, from DAB or FM mode, press and hold ‘Select/Menu’ button to enter the menu. 9.1 DAB radio mode Under the advance settings menu, press ‘... - Page 10 9.1.4 Prune This removes all unavailable stations from the station list. Under advance settings menu, press ‘ < ’ or ‘ > ’ button to select ‘Prune’, and then press ‘Select/Menu’ button to confirm. Press ‘ > ’ button to choose <Yes>, and then press ‘Select/Menu’ button to confirm removing all invalid stations.
- Page 11 9.1.5.1.4 Set date format In the time menu, press ‘ < ’ or ‘ > ’ button to select ‘Set date format’, and then press ‘Select/Menu’ button to confirm. Press ‘ < ’ or ‘ > ’ button to select the date format 'DD-MM-YYYY'(default) or 'MM-DD-YYYY', and then press ‘Select/Menu’...
-
Page 12: Troubleshooting
9.2.1 Scan setting By default, FM scans stop at any available station (all stations). This may result in a poor quality audio from weak stations. Under advance settings menu, press ‘ < ’ or ‘ > ’ button to select ‘Scan setting’, and then press ‘Select/Menu’... -
Page 13: Specifications
Specifications Description: DAB/FM digital clock radio Audio output: 1.5W RMS Power consumption: Operation: 3 W (Max) Standby: < 1 W Frequency ranges: FM: 87.5-108MHz DAB: 174.928-239.200MHz LCD display: High resolution display Power supply: DC IN socket input: DC 6V/500mA Power adapter input: AC 100-240V, 50-60Hz (please use our provided adapter) Dimensions:...
Need help?
Do you have a question about the DIGITRADIO 51 and is the answer not in the manual?
Questions and answers